Tuesday, November 18, 2014

Chili Beef Stew Soup - Slow Cooker Style

It was a bitter cold day here today. We only made it to about 36 degrees for our high and it dipped down into the teens and 20s overnight. It was still only 28 degrees at 11:00 this morning. That is painfully cold for the Atlanta area, particularly in November. This evening is a busy evening and I am thrilled...no, let's make that THRILLED to have soup/stew leftover from Sunday night's dinner. All I had to do was reheat it. 

I made a huge crock pot of Chili Beef Stew Soup on Sunday when my sons came for dinner. I tweaked one of my chili recipes a bit because I was torn between making chili, beef stew and soup...so I did the ONLY logical thing; I made Chili Beef Stew Soup! LOL It was hearty and tasted like chili but was full of chunks of beef like stew but ate like soup. Whew...that was exhausting to explain. I added 1 can of drained and rinsed pinto beans to my chili/stew/soup this time. These are actually the first beans I have eaten in the 2-1/2 years I've been low carb. I chose to use Bush's pinto beans because they seemed to be the lowest in carbs when comparing the different varities. The addition of 1 can of beans to this large pot of stew/soup only added 3 to 4 net carbs to each serving, which I felt wasn't bad. If you prefer not to add them, simply omit them. It's funny, I was never much of a bean fan to begin with and would frequently push the beans aside when I ate chili...but this amount seemed to be the perfect proportion for me and I enjoyed them. 

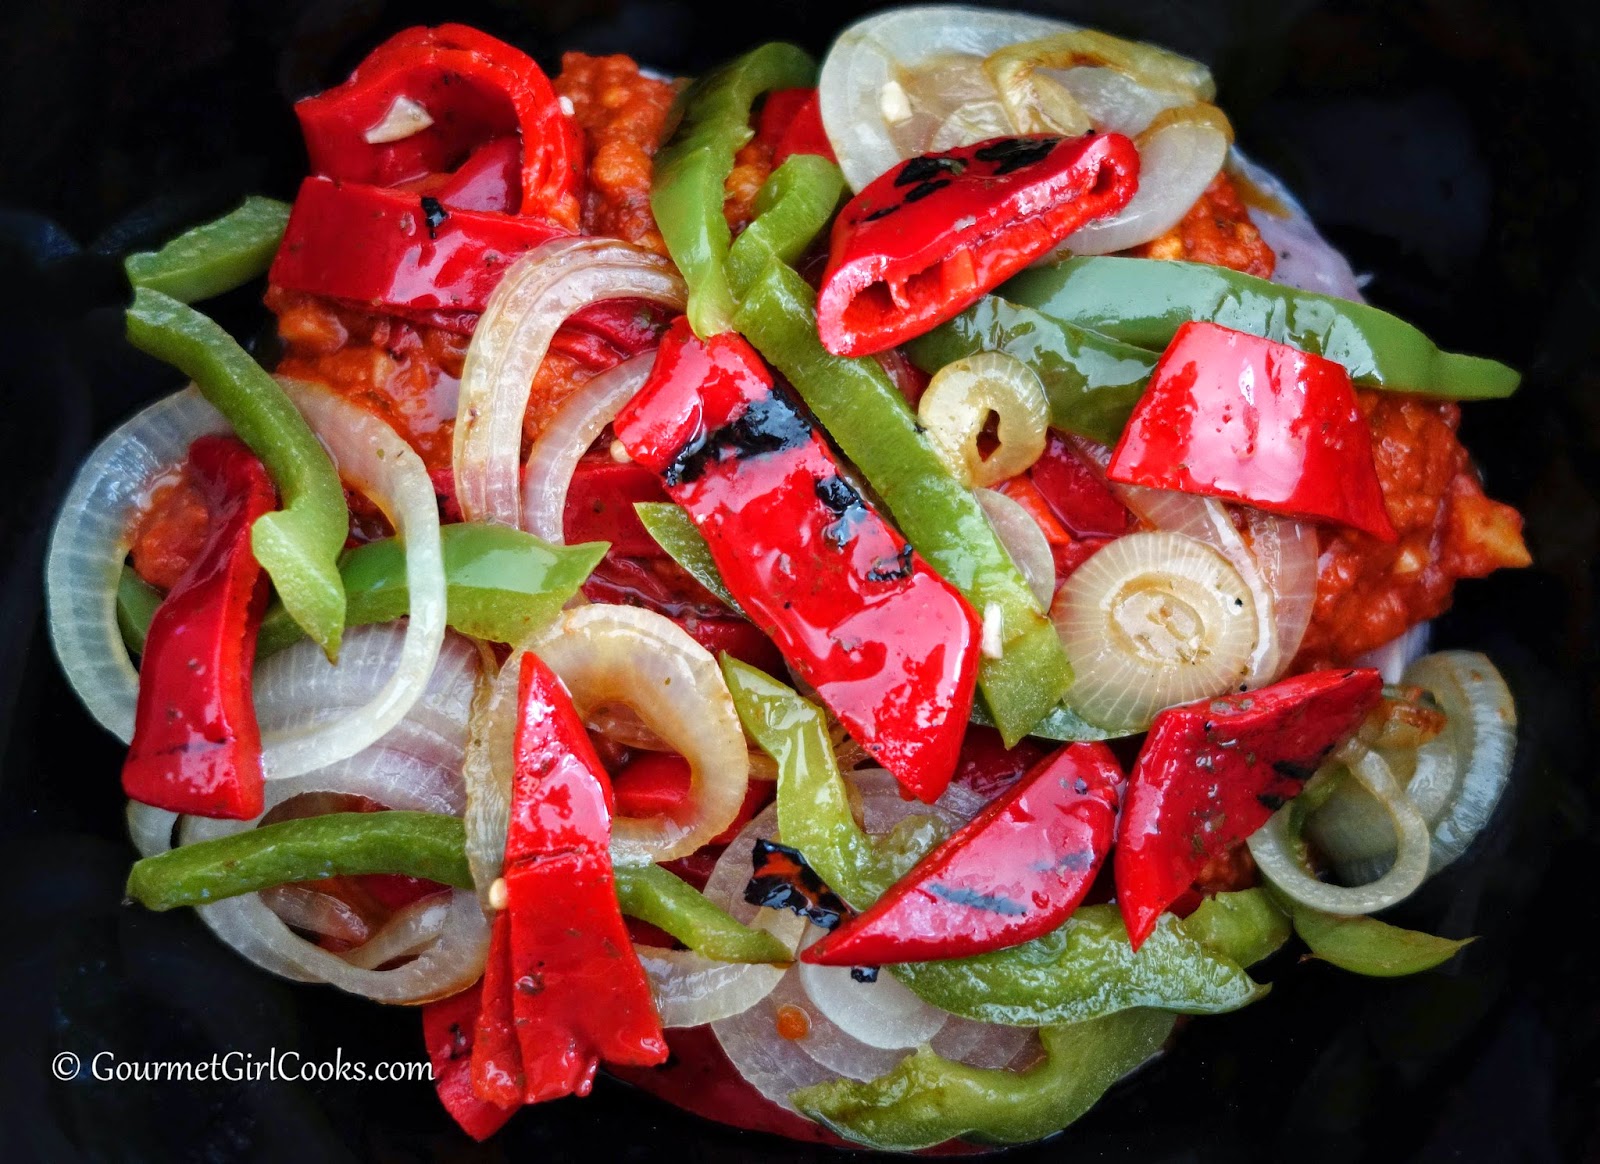
Tonight was the perfect night to get a break and enjoy some of this leftover stew/soup for dinner because I am also making 2 big casseroles for our Thanksgiving lunch at work tomorrow as well. And if all that isn't enough, I'm working on another recipe project for this week, too! I just need about 8 more hours in my days it seems to be able to do everything I want to do. So, tonight's post will be short and sweet. I snapped a few photos of my awesome Slow Cooker Chili Beef Stew Soup below as well as the recipe. Enjoy!


Chili Beef Stew Soup - Slow Cooker

Ingredients:

2 - 3 tablespoons oil, to saute vegetables and brown beef

1 cup diced onion
2 cups diced red, yellow or orange sweet bell peppers
1 Poblano pepper, diced
1 jalapeno pepper, finely diced
5 cloves garlic, minced
3 pounds stew beef, diced into 1-inch cubes
1 15-oz can pinto beans, drained and rinsed, optional
1 28-oz can fire roasted diced tomatoes (including juice)
1 8-oz can tomato sauce
1 6-oz. tomato paste
1 cup chicken broth
1-1/2 cups water
Spices:
   1 tablespoon chili powder
   1 teaspoon "chipotle chili powder" (or regular chili powder to reduce heat)
   1 teaspoon hot Hungarian paprika (or sweet paprika to reduce heat)
   1 teaspoon ground coriander
   1 teaspoon roasted cumin (or regular cumin)
   1/2 teaspoon cayenne pepper (or to taste), optional
   1 teaspoon oregano
   1-1/2 teaspoons sea salt, or to taste
   1 teaspoon freshly ground black pepper, or to taste

Directions:


In a large stockpot, add a couple tablespoons of oil and quickly saute onion, sweet bell peppers, Poblano and jalapeno pepper over medium heat until almost tender; add minced garlic and cook a couple more minutes, stirring frequently. Use a slotted spoon to remove and transfer vegetables to a platter.  


Add additional oil to pot; lightly brown beef cubes over medium-high heat. Add pepper and onion mixture back to the pot.  Add beans, diced tomatoes, tomato sauce, tomato paste, chicken broth, water, and all spices; stir until evenly combined. Transfer soup to 6 to 7 quart crock pot. Cook on low 8 to 10 hours or on high for 6 hours. Alternatively, soup can be simmered on the stove for 2 - 2-1/2 hours over low heat. 


Serve topped with shredded cheddar cheese and dollop of sour cream, if desired.  Serves approximately 8 to 10.


Check out the hundreds of FREE eBooks:  Free Grain-Free eBooks

Sunday, November 16, 2014

Low Carb Sunday Breakfast - Eggs, Sausage & Cranberry Pancakes

Happy Sunday!  This morning I made a big Sunday breakfast consisting of scrambled organic eggs with cheddar, chicken apple sausage patties (by Applegate) and a wedge of Cranberry Pancake that I made yesterday along with a dollop of fresh Cranberry Orange Sauce. I enjoyed it alongside a cup of caramel vanilla coffee with cream. I never thought I would be enjoying a breakfast like this again when I first went low carb several years ago. It's nothing short of amazing to me. This breakfast contains approximately 8.5 net carbs and slightly less than 4 grams of sugar. It will more than likely hold me until dinner this evening. I snapped a quick photo below to show you what low carb eating really looks like! Enjoy!


Saturday, November 15, 2014

Autumn Style Salads w/ Grilled Chipotle Chicken & Pumpkin Custard Cups

This evening I made us huge "Superfood" salads for dinner (a mixture of broccoli, brussels sprouts, cabbage, kale and chicory) that I picked up at Costco. I topped them with strips of grilled chipotle chicken cutlets that hubby quickly grilled before it got dark. I made another batch of my Cranberry Vinaigrette to enjoy on my salad while hubby enjoyed the poppy seed dressing that comes with the salad mix. It was a quick and easy dinner.

Earlier in the afternoon, I baked my Pumpkin Custard Cups which are one of my favorites because they are quick and easy to put together. They are crustless which makes them really quick to get into the oven. I enjoyed one after dinner topped with whipped cream and some chopped pecans that I sprinkled on top as I was eating it. I enjoyed it while it was slightly warm with a cup of coffee. It was so good. I snapped a few quick photos below. We are enjoying the Hallmark Channel this evening watching sentimental tearjerker holiday movies (we're watching The Ultimate Gift right now). Enjoy!


Pumpkin Custard Cups ready for the oven
Warm and ready to top with pecans and enjoy!
     

Cranberry Pancakes - Easy No-Flip Skillet Style

This morning we slept in late. We're planning to start getting the house cleaned and decluttered today so we are ready to clutter it back up again when we pull out the holiday decorations! LOL It's amazing how fast "stuff" accumulates isn't it? 

I was in the mood for "something cranberry" for breakfast (no big shock here I suppose). Since it was nippy (in the 20s), I decided something warm would be nice, too. I made a triple batch of my Cranberry Orange Sauce a couple days ago and had that available to use in my concoction as well. I decided to make a No-Flip Cranberry Pancake for breakfast. I love, love, love my No-Flip Buttermilk Berry Pancakes that I make with fresh strawberries and blueberries and top with whipped cream during the spring and summer months. 

I decided to make a Cranberry Walnut pancake version so it would be like eating pancakes and cranberry bread all rolled into one! I coarsely chopped cranberries in my little Magic Bullet and folded them into my pancake batter along with some finely chopped walnuts. I had an open bag of little frozen wild blueberries in the freezer, so I scattered a few of those on top as well before popping the pancake into the oven. Making pancakes is so much more enjoyable with my no-flip recipe. Just mix, pour and bake and then slice into wedges and serve. No more standing over the stove waiting for the magical bubbles to appear to let you know its time to flip and then having the first batch cold by the time the last batch is ready. They all go into the oven together and come out at the same time. 

I made a smaller version of pancakes using an 8-inch skillet this morning. If you want to make a larger family sized version, simply double the recipe ingredients and use a 10-inch skillet instead of the 8-inch. I decided to enhance my cranberry joy by whisking together an easy peasy "Cranberry Butter Syrup" to top these pancakes with. It was amazing and SO much better than regular syrup. I included the recipe for the pancake and cranberry syrup and snapped a few photos for you to see below. Enjoy!


Cranberry Pancakes - No Flip Skillet Style

Ingredients:

1/2 cup blanched almond flour
2 tablespoons ground golden flaxseed
1 tablespoon coconut flour
1/4 cup Swerve Sweetener
1 teaspoon baking powder
1/4 teaspoon baking soda
1/8 teaspoon sea salt
1/2 cup buttermilk
1 large egg
1 teaspoon vanilla extract
1 tablespoon melted coconut oil, cooled (plus a little extra to grease skillet)
1/3 cup coarsely chopped cranberries (or substitute fresh or frozen blueberries)
1/4 finely chopped walnuts, optional
Cranberry Butter Syrup for serving (see recipe below) or optional sugar free maple pancake syrup like Nature's Hollow*

Directions:

Preheat oven to 350 degrees

In a large bowl, combine almond flour, flax, coconut flour, sweetener, baking powder, baking soda, and salt; whisk to combine and break up any lumps.

In a separate small bowl, beat buttermilk, egg, and vanilla together. Stir wet mixture into dry mixture, mixing just until combined; stir in melted coconut oil. Fold in cranberries and walnuts. 

Heat an 8-inch cast iron skillet (or other ovenproof nonstick skillet) over medium high heat until hot. Grease pan generously with coconut oil. Pour pancake batter into hot skillet. Cook on stove top for about 2 minutes. Place skillet into preheated oven and bake for about 25 minutes or until pancake is cooked in the center and doesn't jiggle when gently shaking the skillet. Let set in pan for approximately 5 minutes. Use a rubber spatula to gently loosen and slide onto cutting board. Cut into wedges and serve topped with my super easy Cranberry Butter Syrup, sugar free maple pancake syrupor additional berries as desired.

Note: Pancake can be topped with additional berries before baking, if desired.

~~~~~~~~~~~~~~~~~~

Cranberry Butter Syrup

Ingredients:
4 tablespoons butter
1/2 cup Cranberry Orange Sauce
4 tablespoons sugar free maple pancake syrup

Directions:
Melt butter in a small sauce pan over low-medium heat; stir in cranberry sauce and pancake syrup. Whisk together and heat until hot. Serve over 

*WARNING: Many sugar free syrups contain xylitol. It is deadly to pets -- do NOT share any foods containing xylitol with your pets. Also be careful when using any granular type xylitol sweetener (Swerve does not contain any xylitol).


Friday, November 14, 2014

Slow Cooker Chicken Cacciatore - Low Carb Comfort Food

This evening we enjoyed a delicious dinner of Chicken Cacciatore that cooked all afternoon long in my smaller crock pot. I had intended to place it in my crock pot before heading to work this morning but forgot; so I placed it in the crock pot when I came home for lunch. It was so very simple to put together and so very good. I had every intention of serving the cacciatore over top of some zucchini noodles...but changed my mind and decided to serve it "as is" in shallow bowls...it was like a "cacciatore stew." 

When I came home for lunch this afternoon, I quickly sliced half of an onion, half of a green pepper and some of the marinated red piquillo peppers I had in the fridge (otherwise I would have also sliced up half of a fresh red bell pepper). I lightly sauteed the green bell pepper and onion while I placed 4 big boneless and skinless chicken thighs in the bottom of my crock pot. I seasoned them with salt and pepper and then spread 1/2 of a jar of Mezzetta's Artichoke Parmesan Marinara on top of the chicken. It's a nice super thick and chunky sauce filled with lots of diced artichokes. I layered the sauteed peppers and onions on top of the sauce layer, then covered it and set it on high to cook for about 5 hours. If I had started it in the morning, I would have cooked it on low for about 8 to 9 hours.

The chicken literally melted in your mouth yet stayed intact in nice pieces to serve and required only a fork to cut and eat. We topped it with shredded Parmesan cheese and enjoyed it "stew style." It was the perfect meal to warm us up on this frosty Georgia night. The evening news said that it was actually colder here this morning in Georgia than it was in Alaska. It was 25 degrees this morning and didn't get out of the low 40s. It was cold enough for me to wear my new snow boarding gloves while driving to work. LOL I snapped a few quick photos of my easy peasy meal this evening. It was so simple and basic but tasted amazing. We are getting read to watch a movie this evening (The Fault In Our Stars) and enjoy a cup of coffee and a piece of Chocolate Pecan Pie. There is nowhere else I would rather be on this cold Friday night than here at home with hubby and our bichon Spike and sun conure Squawkie. Enjoy!


Check out the hundreds of FREE eBooks:  Free Grain-Free eBooks

Thursday, November 13, 2014

Easy "Breaded" Chicken Cutlets & Roasted Brussels Sprouts w/ Red Peppers

This evening I made a quick and easy dinner so we could eat as soon as hubby got home from work since I had a number of errands to run after dinner. I can't believe how cold it got (literally overnight). It's 34 degrees here now as I type this at 11:00 p.m. and it's supposed to go down to around 27 degrees overnight tonight. It was just in the low 70s here on Monday and Tuesday. I pulled my winter coat out for the first time this evening before heading out to run errands (mind you, I didn't put it on...but I had it with me...LOL). I am so excited about it being in the 20s in the morning...that means I get to pull out my new "snowboarding gloves" to wear that I got a couple weeks ago! LOL 

For dinner, I prepared a couple of large chicken cutlets that I dipped into egg wash and coated with a mixture of approximately 1/3 cup almond flour, 2 tablespoons flax and 2 or 3 tablespoons finely grated Parmesan cheese. I added a few good shakes of Italian seasoning and seasoned the cutlets with salt and pepper and some paprika as they browned in a skillet on the stove. They only take a few minutes on medium-high to get nice and golden. 

I also trimmed and halved fresh brussels sprouts and added in some sliced red bell pepper I had leftover in the fridge in olive oil, salt and pepper and roasted them at 400 degrees on a cookie sheet for about 20 minutes. It was a quick and easy meal and it included my favorite brussels sprouts! After running errands and getting home late, I actually made a triple batch of my Cranberry Orange Sauce that is cooling off on the stove now. I actually bought another 4 pounds of cranberries tonight (2 pounds for the fridge and 2 pounds for the freezer). These were some of the largest cranberries I've ever seen. They were literally the size of big red grapes! I snapped a few photos of our simple dinner below. Enjoy!


Check out the hundreds of FREE eBooks:  Free Grain-Free eBooks

Monday, November 10, 2014

Chocolate Pecan Pie - Low Carb & No Sugar Added


This Sunday I worked on a new holiday dessert recipe...Chocolate Pecan Pie! Years ago I used to make a chocolate pecan pie using a recipe by Baker's Chocolate. We loved it because the dark chocolate helped cut a lot of the sickening sweetness found in traditional pecan pie. Don't get me wrong, I like pecan pie but find it entirely too sweet, particularly after a larger than normal holiday meal. Now that I don't consume much sugar, I find that kind of heavy sweetness even more overkill. So, I decided to create my own significantly less sweet version. 

As most of you that have made pecan pies from scratch before know, in addition to the cup or more corn syrup, they also contain additional brown or white sugar. It sort of gives me chills (literally) thinking about the amount of sugar in one little pie. Rather than use corn syrup for my "goo" in the pie, instead I made my sugar free Sweetened Condensed Milk. I make it with canned full fat coconut milk, but if you prefer to use regular heavy cream, you can do that too. I thickened my condensed milk with a few pinches of xanthum gum, added after it was done reducing and whisked it in well until it was the viscosity of regular canned sweetened condensed milk. I substituted 1 cup of this milk in place of the cup of corn syrup. To add a little flavor and deeper color, I whisked 1 teaspoon of organic unsulphured blackstrap molasses into the 1 cup of condensed milk. I used the miniscule amount of molasses more like a "flavor/extract" than a sugar. It adds less than 4 grams of sugar and carbohydrates to the entire pie which when divided into 8 servings equals less than 1/2 gram sugar and carbohydrate per serving. Of course, if you want to, it can be omitted entirely...it's your choice. 

I've tested this pie "barely warm", at room temperature, and chilled. My sons tried it last night and liked it. Personally, I prefer it lightly chilled (set out for about 30 minutes before eating). I've always chilled my regular pecan pies too...they slice nicer that way. I used Equal Exchange 70% cacao chocolate chips in this pie and it was a perfect combination with the pecans. I snapped a few photos below and included the recipe, too. Enjoy!


Rich & thick Sweetened Condensed Milk with a touch of blackstrap molasses

Buttery almond flour crust with a touch of cinnamon


Chocolate Pecan Pie

Ingredients:

For the crust:
2 cups blanched almond flour
1/4 teaspoon ground cinnamon, optional
3 tablespoons cold butter, diced
1 large egg

For the filling:
3 large eggs, beaten
3/4 cup granular Swerve (or other granular sweetener)
1 teaspoon vanilla extract
3 tablespoons butter, melted
1 cup "sugar free" Sweetened Condensed Milk
1 teaspoon blackstrap molasses, optional
2 cups pecan halves
1/2 cup bittersweet chocolate chips (70-85% cacao)

Directions:

Preheat oven to 350 degrees F.  

Place all crust ingredients in a medium bowl. Cut butter and egg into flour with a pastry/dough blender until mixture resembles small pebbles and the flour is moistened and can be pressed together.  Press crust mixture into a 10-inch deep pie dish. Set aside.

In a separate medium bowl, beat eggs and granular sweetener together; stir in vanilla and melted butter. Whisk Sweetened Condensed Milk together with molasses and stir into wet ingredients.

Mix in pecans and chocolate morsels and pour into pie crust. Bake on center rack in oven for 50 to 55 minutes or until done (pie shouldn't jiggle much when done). If pie begins to brown too quickly, cover edges with foil. Cool at least 2 hours on wire rack before serving. Serve dolloped with whipped cream, if desired.

*Note: If desired, molasses can be omitted. Also, if a sweeter pie is desired, increase sweetener up to 1 cup. For convenience, I've linked the Sweetened Condensed Milk recipe in the ingredients listed above and have also included it below.


Sweetened Condensed Coconut Milk (Sugar Free/Low Carb)
Makes approximately 2-1/2 cups

Ingredients:

2 (14-ounce) cans unsweetened coconut milk (I like Native Forest organic)
2 tablespoons butter
1 teaspoon vanilla extract
Stevia drops, optional (if additional sweetness is desired)

Directions:

Add coconut milk to a small heavy saucepan and stir in Swerve (or sweetener of choice), butter and vanilla.  Bring to a boil over medium-high heat.  After milk comes to a boil, reduce heat to low-medium and simmer, stirring and whisking frequently for about 45 minutes until reduced by almost half. Taste for sweetness.  If additional sweetness is desired, add liquid stevia drops, additional Swerve, (or other sweetener of choice) until desired sweetness is achieved. Makes approximately 2-1/2 cups of sweetened condensed coconut milk.  Cool before using in recipes. Refrigerate any unused portion.


*Note: For a dairy free version, substitute coconut oil in place of butter. If additional thickening is desired, whisk in a pinch or two of xanthum gum (approximately 1/8 teaspoon or so); cook on low for an additional 5 minutes, whisking frequently until thickened. 


Check out the hundreds of FREE eBooks:  Free Grain-Free eBooks


Sunday, November 9, 2014

Chicken Pot Pie w/ Cheddar Herb Crust - Low Carb & Grain Free

This evening both of my sons came for dinner. I made individual Chicken Pot Pie w/ Cheddar Herb Crust. They turned out great. I usually make a large one but there is just something really nice about having your own personal pot pie. They were chocked full of big chunks of chicken, green beans, carrots and celery in a creamy sauce. There is just something so comforting about a pot pie. If you haven't tried this recipe yet, it's definitely worth making. If you like your pot pie filling thick, you can thicken the broth with cream cheese, cream and xanthum gum or keep it more like soup, whichever you prefer. I baked them in individual soup crocks which keeps them nice and hot as you eat them. I snapped a photo for you to see below. The recipe can be found here: Chicken Pot Pie w/ Cheddar Herb Crust. Enjoy!


Sunday Breakfast - Unconventionally Delicious!

Happy Sunday! We awoke this morning to a nippy 37 degrees. We're getting ready to go out and do our Costco run since we didn't get to it yesterday. On my list of things to pick up is more of these delicious grilled marinated veggies I used on last night's pizza. While I normally would have had one of my Power Bagels for breakfast...instead, last night's leftover pizza was calling my name. No, actually it was screaming my name! LOL So, I answered the "call to duty" and did the only logical thing. I added a bit more of the piquillo peppers on top (they are delicious by the way), another little sprinkle of Parmigiano Reggiano and heated up a couple of pieces of pizza for breakfast. I enjoyed it with a nice big mug of Lavazza espresso roast coffee. It was the perfect breakfast for the morning after Saturday night's pizza! Now...on to forage for more food. Enjoy!


Saturday, November 8, 2014

Pizza Rustico - Low Carb & Delicious

This evening my daughter came and spent the evening with us. We each made our own individual pizzas and topped them "our way." Hubby had pepperoni, artichokes, Kalamata olives and green olives on his; daughter had pepperoni and red bell peppers on hers...and I had one of the best pizzas I've ever had!

I topped my pizza with a melange of grilled veggies that come in a jar packed in oil, vinegar and herbs that I picked up at Costco not long ago (thinly sliced eggplant, zucchini, roasted red piquillo peppers and artichokes packed in a 32-ounce jar). I had been eyeing them up every week and finally picked up a jar a couple weeks ago. I am so glad I did...and will pick up a couple more jars just in case they stop carrying them! I thought they would be delicious on pizza and they were awesome! It was probably one of my favorite pizzas and a great way to enjoy summertime veggies in the fall/winter without having to grill them. The fact they were grilled and marinated in oil, vinegar and herbs made them outstanding on pizza. I made my newer version of Low Carb Herbed Pizza Crust and shaped it in a rectangle and topped it with Muir Glen organic pizza sauce, shredded mozzarella cheese, the marinated veggie mix and then a final topping of shredded Parmigiano Reggiano. It was outstanding. I snapped a few photos for you to see below. Enjoy!


Topped with grilled eggplant, zucchini, piquillo peppers, and artichokes


Before the final baking (crust was pre-baked)
Fresh out of the oven
   

       Find 100's of FREE eBooks here:  FREE Grain-Free eBooks

Wednesday, November 5, 2014

Easy Garlic Rolls & Other Low Carb Breads

This evening I'm posting the recipe for my Easy Garlic Rolls. You can also make them more garlicky if you prefer them that way. I used Kerrygold's Garlic & Herb Butter to flavor these rolls but you can make your own easy garlic butter instead if you want. This is a modified version of my Perfect Dinner Rolls which are quick and easy to make and like REAL rolls (not your typical pretend bread texture found in most grain free breads). 

One of the things most wheat, grain and gluten-free newbies and folks miss is bread that tastes and feels like bread. If you are new to grain free eating or on the fence about it and just don't think you can bear to live without eating a REAL sandwich again...I'm going to list of a few of my other grain-free breads that might help you get over the concern about never having a "real sandwich" again. It's easier than you think!

One of my favorite breads/rolls to eat a sandwich or burger on is my Sesame Seed Sandwich Buns used here on cheeseburgers (click on the different colored text to get to the recipe) or used here to make a regular turkey sandwich---> Sesame Seed Sandwich Rolls. They are the closest I have had to real bread (worth eating) in almost 2-1/2 years of being grain free. If you are one of those folks that does not care for flax or can't eat it for any reason, try my flax-free version of sandwich rolls here (they are a bit thicker than my regular sandwich buns): Low Carb Sandwich Rolls (flax free). Any way you slice it...one of these rolls is sure to satisfy your craving for a "real sandwich" or a burger on a bun. 

I also have numerous other types of bread recipes on my site. Here are a few...Cheddar-Black Pepper Biscuits, Southern Style Buttermilk Biscuits, bagels (like my Power Bagels or Bagels/Squagels/Bread) to spread cream cheese on, tortillas/wraps, etc. By George, I even have a recipe for "stuffing bread cubes" that you can use to recreate your favorite stuffing recipe for Thanksgiving (I've used it for my last 2 Thanksgivings)! I've included a few photos of the Garlic Rolls I made a few days ago as well as the recipe for them below. Enjoy!


Before baking
Ready to be baked
Fresh out of the oven

Perfect Dinner Rolls: Wheat/Grain & Gluten-Free
Makes about 1 dozen

Ingredients:

3 tablespoons coconut flour, sifted

3/4 cup blanched almond flour
3/4 cup PLUS 2 tablespoons golden ground flaxseed
2 teaspoons baking powder
1 teaspoon baking soda
3/4 teaspoon sea salt, or to taste
2 teaspoons Swerve Sweetener (or granular equivalent to 2 teaspoons sugar) 
3 large eggs 
1/2 cup buttermilk
1/2 teaspoon apple cider vinegar
4 tablespoons melted Kerrygold Garlic Herb Butter, divided
Sea salt, optional

Directions:


Preheat oven to 350 degrees F.  


In a medium sized bowl, mix first 7 ingredients together with a whisk to help break up any lumps.


In a small bowl, beat eggs, buttermilk, and vinegar together. Mix wet ingredients into dry ingredients until combined and a thick dough is formed. Stir in 3 tablespoons melted garlic butter (reserve remaining 1 tablespoon to brush on rolls after baking).


On a greased or parchment paper lined baking sheet, use a 3-tablespoon sized retractable scoop to place individual scoops of dough on baking sheet, spacing approximately 1 inch apart. Using slightly moistened finger tips, gently smooth each scoop of dough until evenly rounded. Let dough sit about 5 to 10 minutes to rise slightly. 


Bake for approximately 18 minutes or until almost done. Remove from oven; brush each roll with reserved tablespoon melted butter; lightly sprinkle each roll with a tiny pinch of salt, if desired. Return to oven and bake an additional 2 to 3 minutes or until golden. Serve warm with butter, if desired. 

*Note: To make your own garlic herb butter, mix 4 tablespoons softened butter with 1 clove of finely minced garlic (or 1/8 teaspoon garlic powder) and 1 teaspoon finely chopped fresh parsley.