Showing posts with label Snack Recipes. Show all posts

Monday, June 4, 2018

Pan Seared Wild Pacific Halibut & Oven Fried Vidalia Onion Rings

This evening I prepared the beautiful piece of wild Pacific halibut that I picked up at Costco on Saturday. I went there looking for wild Copper River Salmon but sadly, they had not received a shipment of it yet. I'm hoping they will soon! However, I was excited because they had 3 packages with single large halibut fillets. I picked up the largest 2-pound package and cut it into 6 nice sized fillets. I prepared 3 tonight (the third one is for tomorrow's lunch for me). I kept it simple and pan seared it in butter (with a bit of salt and pepper for seasoning) and fresh lemon juice near the end of cooking. You can find the easy recipe for the pan seared halibut here (it only takes about 7 minutes total, depending on thickness) ---> Pan Seared Wild Halibut.

To go along with our halibut, I made French style green beans and my Oven Fried Onion Rings made with sliced Vidalia onions. I doubled my recipe and made 2 large baking sheets of onion rings; one for tonight and I didn't brown the 2nd tray of onion rings as much so I could just pop the tray of them in the oven to heat to go with tomorrow's dinner. I make a seasoned "breading" using almond flour and a few spices and dip them in an egg/cream wash before coating. This evening I used buttermilk (because I had it on hand) in place of the cream or milk and it made a much thicker "egg wash" that clinged a bit better to the onion rings. They are so delicious...even hubby who isn't an onion lover will eat these. Vidalia's are a sweet onion grown in Vidalia, Georgia. It was a delicious meal and I realized how much I've missed FRESH (not frozen) wild fish. My two favorites are Copper River Salmon (King, Sockeye and Coho) and wild Alaskan and Pacific halibut. Even Spike, our Bichon loves it! He kept sneaking tastes from my plate. I've copied and pasted my recipe for the Oven Fried Onion Rings below. Enjoy!


Oven Baked Onion Rings

INGREDIENTS:

1 medium to large sweet onion, sliced into 1/4" rings (I used Vidalia)
1 or 2 eggs
3-4 Tablespoons half-n-half (or cream, buttermilk or almond milk)
1/2 cup (slightly heaped) almond flour
1/4 teaspoon onion powder
1/4 teaspoon paprika (or enough to give color to the almond flour coating)
Salt, to taste
Freshly ground black pepper, to taste
Olive oil

DIRECTIONS
:

Preheat oven to 400 degrees.  Line a baking sheet with foil (I used Reynold's non-stick foil) or you can use parchment paper; brush lightly with about 1 tablespoon of olive oil (no need to use your good Extra Virgin olive oil; I used my light "non-virgin" olive oil for this).  In a small bowl, beat egg and half and half together; season with salt and pepper to taste; add onion rings to the egg mixture, toss and let sit to soak while you make the coating/breading.

In a shallow bowl or plate, mix almond flour, salt and pepper to taste, onion powder, paprika and mix well with a whisk to remove any lumps. 

Take onion rings out, one or two at a time and place in the flour mixture, pressing and turning over with a fork until well coated on both sides.  Place on lightly oiled foil covered baking sheet in a single layer, not touching each other.  Place in oven and bake 7-8 minutes; flip and continue baking another 7-8 minutes or until golden brown and done.  Remove from oven and sprinkle with salt, if desired.


Wednesday, September 20, 2017

Chipotle Cheddar Crackers - Are You Ready for Some Football?

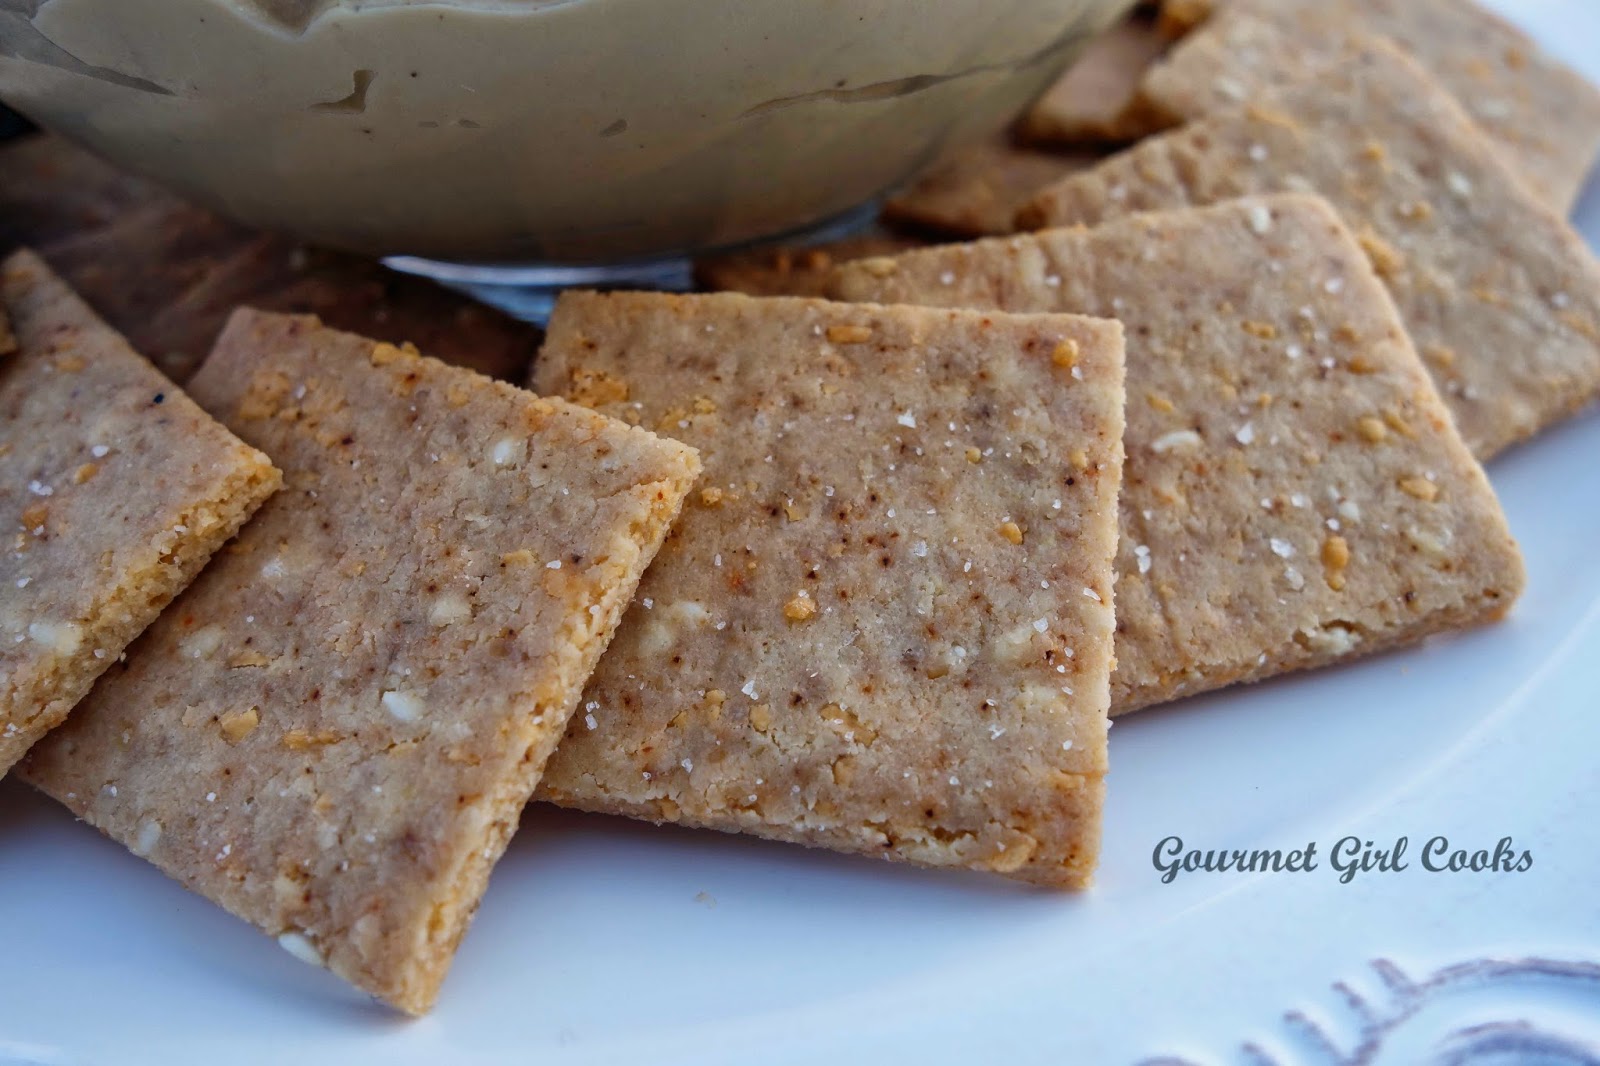
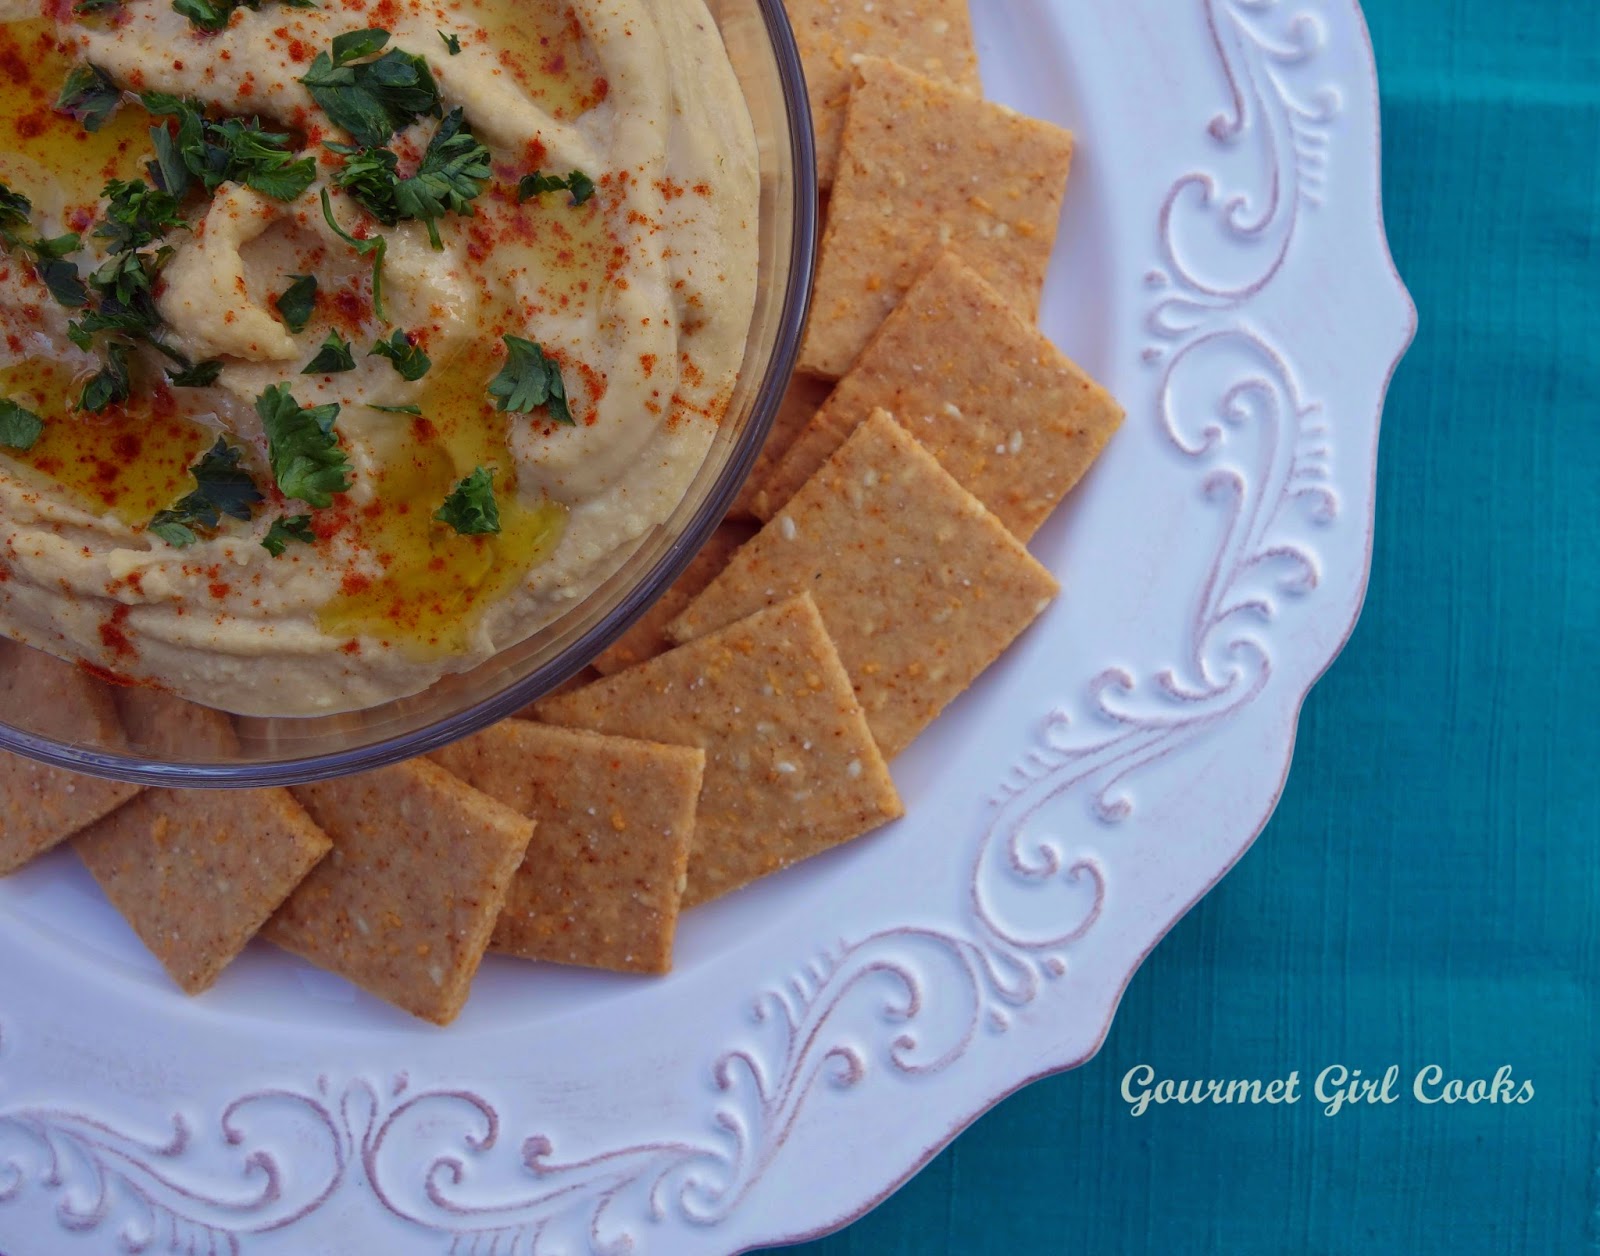
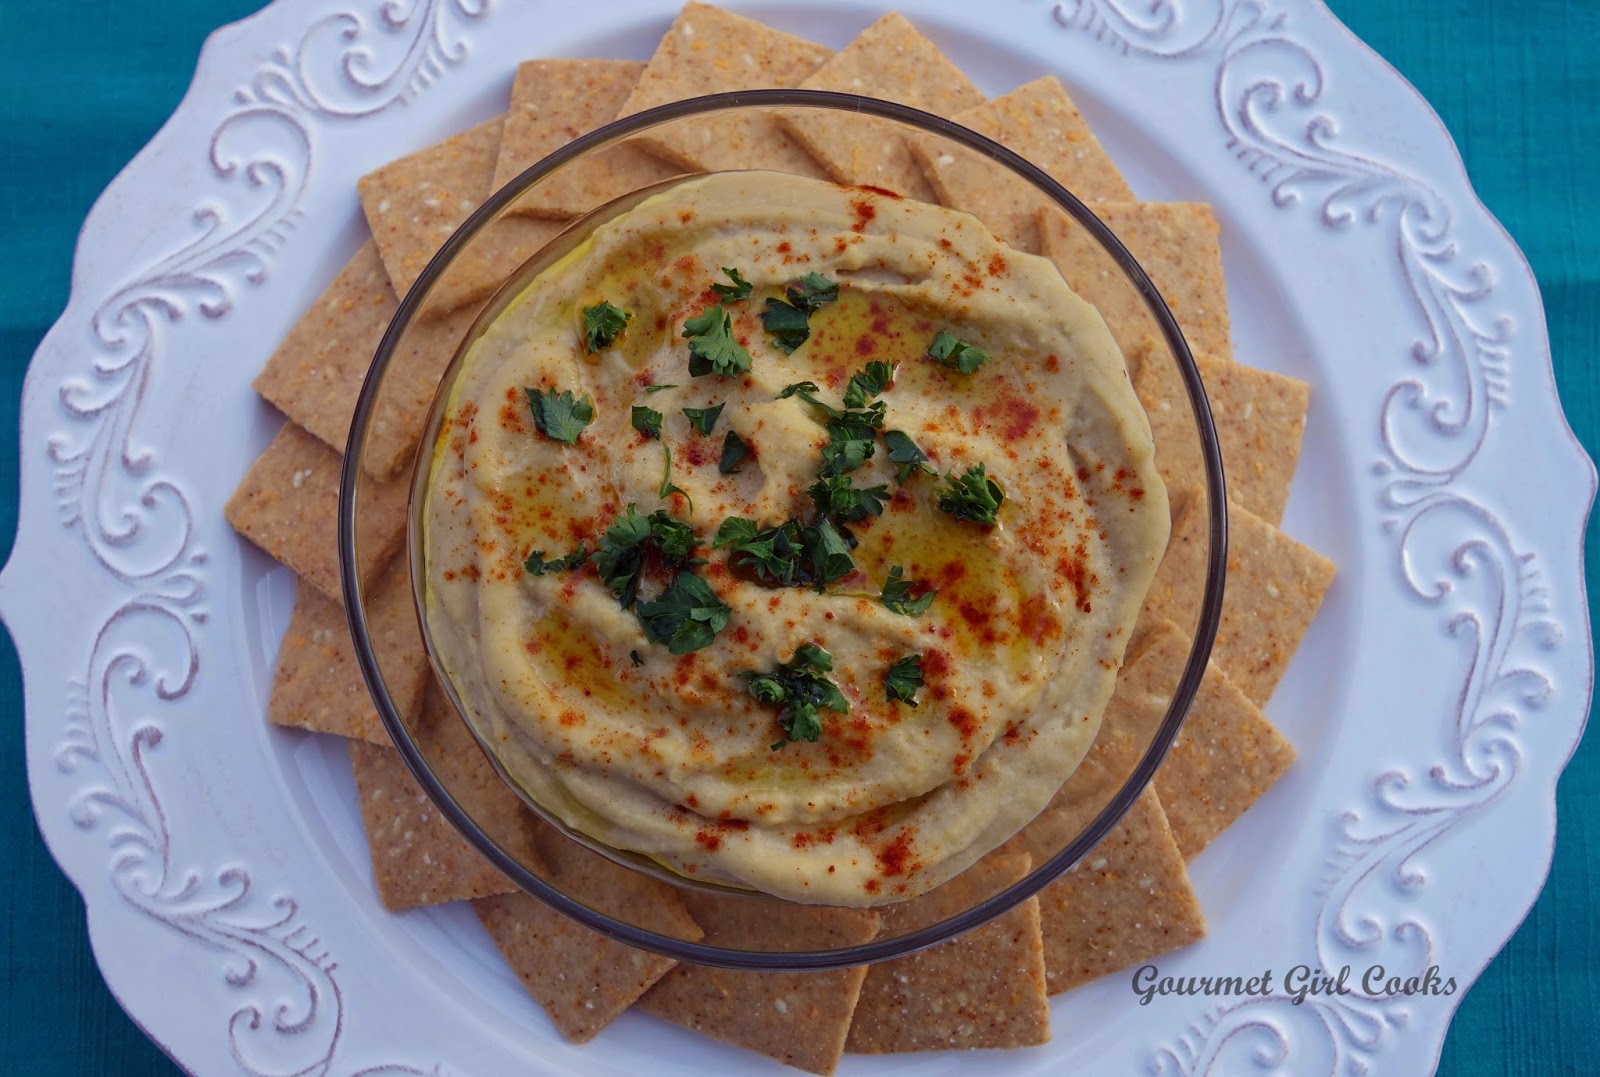
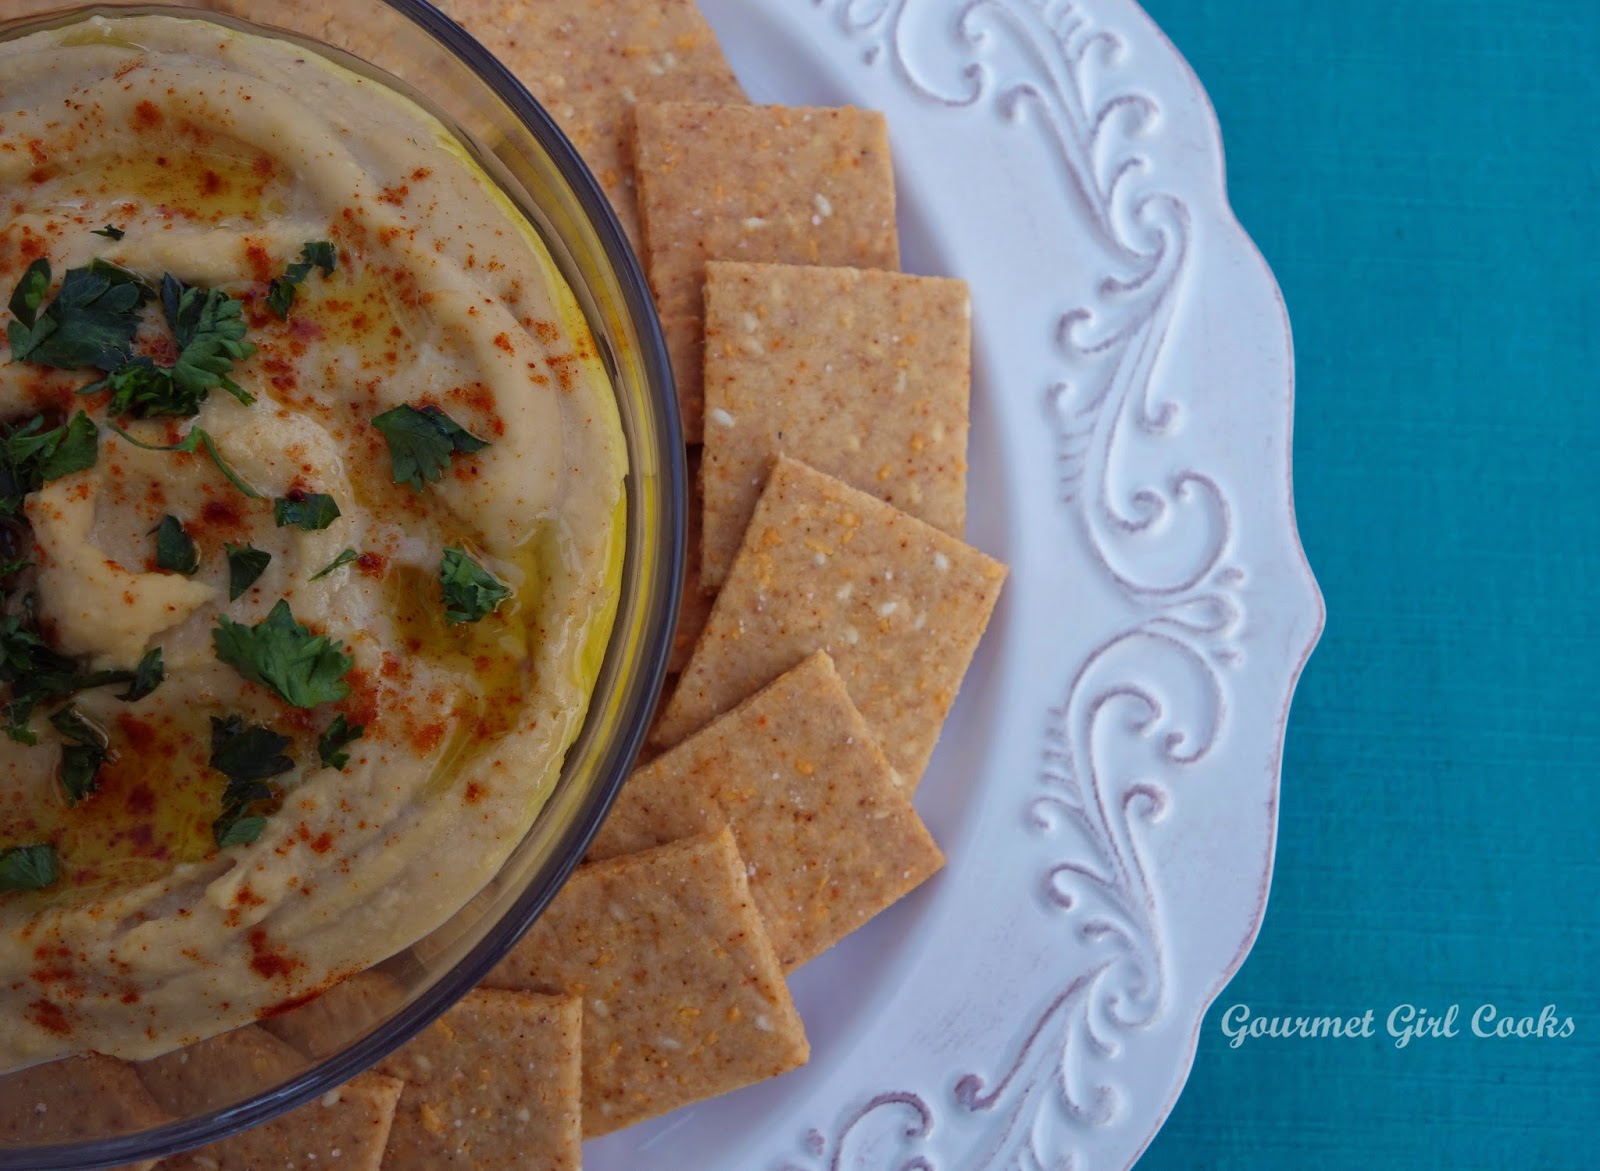
Since football season is upon us now and fall is just around the corner...as in tomorrow, I decided this would be a great time to give you an awesome snack idea to prepare and these Chipotle Cheddar Crackers are low carb, grain and gluten free and make the perfect snack to enjoy along with friends and family while watching your favorite team play. Or if you are like me and could care less about football (sorry football fans), these crackers are also great alongside a bowl of soup, chili or cheese and crackers or dip...you name it. They are also incredibly good as is! The ways you can season them and change them up are endless. I love them served alongside my Fire Roasted Tomato Cheddar Chowder...it's like having grilled cheese sandwiches with tomato soup (well, almost). These are great snack crackers to put out during football games, holiday get-togethers, etc. Check out a few of my photos below as well as the recipe for the crackers below. Enjoy!


Chipotle Cheddar Crackers

Ingredients:

·        1/4 cup finely shredded sharp cheddar cheese
·        1-1/2 cups almond flour or meal
·        2 tablespoons ground golden flaxseeds
·        2 tablespoons sesame seeds
·        1/8 teaspoon garlic powder
·        1/4 teaspoon onion powder
·        1/8 to 1/4 teaspoon chipotle chile powder, to taste
·        1 large egg
·        1 tablespoon olive oil
·        1/4 teaspoon sea salt, optional

Directions:

Preheat oven to 325 degrees F.

Place cheddar cheese and almond flour in a medium bowl. Using a pastry/dough blender, cut cheddar into flour mixture until finely chopped and evenly incorporated; stir in flax, sesame seeds, garlic powder, onion powder, and ground chipotle chile powder.

In a separate small bowl, whisk egg and olive oil until combined; pour into dry mixture. Combine mixture using a rubber spatula into a stiff dense dough; knead a couple times in the bowl with the heel of your hand to thoroughly combine and moisten all ingredients.

Cut a piece of parchment paper to fit your baking sheet pan and place parchment on counter or workspace. Place dough in center and press down evenly with your hands to about 1-inch thick. Place another sheet of parchment on top of dough. Roll dough out between sheets of parchment to about 1/8-inch thick. Remove top sheet of parchment; transfer bottom parchment to baking pan. Using a sharp knife or pizza cutting wheel, cut into 1-inch squares, or desired size. Lightly sprinkle with sea salt, if desired.

Bake for 15-20 minutes until light golden brown, checking frequently. If crackers on outer edge begin browning more quickly, carefully remove those and transfer to a plate or rack. When crackers are done, remove from oven and leave on parchment paper until cool. Separate crackers and enjoy. Store cooled crackers in an air tight container.

Note: The ground golden flaxseeds and sesame seeds are added to give the crackers a slightly “grainy” texture. If you prefer not to use them, just substitute additional almond flour or meal in their place. The chipotle chile powder adds a smoky/spicy flavor. If you do not have chipotle chile powder, you can easily substitute regular chili powder (to taste) or use milder and sweeter ancho chili powder.

Serving Suggestion: These crackers are delicious to eat “as is” or topped with your favorite cheese. They are also great used as a dip cracker to scoop up hummus that’s been lightly dusted with smoked paprika, chopped fresh parsley and drizzled with extra virgin olive oil. 


Saturday, January 14, 2017

Happy 2017 - Saturday Night's Cheese Head Pizza

Greetings and Happy New Year! Long time, no see, right? I've really, really, REALLY missed blogging, but I took a much needed break and, like it or not...I'm back! If you contacted me and I didn't respond, I apologize because as most of my regular followers know, for the past 4-1/2 years, I have been steadfast in posting almost daily and responding to everyone promptly. 

As some of you know, this past year has been difficult for a multitude of reasons. It's been a year filled with loss, a lot of change, and a whole lot of work. No matter how much we have in front of us to do...we only have 24 hours in a single day to do it. I essentially burned myself out and was just plain exhausted, both physically and emotionally. Unfortunately, I am one of those people that rarely (if ever) says no, and I have the tendency to take on more than I should and still maintain some sense of sanity. As many of you know I lost my mother a year ago, and we also moved, which involved both selling a home and purchasing a new home and all of the projects that we had done in the new home once we got moved in. Not to mention, something that I detest immensely...MOVING! I feel like all I did every single day was work, pack, clean and try to keep my home looking like nobody lived there. There was only one little problem was....we did live there! 

As a food blogger, one of the things you understand is what havoc blogging does to your kitchen. Basically, by the time you get done cooking, photographing, writing up your recipe and your blog post...oh, and actually get the chance to eat what you prepared...it looks like a bomb went off in your kitchen; a really big bomb at that. And that scenario repeats itself almost EVERY...SINGLE...DAY! I also work full time and am gone for almost 10 hours a day, so all of this goes on in my "spare time". I have to squeeze a little sleep in there as well and more often than not, never got more than about 4 hours on any given night. Throw in the little fact I also take on various other food projects...some small and some large. Regardless of how much work all of this is, for me it is a labor of love and I really enjoy it. I couldn't or wouldn't have invested this much time in this for all these years in this if I didn't. But this past year, with the addition of both selling my home and buying a new one, and all that entailed just pushed me to my limits and something had to give. But, we are now pretty well settled in and are finally beginning to feel like we don't just work here, but actually live here. 

I decided to start my first post of 2017 off with what I made for dinner this evening and what also happens to be one of my absolute favorite recipes...Cheese Head Pizza! It's one of those recipes that you can serve to all of your friends and family that aren't grain or gluten free as well because you honestly can't tell that it is grain and gluten free. I've made it so frequently now that I can usually make it and bake it and have it on the table in about 30 minutes. I topped tonight's pizza with large sandwich-sized slices of Boar's Head pepperoni, sliced yellow bell peppers and sliced fresh mini San Marzano tomatoes. I've been sick this past week with some kind of virus and am still not feeling too snappy, but tonight's pizza is about the only thing that has actually tasted good to me all week. I actually enjoyed it. I've included the recipe below and a few photos I snapped as well. Oh, and if you didn't already read between the lines...I really missed all of you and wish all of you a very happy and healthy new year! Enjoy! 
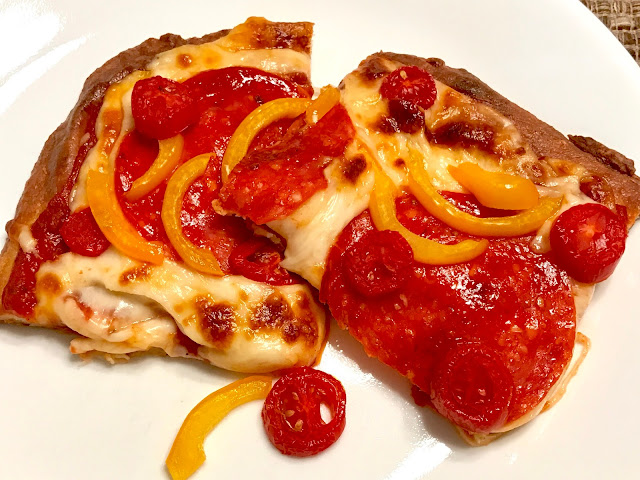

Ready for the oven...baked crust 11 minutes, then topped and baked another 10 minutes
Fresh out of the oven
CHEESE HEAD PIZZA – My Take on Fat Head Pizza

INGREDIENTS:

8 ounces (2 cups) shredded mozzarella (whole milk or part skim)
3 ounces brick style cream cheese
1 cup almond flour
1/4 cup finely grated Parmesan (powdery style)
1/8 teaspoon salt
Dash garlic powder
1/2 teaspoon dried Italian seasoning
1 large egg
1 tablespoon olive oil (to oil hands before pressing out dough)
Desired toppings (pizza sauce, pepperoni, cooked peppers, onions, mushrooms, additional cheese, etc.)

DIRECTIONS:

Preheat oven to 425 degrees F. Line a large baking sheet or pizza pan with parchment paper. 

Place mozzarella and cream cheese in a medium bowl. Heat cheese in microwave on high for 45 seconds; stir and heat an additional 30 to 45 seconds or until a hot melty mass of cheese is formed.

While cheese is melting in microwave, stir almond flour, Parmesan, salt, garlic powder and Italian seasoning together in a small bowl. Add flour mixture and egg to bowl of hot melted cheese. Working quickly, fold and stir mixture together with a rubber spatula until a ball of dough is formed (make sure cheese mixture is hot before adding flour and egg).   

Place ball of dough in center of parchment lined baking sheet (or on a non-stick baking sheet or pizza pan). Oil hands with olive oil (*see note/updated instructions below) and press dough out into desired shape (round, oval or rectangular) until about ¼-inch thick or pour the tablespoon of olive oil on top of the dough after placing it in the center of baking sheet and use a rubber spatula to press and spread the dough out evenly. Prick holes all over crust surface with a fork to prevent crust from bubbling up. Bake for 10 to 15 minutes or until golden brown (rotate pan half way through for even browning). Remove crust and top with pizza sauce, additional cheese, and any desired toppings. Bake an additional 5 to 7 minutes or until heated through. Run briefly under the broiler, if browning is desired.

*Note/Update: Rather than oiling hands with olive oil to press dough out, a much easier (and less messy) way to press it out is to pour the tablespoon of olive oil on top of the dough after placing it in the center of baking sheet and use a rubber spatula to press and spread the dough out evenly. If necessary, lightly oil the rubber spatula to keep from sticking.


Thursday, June 23, 2016

Mini Cheddar Bay Muffins - Low Carb & Grain Free

Today I've got a new recipe to share. It's a quick and ridiculously simple recipe for an absolutely delicious little bite of "cheddar heaven" made with just a few simple ingredients; predominantly cheddar cheese and Honeyville blanched almond flour! They have big cheddar flavor crammed into a tiny little package. If you like the oh so popular "cheddar bay biscuits"...you are going to love these little "Mini Cheddar Bay Muffins". They are sort of biscuity and muffiny all at the same time...and most definitely delicious. I hope you enjoy them as much as I do. Check out the photos below. To get to the recipe, please click here: Mini Cheddar Bay Muffins. Enjoy!


Saturday, February 6, 2016

BEST LOW CARB PIZZA - A Collection of 6 Amazing Pizza Crust Recipes

When I first went wheat free (grain free, gluten free, and low carb) 3-1/2 years ago, the one thing I missed the most was pizza. Even though there are plenty of low carb pizza recipes found online, I personally found most of them sub par at best and just not what my idea of pizza was. I didn't want to settle for "so-so" or "it's better than no pizza". So, I got busy at creating my own pizza crust recipes. To say that it changed my outlook (for the good) on being able to maintain this way of eating long term is an understatement. Most importantly, it kept me from feeling deprived (which is the kiss of death for most dieters). If you feel deprived, it equates to punishing yourself and who wants to do that forever? Mentally, this was a significant turning point for me and my positive attitude to making low carb eating a lifestyle and not just a phase. Thus far, it's been 3-1/2 years and going strong.

To make it easier to find my pizza crust recipes in one place, I've put together a collection of 6 of my (different) low carb pizza crust recipes. I have a variety of different crusts to suit different tastes. Whether you are looking for nut free, flax free, crispy or deep dish style, I hope you find one (or more) to suit your tastes. You might be surprised to find them better than you ever imagined a low carb pizza crust could be. These are pizzas that you can pick up and eat with your hands just like regular pizza (in other words, no fork required). If you haven't tried any of my pizza crust recipes yet, I would recommend starting with one of my Herbed Pizza Crust recipes (either the regular or flax free version). They are simple to make and delicious. It's time to put delicious low carb REAL pizza back on your Friday night menus again. Check out my collection below (the recipe to each is located on the link below each large photo). Enjoy!


Click on the title under each photo for the recipe

Herbed Pizza Crust

Chicago Style Deep Dish Pizza

Cauliflower Crust Pizza

Herbed Pizza Crust (No Flax)

Low Carb Pizza Crust (Nut free)

Low Carb Pizza Crust w/ Zucchini

Here are just a few of my most memorable pizzas...

"Pizza at the Beach...Vacation Pizza is always best!"

Saturday, January 30, 2016

Parmesan Eggs w/ Cheesy Italian Breadsticks - Low Carb Breakfast

For breakfast this morning, I made easy Parmesan Scrambled Eggs and served them with alongside a couple strips of bacon, fresh blueberries and my Cheesy Italian Breadsticks. The eggs were easy, I simply added and scrambled in 2 tablespoons of grated Parmesan cheese (the powdery style) to 2 eggs and cooked them in some of the bacon drippings. I served the eggs and bacon with my fresh hot out of the oven Cheesy Italian Breadsticks. No, I didn't get up and actually make a fresh batch of breadsticks this early in the morning (although it could easily be done). Instead, last weekend I intentionally wrapped up extra strips of uncooked breadstick dough loosely in parchment paper and stuck it in the fridge so I could see how they would bake up days later. Well, they turned out great! They weren't quite as "bready/fluffy" as when they are baked right away; they were a bit more crisp and absolutely delicious! They went perfectly alongside my Parmesan Eggs. These little breadsticks are so versatile and are great served as bread alongside soup (I did that this week), dipped in pizza sauce (I did that this week, too), or enjoyed as your bread alongside eggs for breakfast like I did this morning. I snapped a quick photo of my yummy breakfast below. The breadstick recipe can be found here: Cheesy Italian Breadsticks. To see photos of the steps, check out my post here: Breadstick Photos. Enjoy!


Thursday, January 28, 2016

Cheesy Italian Breadsticks - Low Carb (NEW RECIPE)

Today I'm sharing my new recipe for Cheesy Italian Breadsticks on my guest post at Honeyville (the blanched almond flour gurus). These breadsticks are absolutely amazing! I tested them out on my family over the weekend and they LOVED them! We have eaten them as bread alongside our dinner AND also enjoyed them (a lot) dipped in pizza sauce. We love them! These would be awesome served at your upcoming Super Bowl gatherings. Regardless of how you choose to serve them...just make them! You won't be sorry. I snapped a few photos below of the various steps. To get to the easy recipe, simply click here: Cheesy Italian Breadsticks. Enjoy!


Thursday, November 19, 2015

Chocolate Pumpkin Pecan Cake - NEW RECIPE

Today's new recipe is for Chocolate Pumpkin Pecan Cake that I shared on my guest post for Honeyville. This cake is a moist decadent chocolate pumpkin cake that is tastes like a cross between a chocolate cake and a rich moist brownie. All of my family loves this cake; even those that aren't grain or gluten free. The only small amount of sugar contained is in the 70% cacao bittersweet chocolate chips. They could easily be replaced with sugar free chocolate chips like Lily's if preferred. It's great as is or topped with whipped cream. I hope you enjoy this recipe as much as I do. To get to the recipe, please click here: Chocolate Pumpkin Pecan Cake. Enjoy!


Wednesday, November 18, 2015

12 Thanksgiving Breakfast Recipes - Low Carb, Gluten Free & No Sugar Added

Today's post is a collection of 12 Thanksgiving Breakfast Recipes that would make perfect accompaniments to your eggs, bacon and sausage breakfasts next week; you know that little "something special" which is what holiday meals are all about. Since many of you will likely have overnight guests, extra family, friends, and kids home from college with you next week...I figured it would be the perfect time to make a special Thanksgiving breakfast post to give you plenty of ideas to choose from. All of these recipes are suitable to serve your non grain-free guests as well. There's no reason for us to feel deprived or tempted to stray from our grain and gluten-free way of eating over the holidays because there are plenty of really good recipes to choose from. Most are easy to prepare and can be made ahead of time as well. I have many other breakfast recipes, biscuits, fritattas, etc. that you could make but thought this collection would be nice for this time of year and especially nice at Thanksgiving time. I hope you find something in this collection to make your meals extra special next week. Yesterday's post was a collection of 16 Thanksgiving Desserts and the day before it was 12 Thanksgiving Side Dishes. I do not want you to ever feel deprived or left out. Enjoy!

P.S. - Stay tuned for tomorrow's NEW recipe! You're going to love it!  :-)

A Collection of 12 Breakfast Ideas for Thanksgiving
***********
Simply Click on the Recpe Title Beneath Each Photo Below to Get to the Recipe


Pumpkin Orange Spice Mini-Muffins