We enjoyed our burgers with a side of Bubbie's sauerkraut. It was a delicious, quick and easy meal. I grilled an extra burger to have for tomorrow's lunch. I want to share my excitement with you this evening because I feel like I won the Bubbie's lottery. Wait until you hear the deal I got! Unfortunately, a couple of our local "The Fresh Market" stores are closing and everything in the stores were on sale for an additional 30% off. I headed there straight from work and was so excited that they still had Bubbie's on the shelf. I picked up 2 big jars of their pickles and 2 big jars of their sauerkraut for only $3.48 each (normally $9 to $10/jar depending on where you buy them). I couldn't wait to incorporate them into our dinner tonight. The only regret I have is that I didn't buy all they had left. I snapped a few photos of the easy "Southern Turkey Burgers" below. Enjoy!
These are the ramblings of a self-described wheat, grain and gluten-free “gourmet girl” that loves to cook and eat good food. I love creating and sharing recipes and photographing “beautiful food”. In July 2012, I eliminated wheat, grains and added sugar from my diet and rediscovered real, whole fresh foods again and effortlessly lost 65+ pounds. Join me in my wheat, grain and gluten-free journey. See how easy it is to enjoy grain free gourmet, one meal at a time! Welcome to my blog. Enjoy!
Showing posts with label Turkey Recipes. Show all posts
Wednesday, July 11, 2018
Southern Turkey Burgers w/ Vidalia Onions & Pimento Cheese
This evening I was in the mood to grill a few of the frozen turkey burgers that I had in the freezer (I buy these frozen from Costco). You grill them frozen for about 6 to 7 minutes per side (I spritz them with olive oil before grilling). Since these are made with turkey breast, you need to be careful not to overcook them because they will be dry. These turned out great. Of course you don't need to use turkey you could use ground beef or chicken as well. I also grilled a thick slice of Vidalia onion to go with my burger. We topped our burgers with a small scoop of Pimento Cheese w/ Jalapenos which added a lot of flavor using only a small amount. I had a few of my grain free sesame seed buns left from this past weekend so I put my burger on a bun. I started by placing the grilled Vidalia onion on the bottom of my bun, then topped it with the burger and then the pimento cheese and a few Bubbie's pickles. If this doesn't qualify as a "Southern Turkey Burger" with both Vidalia Onion and pimento cheese, I don't know what does!
We enjoyed our burgers with a side of Bubbie's sauerkraut. It was a delicious, quick and easy meal. I grilled an extra burger to have for tomorrow's lunch. I want to share my excitement with you this evening because I feel like I won the Bubbie's lottery. Wait until you hear the deal I got! Unfortunately, a couple of our local "The Fresh Market" stores are closing and everything in the stores were on sale for an additional 30% off. I headed there straight from work and was so excited that they still had Bubbie's on the shelf. I picked up 2 big jars of their pickles and 2 big jars of their sauerkraut for only $3.48 each (normally $9 to $10/jar depending on where you buy them). I couldn't wait to incorporate them into our dinner tonight. The only regret I have is that I didn't buy all they had left. I snapped a few photos of the easy "Southern Turkey Burgers" below. Enjoy!
Tuesday, October 10, 2017
Turkey Burger Parmesan & Roasted Sun Dried Tomato Brussels Sprouts
This evening I didn't have anything thawed to make for dinner. After a quick scan of my fridge and freezer, I came across a package of frozen Kirkland's Signature Turkey Burgers (from Costco). They come with 12 burgers (1/3 pound each) to a package, separated by wax paper. Each burger contains 35 grams of protein (they're made with turkey breast). You cook them while frozen and they take about 8 minutes per side to grill. I brushed them with a bit of olive oil mixed with some Mezzetta Basil Pesto while grilling them. I decided to make a quick and easy "Turkey Burger Parmesan" with the turkey burgers by roasting some multi-colored grape and cherry tomatoes (by Mucci Farms that I also find at Costco). After halving the tomatoes, I tossed them in a mixture of olive oil whisked with a couple tablespoons of Mezzetta's Basil Pesto and spread them out on a parchment lined baking sheet to roast for about 20 minutes, then sprinkled with shredded Parmigiano Reggiano and roasted an additional 5 minutes. I topped each grilled turkey burger with a slice of fresh mozzarella cheese right before pulling off the grill so it could soften and begin to melt and get gooey. I topped each burger with roasted tomatoes right before serving. You could substitute using chicken or beef burgers instead, if preferred.
To go with our Turkey Burger Parmesan, I decided to Italianize fresh brussels sprouts by halving them and tossing them with a mixture of olive oil and Mezzetta Sun Dried Tomato Pesto. I roasted them for about 20 minutes and then topped them with shredded Parmigiana Reggiano and popped them back in the oven for another 5 minutes or so. They turned out AMAZING and were the perfect accompaniment to the Turkey Burger Parmesan. I snapped a few photos below and included the easy peasy recipe for my Turkey Burger Parmesan. Enjoy!
Grilled Turkey Burger Parmesan
Ingredients:
4 frozen turkey burgers (or use fresh and adjust cooking time)
8 ounce ball of fresh mozzarella, cut into 4 thick slices about 2-ounces each
Olive oil spray to spray burgers
2 cups halved assorted grape and cherry tomatoes
2 tablespoons olive oil
2 rounded tablespoons basil pesto (fresh or jarred)
Salt and pepper, to taste
1/4 cup shredded parmesan cheese
Directions:
Preheat grill. Spray both sides of turkey burgers with olive oil and grill for 8 minutes per side. While burgers are grilling, preheat oven to 425 degrees F. Combine tomatoes, 2 tablespoons olive oil and basil pesto in a bowl; season with salt and pepper. Spread in a single layer on a parchment lined baking sheet and roast for 20 minutes. Remove from oven and sprinkle with parmesan cheese; return to oven and bake an additional 5 to 10 minutes. Top each burger with a slice of mozzarella cheese and spoon roasted tomatoes over top.
*Note: If desired, baste turkey burgers with any remaining olive oil and basil pesto mixture while cooking
To go with our Turkey Burger Parmesan, I decided to Italianize fresh brussels sprouts by halving them and tossing them with a mixture of olive oil and Mezzetta Sun Dried Tomato Pesto. I roasted them for about 20 minutes and then topped them with shredded Parmigiana Reggiano and popped them back in the oven for another 5 minutes or so. They turned out AMAZING and were the perfect accompaniment to the Turkey Burger Parmesan. I snapped a few photos below and included the easy peasy recipe for my Turkey Burger Parmesan. Enjoy!
![]() |
| I roasted the tomatoes tossed with basil pesto alongside the brussels sprouts tossed with sun dried tomato pesto (both were topped with shredded Parmesan near the end of cooking). |
![]() |
| The melting mozzarella cheese has completely engulfed the turkey burger |
Grilled Turkey Burger Parmesan
Ingredients:
4 frozen turkey burgers (or use fresh and adjust cooking time)
8 ounce ball of fresh mozzarella, cut into 4 thick slices about 2-ounces each
Olive oil spray to spray burgers
2 cups halved assorted grape and cherry tomatoes
2 tablespoons olive oil
2 rounded tablespoons basil pesto (fresh or jarred)
Salt and pepper, to taste
1/4 cup shredded parmesan cheese
Directions:
Preheat grill. Spray both sides of turkey burgers with olive oil and grill for 8 minutes per side. While burgers are grilling, preheat oven to 425 degrees F. Combine tomatoes, 2 tablespoons olive oil and basil pesto in a bowl; season with salt and pepper. Spread in a single layer on a parchment lined baking sheet and roast for 20 minutes. Remove from oven and sprinkle with parmesan cheese; return to oven and bake an additional 5 to 10 minutes. Top each burger with a slice of mozzarella cheese and spoon roasted tomatoes over top.
*Note: If desired, baste turkey burgers with any remaining olive oil and basil pesto mixture while cooking
Sunday, September 6, 2015
Grilled Chili Garlic Turkey Burgers & Zucchini Parmesan Fritters
This evening I prepared Grilled Chili Garlic Turkey Burgers for dinner. I also made my Easy Coleslaw and some super simple Zucchini Parmesan Fritters to go with them. Sort of a last blast to summer. I even tossed a few organic strawberries on our plates (did you hear that "summer"...it is time for you to take your heat and humidity and get out of town). LOL
The meal was a great combination of flavors with the mildly spicy and flavorful Asian style burgers (bump up the chili garlic sauce a bit if you like it a little spicier); the cool slightly sweet coleslaw was a nice contrast; and the Zucchini Parmesan Fritters were a nice neutral addition.
To make the Zucchini Parmesan Fritters, mix 2 cups of extremely well drained grated zucchini (I lightly salted it and wrapped in paper towels to draw excess fluid out and let sit about 20 minutes, then squeezed it dry before adding it to the bowl), 1 large egg, 2 sliced green onions, 1/2 to 2/3 cup finely grated Parmesan cheese (powdery style), and salt and pepper, to taste. Drop by heaping tablespoonfuls in a skillet with olive oil over medium high heat and cook until golden; flip and repeat. I dusted them with a bit of smoked paprika when done. I kept them warm on a baking sheet in a 300 degree oven until all were done. It made 10 to 12 small fritters (keep them small to make easier to flip over).
I snapped a few photos of our meal below and included the easy peasy recipe for the Grilled Chili Garlic Turkey Burgers. Enjoy!

Grilled Chili Garlic Turkey Burgers
Ingredients:
2 pounds ground turkey (I used 85% lean)
1 rounded tablespoon chili garlic sauce, or to taste
2 green spring onions, thinly sliced
1 small grated carrot
2 tablespoons organic gluten free Tamari sauce
1 teaspoon sesame oil
1 tablespoons honey (I used sugar free honey substitute), optional
2 tablespoons peanut flour, optional
Directions:
In a medium bowl, combine ground turkey, chili garlic sauce, onions, carrots, Tamari, sesame oil, honey and peanut flour. Mix just until combined. Form into 6 to 8 patties with hands moistened with water to prevent from sticking.
Grill on a medium-hot grill (about 375 degrees) for approximately 8 to 10 minutes per side, or until done and juices run clear when lightly pressed with a spatula.
*Note: If a spicier burger is desired, increase chili garlic sauce to 2 tablespoons.
Monday, May 18, 2015
Southwest Turkey Burgers - Easy & Delicious Low Carb
This evening I had originally planned to grill for dinner but since we had thunderstorms move through the area around dinner time, I scrapped that idea. Instead, I decided to put together quick and delicious Southwest Turkey Burgers that I just mixed together as I went along. I wanted to keep them simple but flavorful.
I had a big container of fresh Jack's Cantina Style Salsa in the fridge that I picked up at Costco recently, so I used that to help flavor the burgers with spices and keep them moist. I used ground turkey breast which I intentionally buy instead of the regular kind, but not because it doesn't have fat but simply because I prefer to pay for meat and then add fat back into the burgers instead (which keeps my burgers from shrinking as they cook). Since my theme this evening was "southwest", I added avocado oil to them to moisten the turkey breast and add healthy fats back into the burgers. To give them a slightly sweet and smoky flavor, I seasoned them with smoked paprika which adds a delicate smokiness without overpowering the mild flavored turkey. I added a touch of sea salt and then mixed in shredded cheddar cheese (I used a mixture of white and yellow sharp cheddar). Besides adding cheese flavor, it also acts as a binder and helps hold the burgers together without drying them out. These burgers turned out amazing! I served them topped with a dollop of salsa and sour cream and then scattered some multi-colored quartered fresh tomatoes on top. I served the burgeres alongside my Easy Coleslaw which is so good and unbelievably easy to make. The recipe for my burgers is below as well as a few photos. Enjoy!
Southwest Turkey Burgers
Ingredients:
1 pound ground turkey breast or chicken breast
2 tablespoons avocado oil or olive oil (plus extra for cooking)
1/4 cup fresh salsa
1/4 teaspoon smoked paprika
1/4 teaspoon sea salt
1/2 cup shredded cheddar cheese (use pepper-jack cheese for spicier burgers)
Directions:
Combine all ingredients in a medium bowl. Divide and shape into 4 patties. Cook in a 12-inch nonstick skillet greased with additional oil over medium-high heat for approximately 5 to 7 minutes per side until golden brown and cooked through (juices should run clear). If desired, serve topped with salsa and sour cream.
Wednesday, December 3, 2014
Turkey "Noodle" Soup - Au Revoir Tom Turkey
This evening we had the last meal made with the odds and ends of Thanksgiving dinner...Turkey "Noodle" Soup. That's it, I'm finished...Tom and I are breaking up until next Thanksgiving. While I have enjoyed using the leftovers in some different meals this past week...I can't lie. I'm over it; done; finished; ready to move on! We ended our turkey streak with soup made from the turkey carcass. Carcass...it's sort of an ugly word, isn't it?
I tossed the drumsticks, wings and most of the turkey bones into an 8-quart stock pot a couple days ago and filled it half way up with water and then added salt, pepper, a few stalks of celery and a couple of broken up carrots to flavor the stock. I cooked it covered for about 6 hours on the stove and then strained it, leaving only the golden stock behind. Before adjusting the salt and seasoning, I boiled it down and reduced it by almost half to make a rich dark golden stock and then seasoned it. I tossed in some leftover turkey meat, a couple of big handfuls of fresh baby spinach and a plate of leftover uncooked zoodles that I made a few days ago using zucchini and yellow squash. I thinly peeled a carrot into the pot and simmered everything together for a few minutes and BOOM...our "goodbye turkey" soup was done. We enjoyed it...and also enjoyed the fact that we now get to take a little break from turkey for a bit. I snapped a couple photos for you to see below. Enjoy!
Saturday, November 1, 2014
Slow Cooker Turkey Breast & Roasted Acorn Squash w/ Maple & Pecans
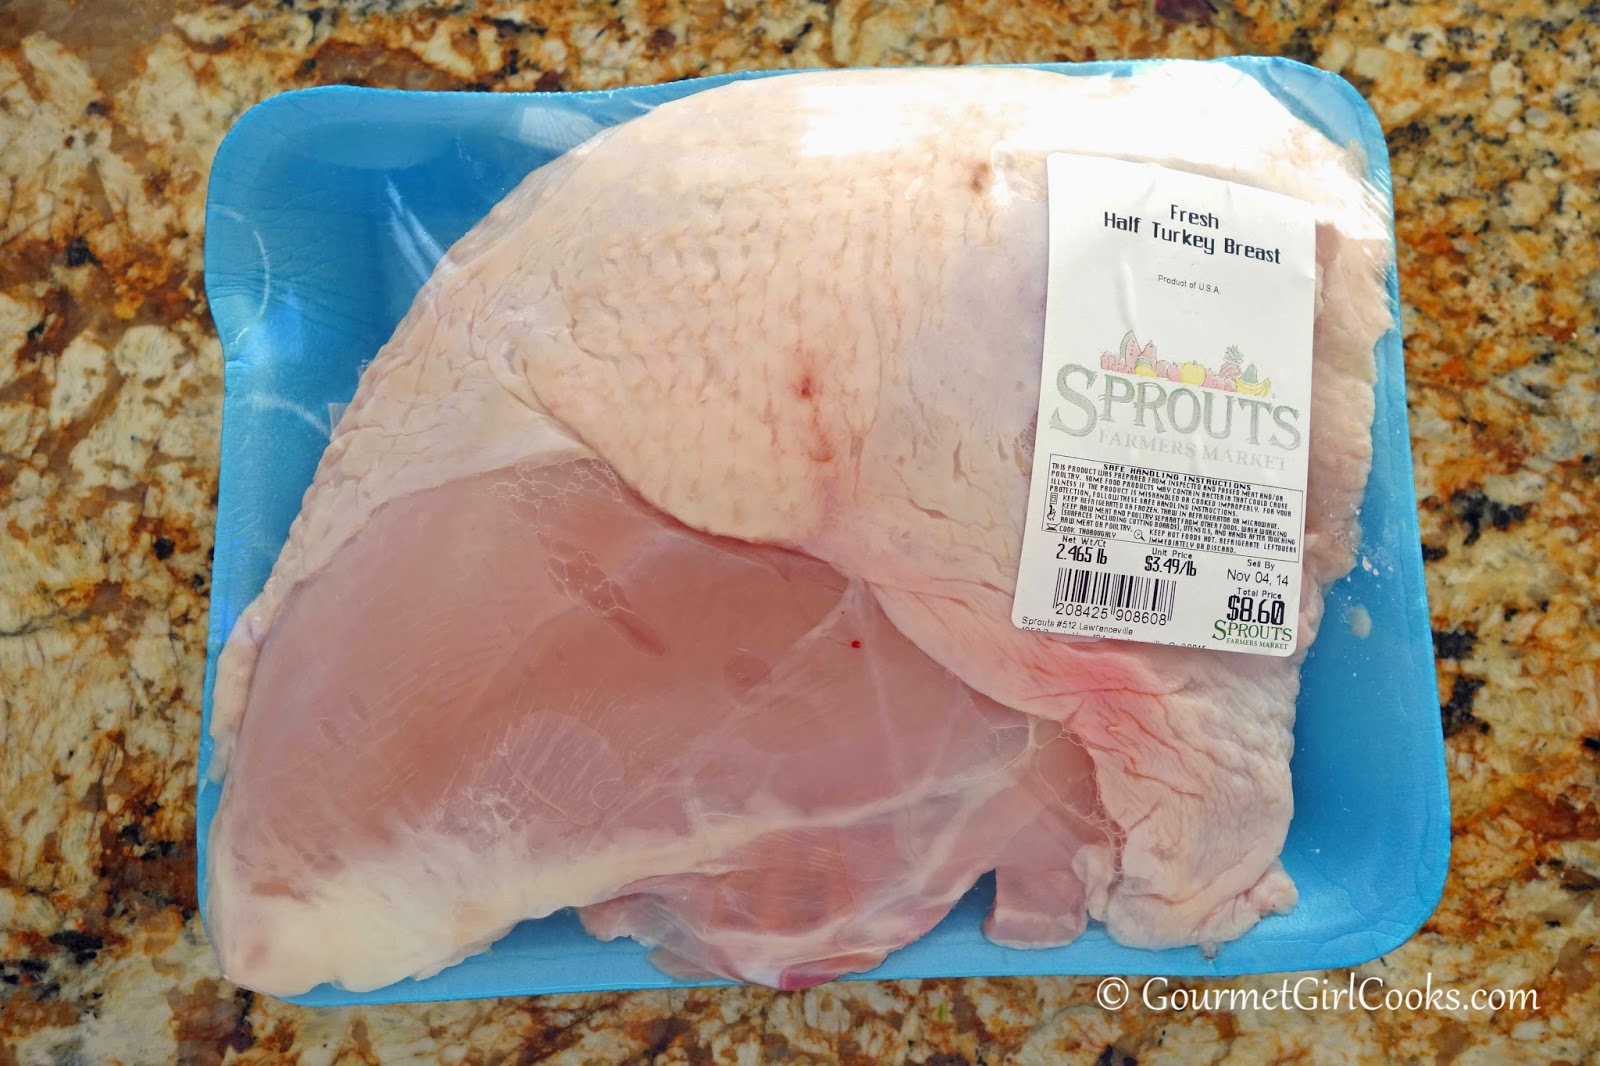
It was a super chilly day here today. We didn't make it to our high of 52. It was still 46 degrees in the afternoon and the powerful wind gusts made it feel even colder with the wind chill. It felt more like winter than fall. We did our Costco run and stocked up which I try to do more of this time of year. Before we left to run errands, I got dinner started by placing a fresh turkey breast half that I picked up at Sprouts Farmers Market in my 4-quart crock pot to cook while we were out. I have been cooking whole turkey breasts in my crock pot for years every Thanksgiving (in addition to a whole turkey) to have extra white meat since that is what my family prefers. I have a jumbo sized 8-quart crock pot I use for that. The easy recipe is below.
To prepare the Slow Cooker Turkey Breast:
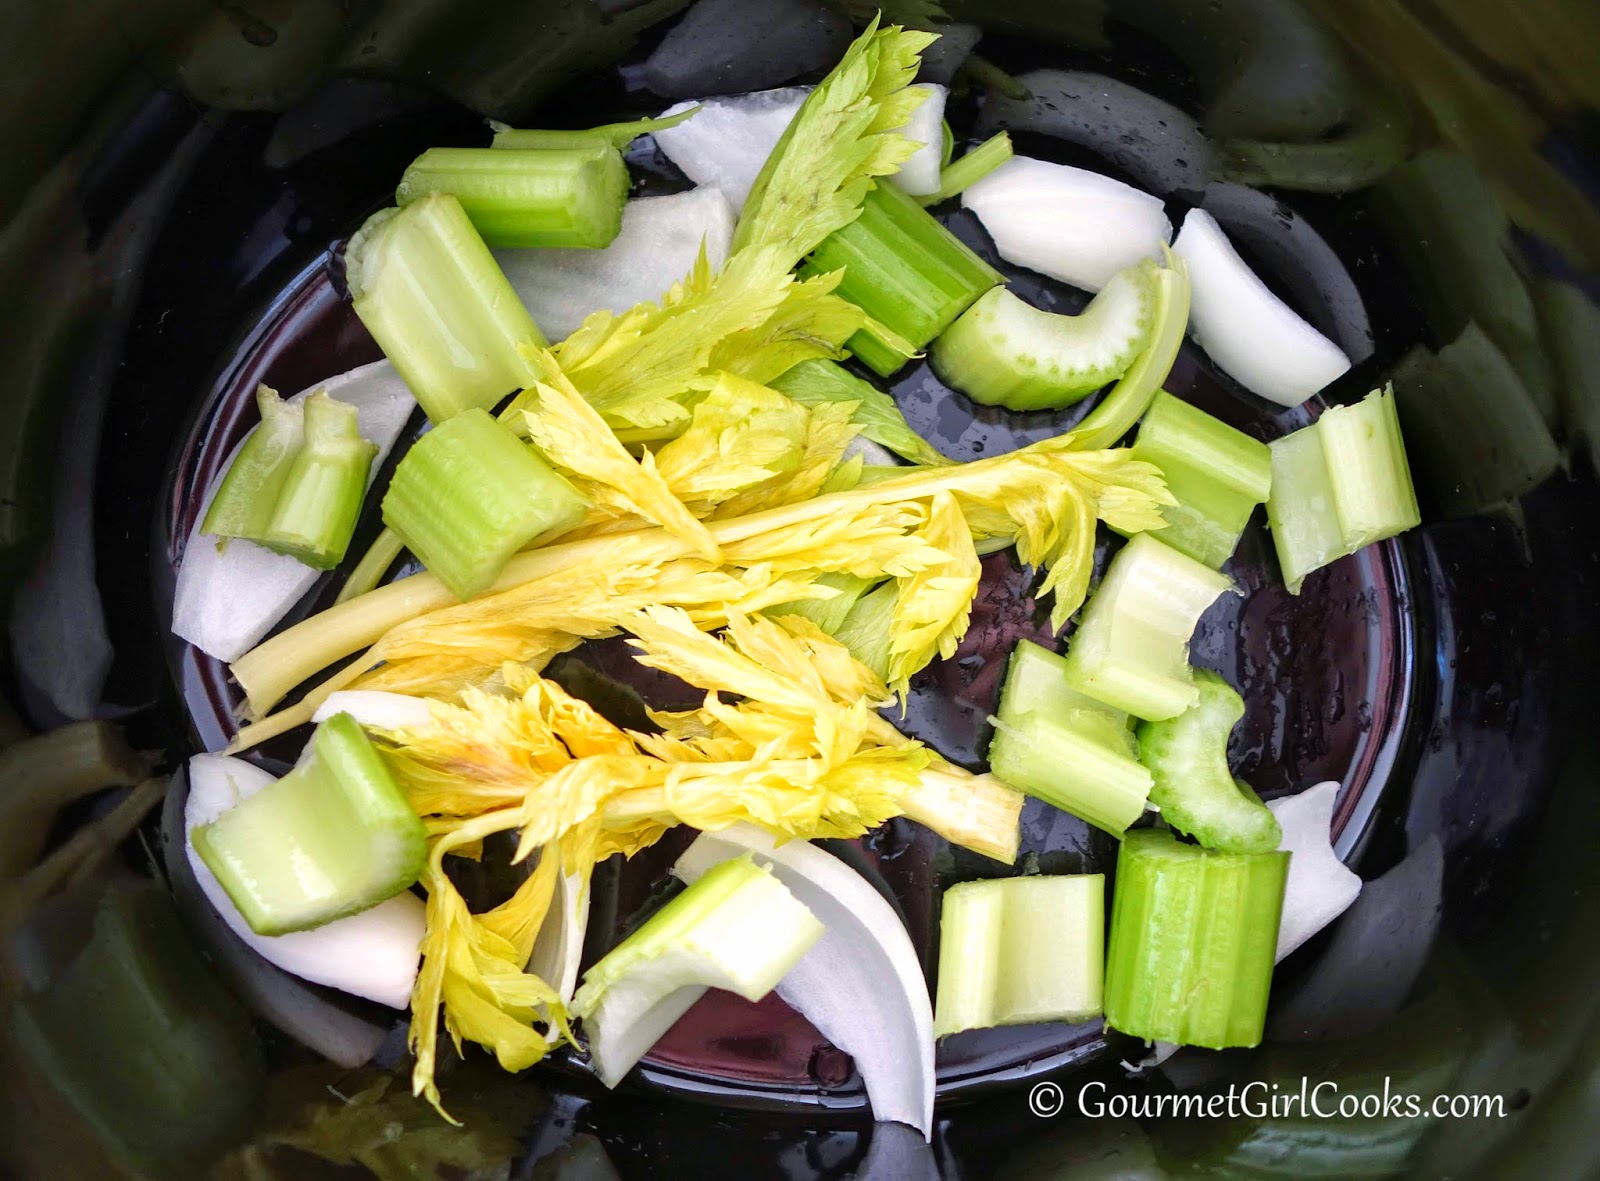
1) Chop 1 stalk of celery and place in bottom of 6-quart crock pot;
2) Add a few slices of onion to the bottom of the crock pot;
3) Add 1 cup of chicken stock;
4) Season 2-1/2 lb turkey breast half with sea salt, poultry seasoning and paprika;
5) Place turkey breast on top of the bed of veggies and stock;
6) Cover and cook on high for 4 hours (mine switches over to "keep warm" until turned off).
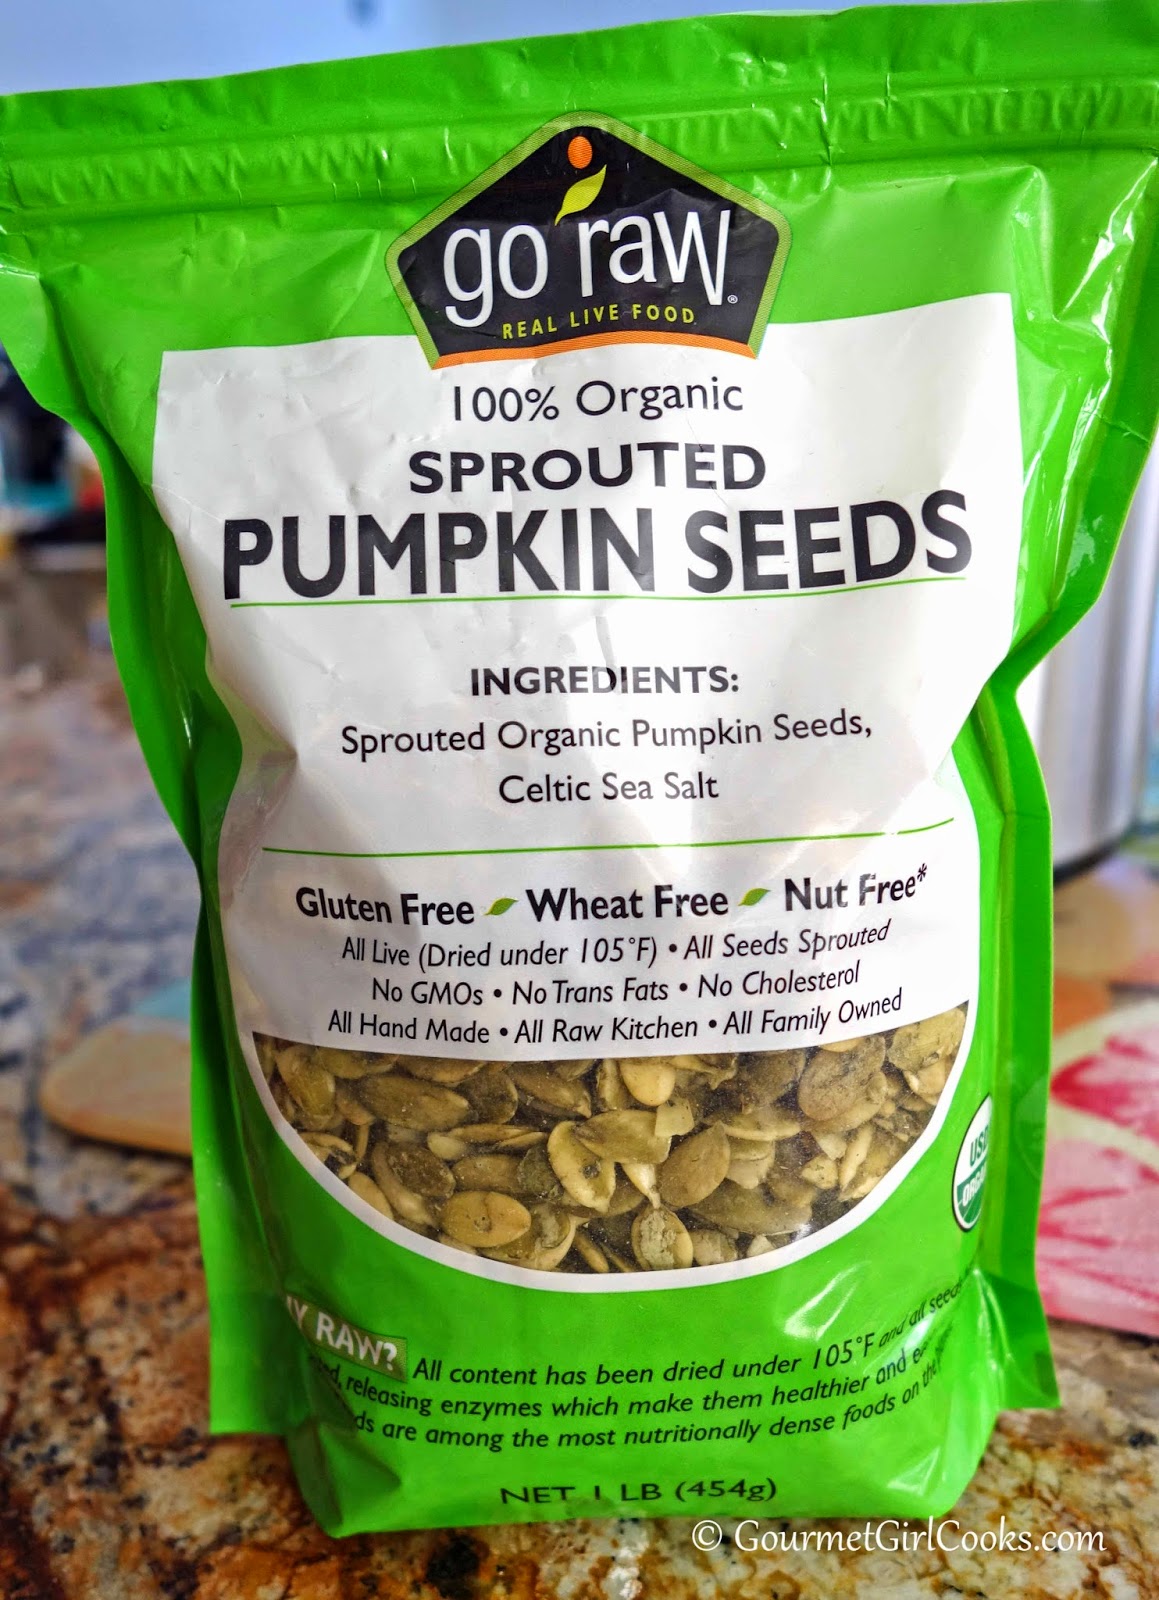
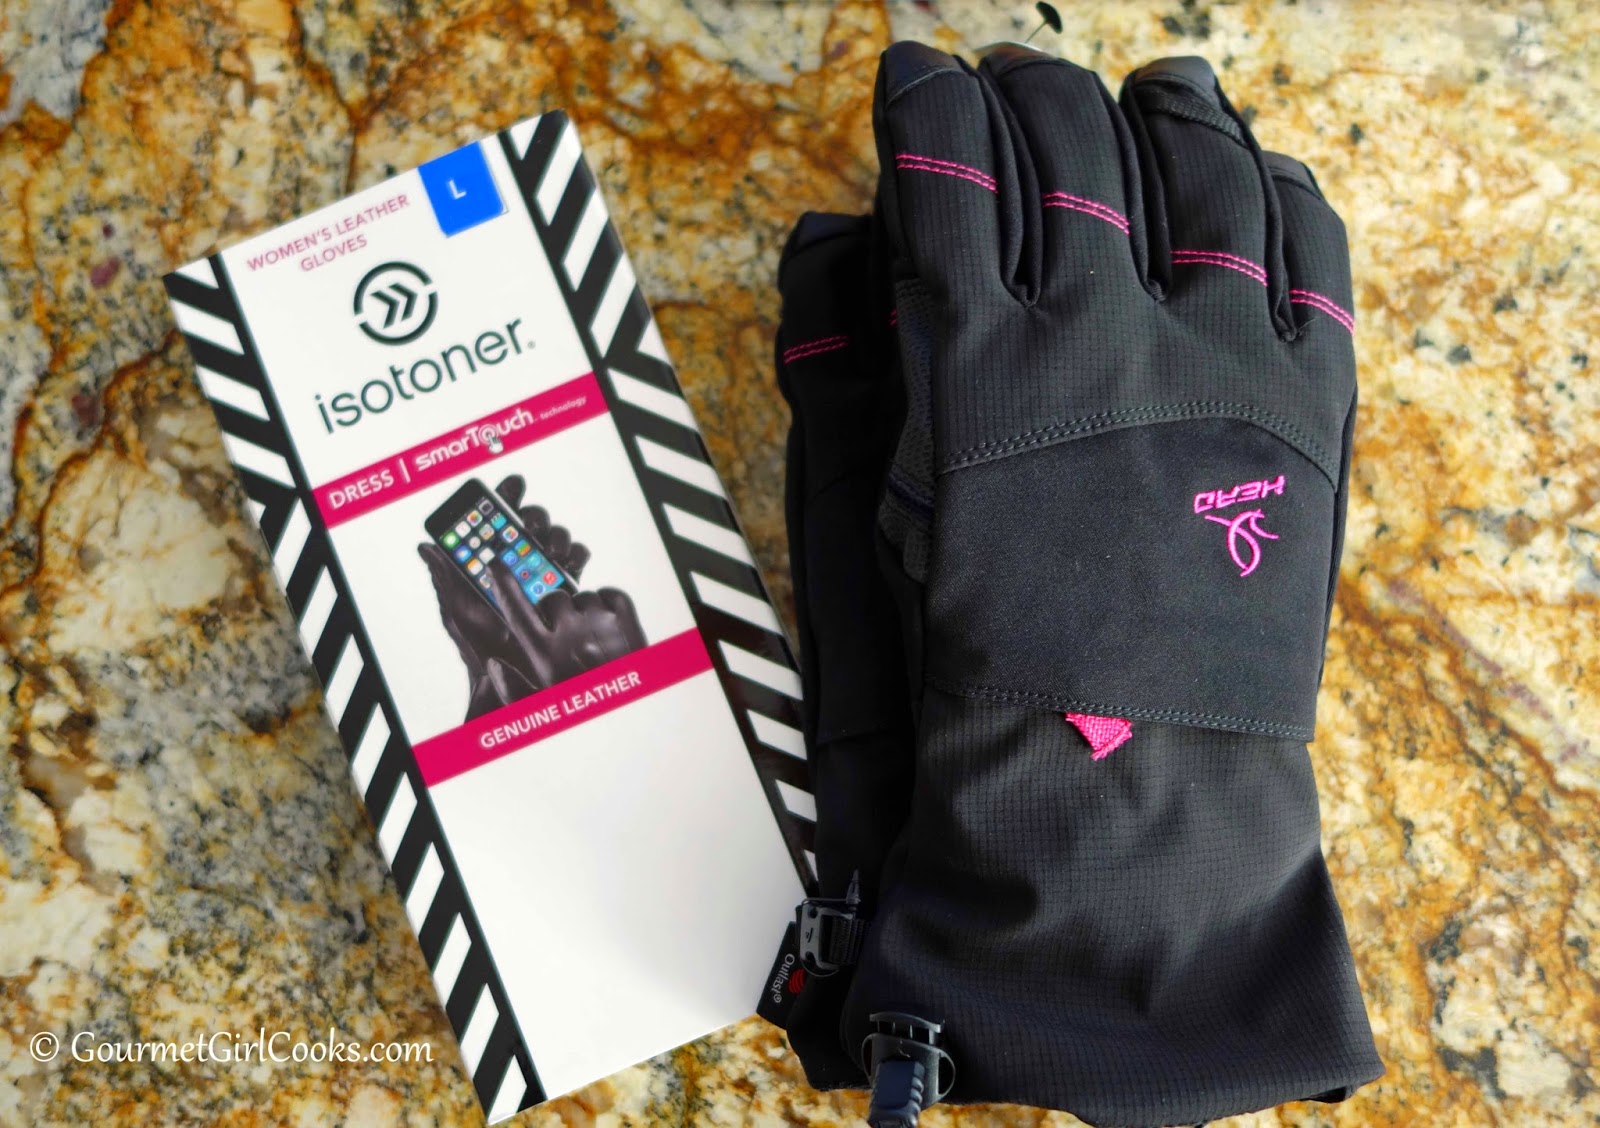
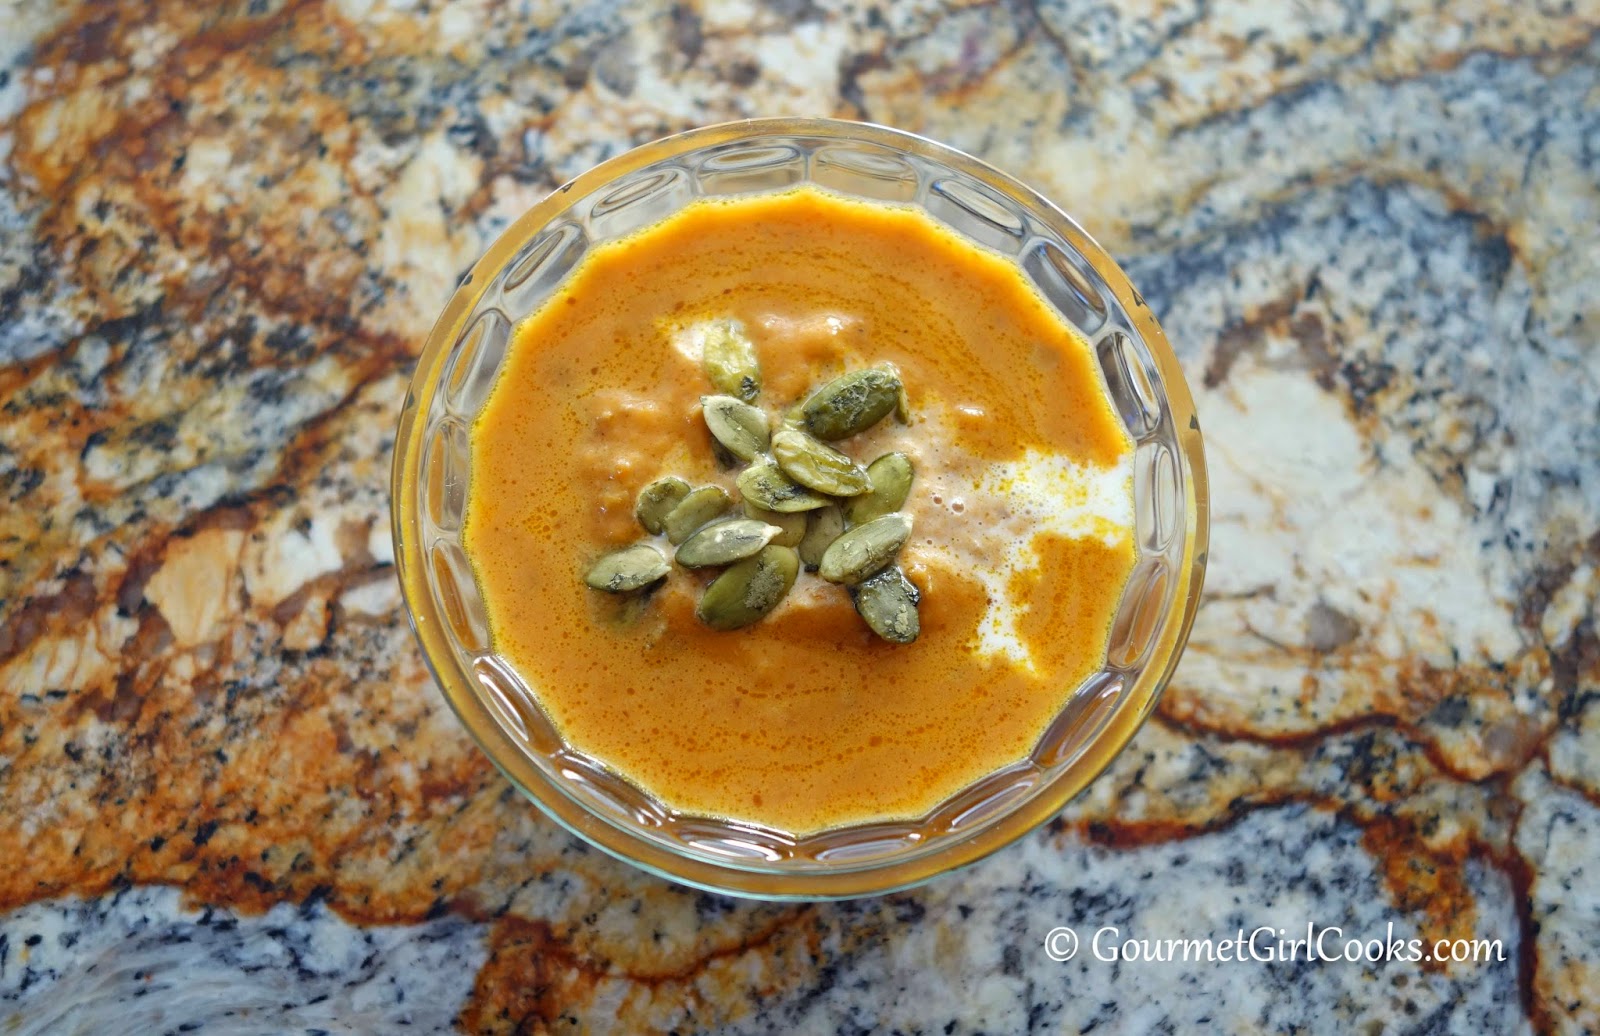
We left the house to run our errands and when we got back the house smelled like roasted turkey. It was so very cold and windy while we were out that as soon as we got home and unloaded everything, I heated up a little cup of Spicy Pumpkin Sausage Soup for a light lunch. I topped it with some crispy salted pumpkin seeds...it was awesome and the perfect "warm me up" that I needed (along with a cup of hot coffee). We've had such warm temperatures thus far this fall (low 80's) that it will take a little bit of time to adjust to these chilly temps. I was so cold while running errands this afternoon that I actually bought TWO pairs of gloves today...LOL. I got a pair of furry lined leather gloves and a pair of ski/snow boarding gloves that are extra thick and warm. Hubby just rolled his eyes and suggested I get a snowboard to go with my gloves...hahaha!
To go along with our turkey for dinner this evening, I made Roasted Acorn Squash with a touch of butter, maple, cinnamon and roasted pecans. It was awesome! We also enjoyed a dollop of my Cranberry Orange Sauce, too. It was a simple meal to put together and the perfect first dinner for November, too. I snapped a few photos of our meal for you to see below along with my easy peasy recipe for Roasted Acorn Squash. Enjoy!
Roasted Acorn Squash
Serves 2
Ingredients:
1 small acorn squash, cut in half lengthwise
2 tablespoons butter
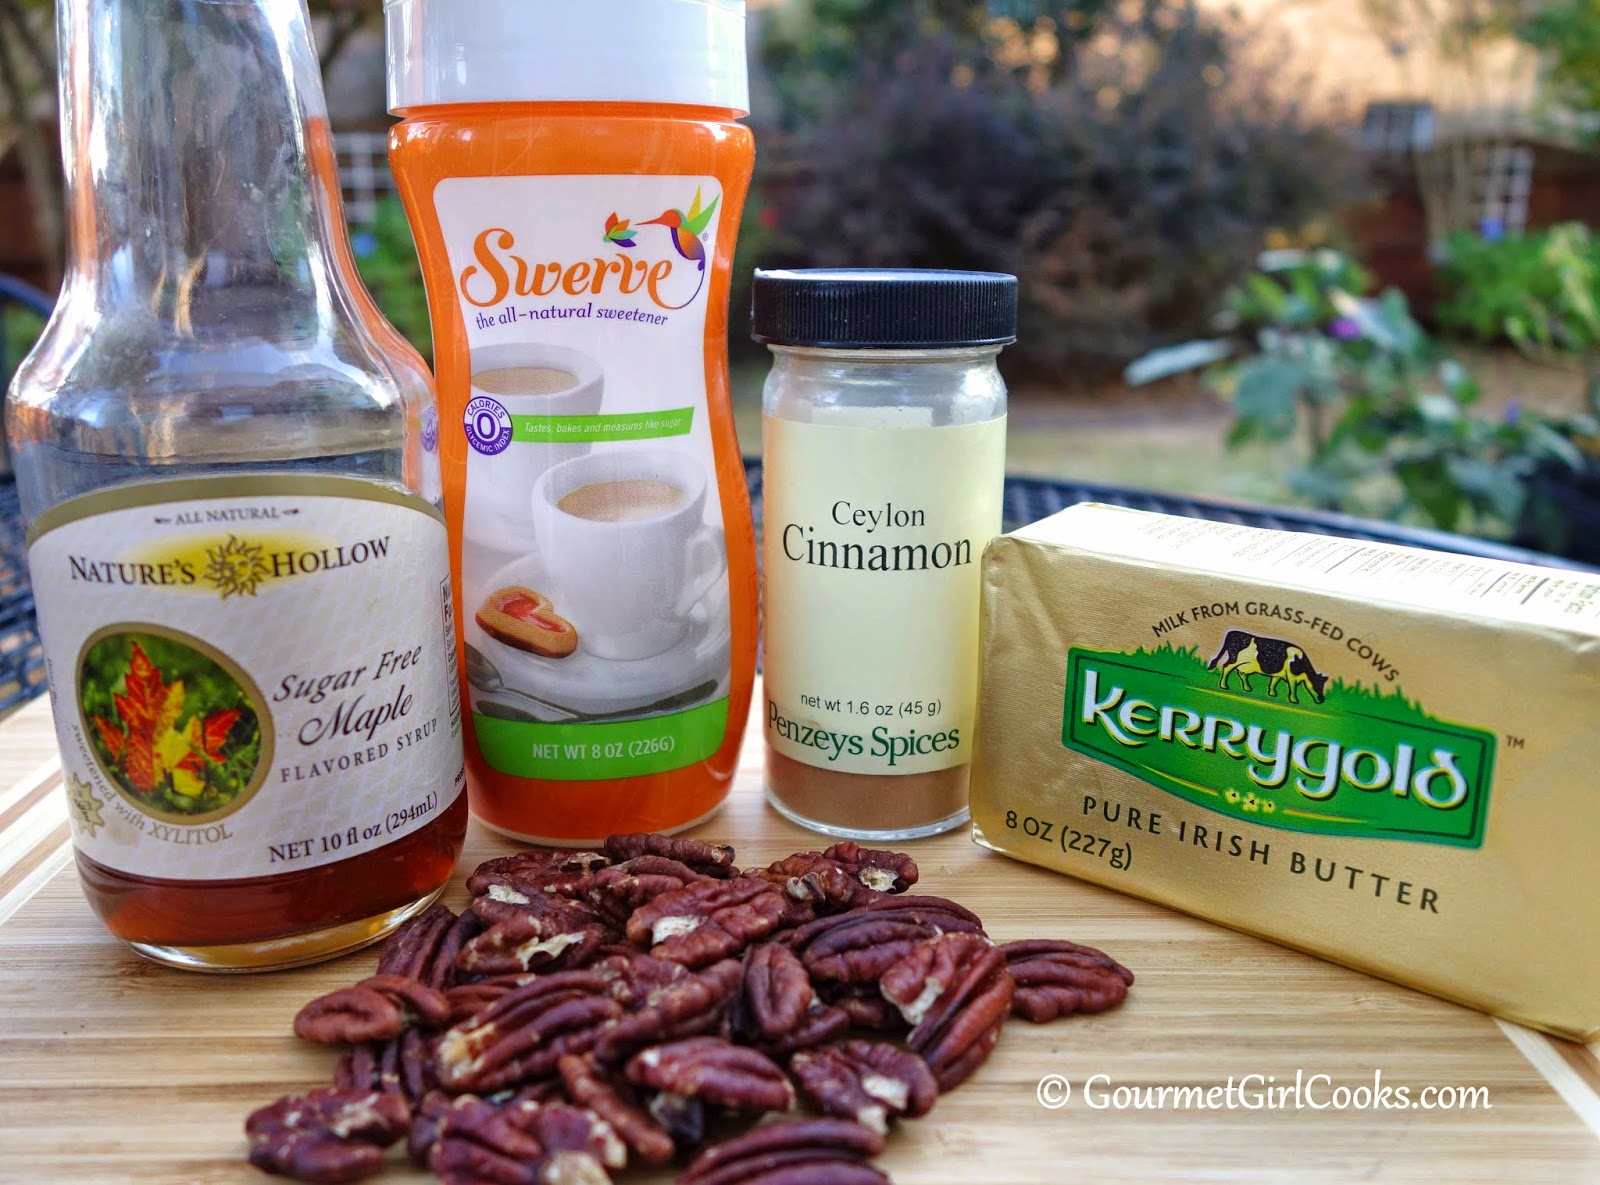
1 teaspoon granular Swerve
1/8 teaspoon ground cinnamon
2 teaspoons sugar free maple flavored syrup
2 tablespoons chopped roasted pecans
Directions:
Preheat oven to 350 degrees F. Scoop out seeds and pulp and discard. Place halved acorn squash but side down on a lightly oiled baking sheet. Bake for 30-35 minutes until softened. Flip squash over and add 1 tablespoon butter to each, sprinkle with Swerve and cinnamon. Return to oven and bake an additional 15-20 minutes. If desired, run under broiler for a few minutes until lightly browned and bubbly. Drizzle with maple flavored syrup and top with roasted pecans.
To prepare the Slow Cooker Turkey Breast:
1) Chop 1 stalk of celery and place in bottom of 6-quart crock pot;
2) Add a few slices of onion to the bottom of the crock pot;
3) Add 1 cup of chicken stock;
4) Season 2-1/2 lb turkey breast half with sea salt, poultry seasoning and paprika;
5) Place turkey breast on top of the bed of veggies and stock;
6) Cover and cook on high for 4 hours (mine switches over to "keep warm" until turned off).
We left the house to run our errands and when we got back the house smelled like roasted turkey. It was so very cold and windy while we were out that as soon as we got home and unloaded everything, I heated up a little cup of Spicy Pumpkin Sausage Soup for a light lunch. I topped it with some crispy salted pumpkin seeds...it was awesome and the perfect "warm me up" that I needed (along with a cup of hot coffee). We've had such warm temperatures thus far this fall (low 80's) that it will take a little bit of time to adjust to these chilly temps. I was so cold while running errands this afternoon that I actually bought TWO pairs of gloves today...LOL. I got a pair of furry lined leather gloves and a pair of ski/snow boarding gloves that are extra thick and warm. Hubby just rolled his eyes and suggested I get a snowboard to go with my gloves...hahaha!
To go along with our turkey for dinner this evening, I made Roasted Acorn Squash with a touch of butter, maple, cinnamon and roasted pecans. It was awesome! We also enjoyed a dollop of my Cranberry Orange Sauce, too. It was a simple meal to put together and the perfect first dinner for November, too. I snapped a few photos of our meal for you to see below along with my easy peasy recipe for Roasted Acorn Squash. Enjoy!
![]() |
| Picked these up from Costco - thought they might be great to put on my next pizza! |
![]() |
| Got these at Costco, too...they were good sprinkled on my pumpkin soup! |
![]() |
| Told you I was cold! |
![]() |
| Cup of Spicy Pumpkin Sausage Soup topped with cream and pumpkin seeds - Yummy! |
![]() |
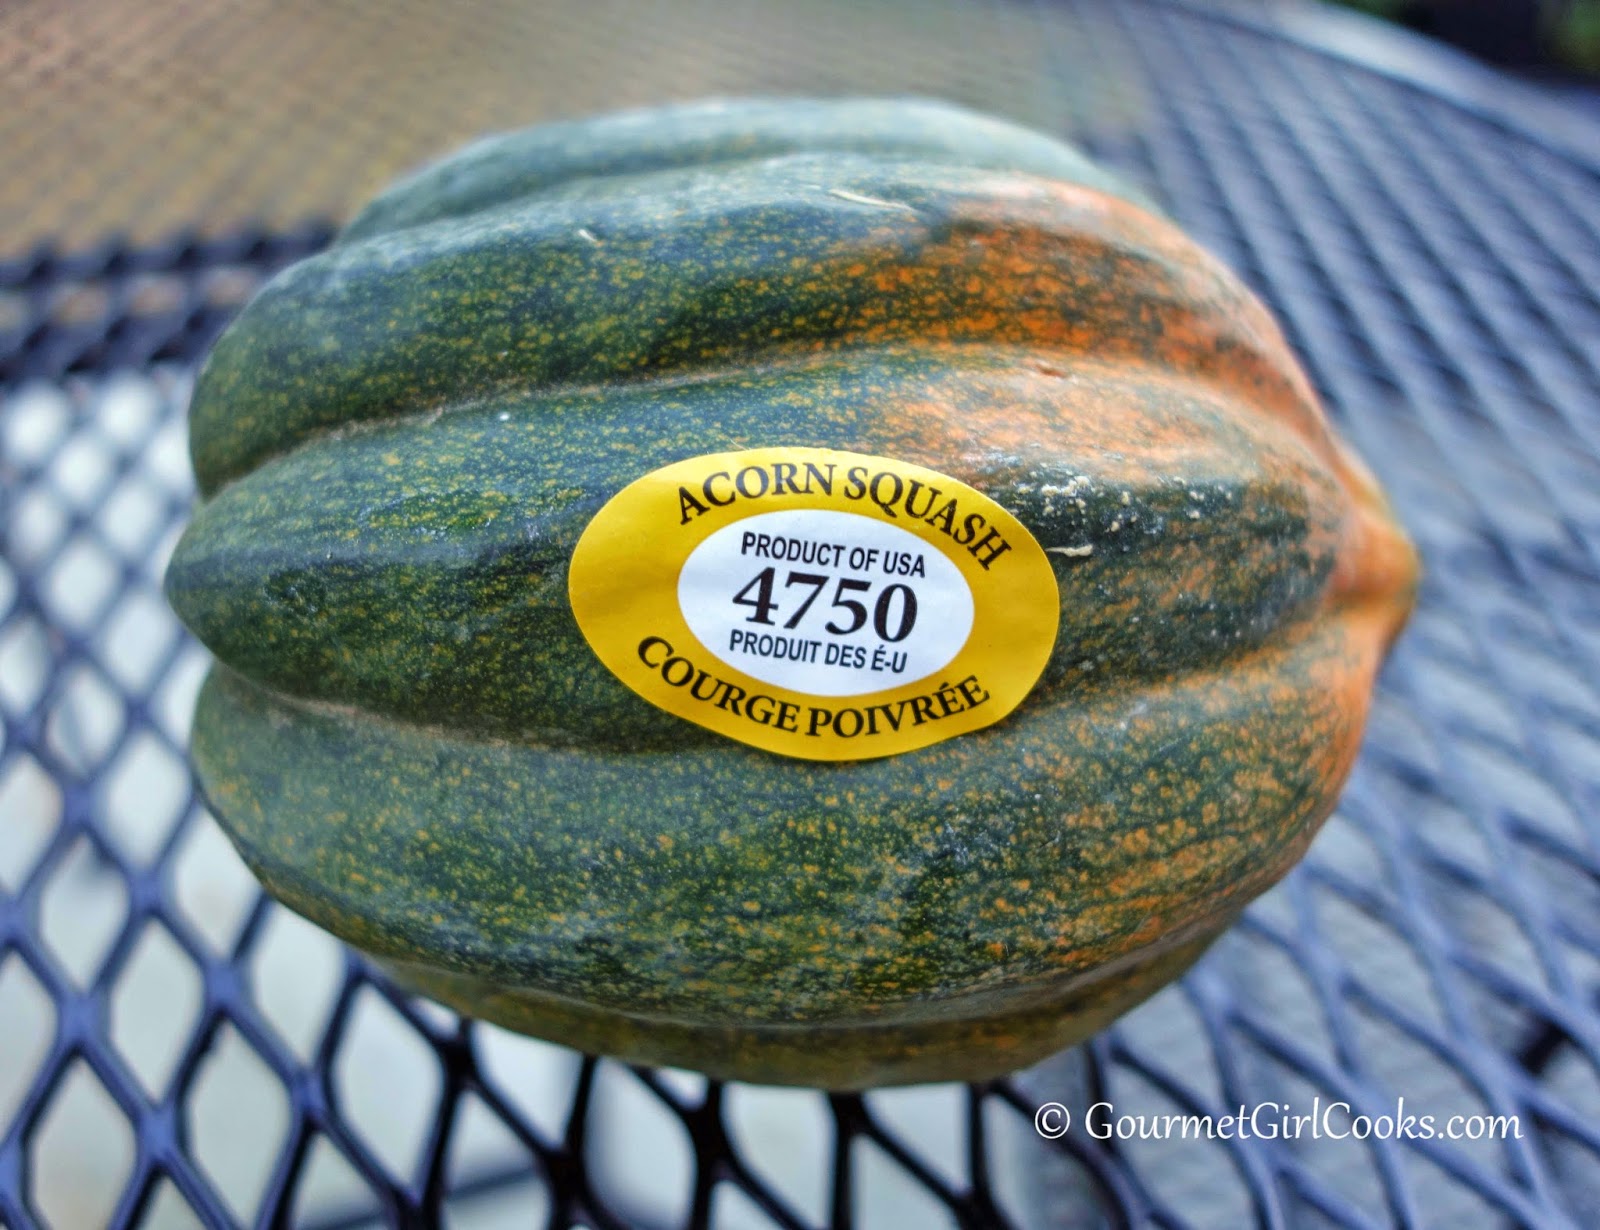
| Small Acorn Squash - be careful when cutting in half (I cut my finger) |
![]() |
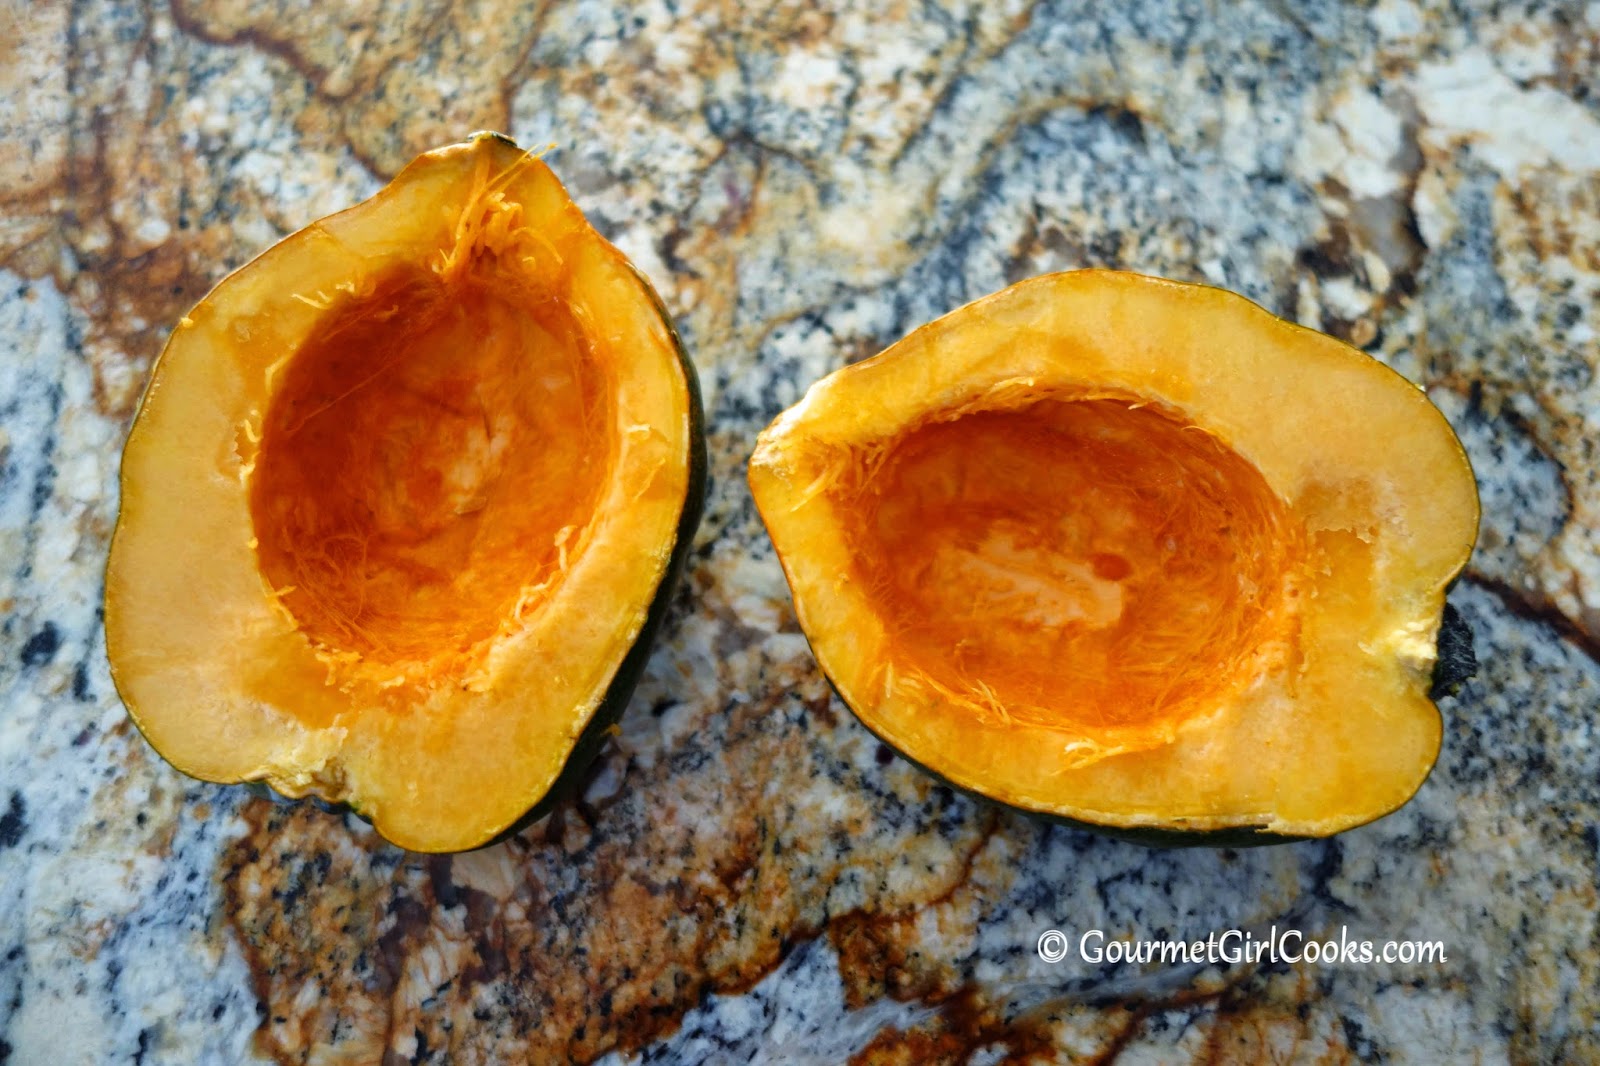
| Seeds and pulp have been removed |
![]() |
| These ingredients made the roasted squash delicious! |
![]() |
| Topped with butter, Swerve, and cinnamon...drizzled with sugar free maple flavored syrup and sprinkled with roasted chopped pecans |
Roasted Acorn Squash
Ingredients:
1 small acorn squash, cut in half lengthwise
2 tablespoons butter
1 teaspoon granular Swerve
1/8 teaspoon ground cinnamon
2 teaspoons sugar free maple flavored syrup
2 tablespoons chopped roasted pecans
Directions:
Preheat oven to 350 degrees F. Scoop out seeds and pulp and discard. Place halved acorn squash but side down on a lightly oiled baking sheet. Bake for 30-35 minutes until softened. Flip squash over and add 1 tablespoon butter to each, sprinkle with Swerve and cinnamon. Return to oven and bake an additional 15-20 minutes. If desired, run under broiler for a few minutes until lightly browned and bubbly. Drizzle with maple flavored syrup and top with roasted pecans.
Thursday, June 6, 2013
Mini Mexican Meatloaves with Rich & Thick Parmesan Cauliflower Mash
This evening I was in the mood for a "comfort food" meal. I had a package of ground turkey breast in the fridge that needed to be used as well as a huge head of fresh cauliflower. I decided to make Mini Mexican Meatloaves and my Rich & Thick Parmesan Cauliflower Mash. The meatloaves were so very simple; I mixed 1 pound of ground turkey breast (you could use regular ground turkey, chicken or beef instead if you prefer) with 1 egg, 1/2 recipe of my taco seasoning and a few tablespoons of salsa and then divided it into 4 regular sized muffin cups (I filled the 2 empty muffin cups half full with water so they didn't overheat and warp while baking). I baked them for about 30 to 33 minutes at 375 degrees F until they were done. I served them alongside the mashed cauliflower and green beans with almonds. I placed each little mini meatloaf in a little puddle of salsa with a dollop of sour cream and a few diced fresh tomatoes and topped it with a couple strips of pepper jack cheese. It was simple and delicious. The recipe for the taco seasoning I used as well as the cauliflower mash are linked in the different colored text above. I snapped a few photos for you to see below. Enjoy!
Wednesday, April 10, 2013
Turkey Green Bean Almond Casserole
This evening I put together a quick casserole using the leftover turkey breast from Sunday. It's sort of like a green bean casserole, but with turkey in it. I had about 4 cups of leftover diced turkey breast and I cooked a 12-oz bag of frozen french green beans and toasted some slivered almonds. I made a double batch of cream of mushroom soup for the sauce part and whisked in about 2 cups of shredded cheddar cheese and a little sour cream to make a cheesy sauce. I also sauteed fresh mushrooms, onions and celery to add to the mixture. This was similar to a chicken almond casserole that I used to make that had rice in it along with canned cream of "whatever" soup. I put french green beans in the casserole to take the place of the rice. I seasoned it with a bit of salt, pepper and cayenne. Everything was stirred together and then I topped it with some additional cheddar cheese and paprika and baked it for about 30 minutes. If I make it again, I will reduce the sauce part since it didn't absorb sauce the way rice does and I prefer it less saucy. I used the turkey broth I saved from the crock pot from cooking the turkey breast to make the Cream of Mushroom Soup. While this casserole isn't fancy and wouldn't win any awards...it was good. Hubby liked it too. I snapped a quick picture below for you to see. Enjoy!
![]() |
| BOOM! |
Sunday, April 7, 2013
Sunday's Crock Pot Roasted Turkey Breast...
Today was an absolutely gorgeous day here. It was bright, sunny and in the upper 70s. The pollen has really started in full force though -- there is a green haze on our cars already. I awoke bright and early this morning at 6:00 a.m. for some reason and couldn't fall back asleep. I finally got up around 7:00 and put a turkey breast in the crock pot to cook for dinner. I cooked it on high for the first 3 hours and then turned it down to low for the next 6 or 7 hours.
The turkey breast is easy to do -- all I did was:
1) Put a few cut up stalks of celery in the bottom of the crock pot and place a 5 to 6 pound turkey breast on top;
2) Season the turkey breast with salt, pepper, paprika and a bit of poultry seasoning;
3) Add about 1/2 cup of water;
4) Cook on high for first 3 hours; Turn to low and cook an additional 6 to 7 hours.
Hubby and I took our walk before breakfast and got that out of the way early -- we intended to go for 30 minutes and ended up walking for 45 minutes since it was so gorgeous out. Putting the turkey breast in the crock pot was nice because I was able to work on some projects around the house, get my grocery shopping done as well as some other shopping and have dinner already started for me when I got home. Youngest son came by and had dinner with us and it was nice not rushing around at the last minute. I had plenty of the Yellow Cheddar Squash Casserole left from last night to go with our Crock Pot Roasted Turkey Breast and just steamed some fresh broccoli to go with it and "Boom"...dinner was ready in no time! I snapped a photo below for you to see. Enjoy!
Thursday, January 10, 2013
Mexican Turkey Sliders (or Burgers)
When I got home this evening, I didn't have any idea what to make for dinner...but I wanted to make something using the pound of ground turkey breast that I had in the fridge. I also had some leftover buttermilk biscuits that I made earlier in the week and the little wheels began turning in my head. For whatever reason, "sliders" came to my mind (probably because they would fit perfectly on the biscuits). I thought about how I wanted to season them and decided to make them Mexican style, so I quickly made up a little batch of my taco seasoning to flavor them with (along with salsa and grated Monterey Jack cheese). They turned out flavorful, juicy and delicious. I decided to stay with the Mexican theme for my side dish of veggies too. I lightly sauteed some sliced fresh yellow squash and zucchini in a little olive oil until crisp-tender and then seasoned it with some of the extra taco seasoning and tossed in some quartered cherry tomatoes and cooked for another minute or two. I topped the veggies with some crumbled queso fresco cheese leftover from making the beef fajitas on New Year's eve...and presto, my delicious Mexican style meal came together! Below you will find a few photos as well as the recipe for my Mexican Turkey Sliders. Enjoy!
Mexican Style Turkey Sliders
INGREDIENTS:
1 lb. ground turkey breast (or regular ground turkey or beef)
4 tablespoons olive oil (2 for the burgers if using turkey breast and 2 for the pan to saute them)
4 teaspoons of taco seasoning (recipe below)
1/4 cup salsa of your choice (I used fresh salsa)
1/3 cup shredded Monterey Jack cheese
DIRECTIONS:
Combine all ingredients in a medium bowl until thoroughly blended. Divide into 6 equal portions and shape into small burgers (sliders). In a large non-stick skillet, add 2 tablespoons of olive oil (or preferred oil) and heat to medium. When the pan is hot, add the burgers and cook approximately 5 minutes or so on each side or until golden brown. Flip and continue cooking on the other side until done (no pink remaining). Remove when burgers are cooked through and golden brown. If desired, serve topped with salsa, avocado, tomatoes or sour cream.
*Note: See taco seasoning ingredients below.
* Taco Seasoning (blend all ingredients together in a small bowl):
2 teaspoons chili powder
1/4 teaspoon garlic powder
1/4 teaspoon onion powder
1/4 teaspoon cayenne pepper (or to taste)
1/4 teaspoon dried oregano
1/4 teaspoon paprika
1 teaspoon ground cumin
1/2 teaspoon sea salt
1 teaspoon black pepper
Makes approximately 2 tablespoons of taco seasoning (enough to season approximately 1 pound of meat).
![]() |
| Voila! |
![]() |
| BOOM! |
![]() |
| Just beginning to sizzle... |
![]() |
| Ta-Da!!! |
Mexican Style Turkey Sliders
INGREDIENTS:
1 lb. ground turkey breast (or regular ground turkey or beef)
4 tablespoons olive oil (2 for the burgers if using turkey breast and 2 for the pan to saute them)
4 teaspoons of taco seasoning (recipe below)
1/4 cup salsa of your choice (I used fresh salsa)
1/3 cup shredded Monterey Jack cheese
DIRECTIONS:
Combine all ingredients in a medium bowl until thoroughly blended. Divide into 6 equal portions and shape into small burgers (sliders). In a large non-stick skillet, add 2 tablespoons of olive oil (or preferred oil) and heat to medium. When the pan is hot, add the burgers and cook approximately 5 minutes or so on each side or until golden brown. Flip and continue cooking on the other side until done (no pink remaining). Remove when burgers are cooked through and golden brown. If desired, serve topped with salsa, avocado, tomatoes or sour cream.
*Note: See taco seasoning ingredients below.
* Taco Seasoning (blend all ingredients together in a small bowl):
2 teaspoons chili powder
1/4 teaspoon garlic powder
1/4 teaspoon onion powder
1/4 teaspoon cayenne pepper (or to taste)
1/4 teaspoon dried oregano
1/4 teaspoon paprika
1 teaspoon ground cumin
1/2 teaspoon sea salt
1 teaspoon black pepper
Makes approximately 2 tablespoons of taco seasoning (enough to season approximately 1 pound of meat).
Sunday, November 25, 2012
Turkey Pot Pie w/ Cheddar Herb Almond Crust
Happy Sunday! Well, today we are officially saying goodbye to our Thanksgiving turkey leftovers with the grand finale..."Turkey Pot Pie w/ Cheddar Herb Almond Crust". This is it...the end...it's over...sayonara (well, until next Thanksgiving anyway). I decided to make my chicken pot pie recipe substituting the leftover turkey instead of chicken as well as a few other changes.
Since youngest son was coming for dinner to help bid farewell to our Thanksgiving turkey too, I decided to double the "filling part only" of my chicken pot pie recipe and keep the crust recipe the same. I used a bigger casserole dish and rolled the crust out a bit thinner to cover the extra surface area. Also, since I fiddled around and worked with the dough longer than I probably should have while trying to get it into "just the perfect shape" for my casserole dish (please, don't be like me)...it was a tiny bit trickier to move over this time because the dough got a little warmer and gave me some trouble separating it from the parchment paper fast enough to transfer it without a little breakage. No worries though -- even though it doesn't look as perfect as my other crust did -- it is still absolutely delicious and beautiful! So, don't fret if your crust doesn't turn out completely seamless, it will just allow a little of the sauce to bubble out which happens most of the time with pot pies anyway. I had even considered making a lattice top crust instead this time, but wanted to get it into the oven quickly. I will try that another time and make a rectangular shaped pot pie. On another note; when I doubled the filling, I did not double the xanthum gum amount (I still only added the 1 teaspoon) because I wanted plenty of gravy for all the meat and veggies to swim around in. To give it a little bit more viscosity or thickening, I instead added slightly over 1/2 cup of shredded cheddar cheese and melted it into the sauce and then tasted it for seasoning. It turned out really good. If you don't have or don't want to use xanthum gum, you can substitute it by adding some cream cheese and melt it into the sauce mixture to obtain your desired thickness. Below, I am posting the Turkey Pot Pie w/ Cheddar Herb Almond Crust recipe (that I doubled and modified for a larger version of my chicken pot pie recipe) along with the modifications I made and a few photos. Enjoy!
Turkey Pot Pie w/ Cheddar Herb Almond Crust
Ingredients:
Filling
4 cups diced cooked turkey breast
4 cups chicken or turkey broth (plus extra to use as necessary to adjust sauce
thickness)
1 tablespoon butter or olive oil
1 stalk celery, finely diced
1/2 small onion, diced (about 1/2 cup)
3 - 4 carrots, sliced thinly
2 cup fresh green beans cut into 1-inch pieces
4 tablespoons fresh parsley, chopped
1/2 cup half-n-half
1 - 2 teaspoons Italian seasoning
Salt & Pepper, to taste
1 teaspoon xanthum gum (to be added gradually, 1/2 teaspoon at a time)
1/2 - 3/4 cup shredded cheddar cheese
Crust
2 cups almond flour
3 tablespoons "cold" butter, diced
1 egg (or 1/4 cup Egg Beaters)
1 cup sharp cheddar cheese, shredded
1/2 to 1 teaspoon Italian seasoning
1/2 - 1 teaspoon salt, or to taste
1/2 - 1 teaspoon pepper, or to taste
Directions:
Preheat oven to 350 F. Lightly spray/grease a 3 quart casserole dish and set aside. In a medium saucepan, melt butter and saute celery and onion until tender; add chicken or turkey broth, carrots, green beans; cover and simmer until carrots and green beans are tender. Add parsley, Italian seasoning, salt and pepper to taste. Bring broth and veggie mixture to a light boil/simmer while stirring in the xanthum gum 1/2 teaspoon at a time, whisking vigorously until well blended. Sprinkle the next 1/2 teaspoon xanthum gum a little bit at a time, whisking briskly until the broth begins to thicken. Once it has reached the thickness you like, add the half-n-half and stir well. If you accidentally thicken it a bit more than you wanted, thin the sauce with additional broth. Check seasoning (salt and pepper) and make any necessary adjustments. Stir in 1/2-3/4 cup cheddar cheese until melted. Add chicken to the sauce and mix well. Simmer on low for a few minutes to just to keep hot.
In a medium bowl, add all crust ingredients and cut in with a pastry cutter until crumbly and all flour is moistened and cheese is pulverized into the mixture. Press dough together in a ball and place on a sheet of parchment paper and flatten out lightly into a circle shape (or the shape of the top of your casserole); cover with another piece of parchment paper and roll out to about 1/4 inch thickness to the size of your casserole dish. Handle the dough minimally with your hands (you don't want to heat up or melt the butter in the dough, you want it to remain stiff). Once dough is rolled out evenly and the size of your casserole dish, pour hot filling mixture into casserole dish. Gently and carefully lift the dough and move it on top of the filling in the casserole (it is important to choose the right size casserole so your filling will be within an inch or so of the top when filled and the crust will fit and lay nicely on top). If it cracks a little, gently press it back together. You can use any leftover scraps of dough that you have left to build a crust around the edge of your casserole dish. Put chicken pot pie in a 350 degree oven for 15 minutes; lower oven temperature to 325 degrees and bake an additional 15-20 minutes until crust is golden brown and done (you can tell by touching the top of the crust).
If you want to see additional photos as well as the original recipe, here is the link: Chicken Pot Pie w/ Cheddar Herb Almond Crust
Since youngest son was coming for dinner to help bid farewell to our Thanksgiving turkey too, I decided to double the "filling part only" of my chicken pot pie recipe and keep the crust recipe the same. I used a bigger casserole dish and rolled the crust out a bit thinner to cover the extra surface area. Also, since I fiddled around and worked with the dough longer than I probably should have while trying to get it into "just the perfect shape" for my casserole dish (please, don't be like me)...it was a tiny bit trickier to move over this time because the dough got a little warmer and gave me some trouble separating it from the parchment paper fast enough to transfer it without a little breakage. No worries though -- even though it doesn't look as perfect as my other crust did -- it is still absolutely delicious and beautiful! So, don't fret if your crust doesn't turn out completely seamless, it will just allow a little of the sauce to bubble out which happens most of the time with pot pies anyway. I had even considered making a lattice top crust instead this time, but wanted to get it into the oven quickly. I will try that another time and make a rectangular shaped pot pie. On another note; when I doubled the filling, I did not double the xanthum gum amount (I still only added the 1 teaspoon) because I wanted plenty of gravy for all the meat and veggies to swim around in. To give it a little bit more viscosity or thickening, I instead added slightly over 1/2 cup of shredded cheddar cheese and melted it into the sauce and then tasted it for seasoning. It turned out really good. If you don't have or don't want to use xanthum gum, you can substitute it by adding some cream cheese and melt it into the sauce mixture to obtain your desired thickness. Below, I am posting the Turkey Pot Pie w/ Cheddar Herb Almond Crust recipe (that I doubled and modified for a larger version of my chicken pot pie recipe) along with the modifications I made and a few photos. Enjoy!
![]() |
| Voila! |
![]() |
| A snapshot of the filling before adding the crust to the top |
![]() |
| The crust has been added (you can see where it cracked in a few places while transferring) |
![]() |
| Here is a picture fresh out of the oven -- you can see where the sauce bubbled out a bit |
![]() |
| BOOM! |
Turkey Pot Pie w/ Cheddar Herb Almond Crust
Ingredients:
Filling
4 cups diced cooked turkey breast
4 cups chicken or turkey broth (plus extra to use as necessary to adjust sauce
thickness)
1 tablespoon butter or olive oil
1 stalk celery, finely diced
1/2 small onion, diced (about 1/2 cup)
3 - 4 carrots, sliced thinly
2 cup fresh green beans cut into 1-inch pieces
4 tablespoons fresh parsley, chopped
1/2 cup half-n-half
1 - 2 teaspoons Italian seasoning
Salt & Pepper, to taste
1 teaspoon xanthum gum (to be added gradually, 1/2 teaspoon at a time)
1/2 - 3/4 cup shredded cheddar cheese
Crust
2 cups almond flour
3 tablespoons "cold" butter, diced
1 egg (or 1/4 cup Egg Beaters)
1 cup sharp cheddar cheese, shredded
1/2 to 1 teaspoon Italian seasoning
1/2 - 1 teaspoon salt, or to taste
1/2 - 1 teaspoon pepper, or to taste
Directions:
Preheat oven to 350 F. Lightly spray/grease a 3 quart casserole dish and set aside. In a medium saucepan, melt butter and saute celery and onion until tender; add chicken or turkey broth, carrots, green beans; cover and simmer until carrots and green beans are tender. Add parsley, Italian seasoning, salt and pepper to taste. Bring broth and veggie mixture to a light boil/simmer while stirring in the xanthum gum 1/2 teaspoon at a time, whisking vigorously until well blended. Sprinkle the next 1/2 teaspoon xanthum gum a little bit at a time, whisking briskly until the broth begins to thicken. Once it has reached the thickness you like, add the half-n-half and stir well. If you accidentally thicken it a bit more than you wanted, thin the sauce with additional broth. Check seasoning (salt and pepper) and make any necessary adjustments. Stir in 1/2-3/4 cup cheddar cheese until melted. Add chicken to the sauce and mix well. Simmer on low for a few minutes to just to keep hot.
In a medium bowl, add all crust ingredients and cut in with a pastry cutter until crumbly and all flour is moistened and cheese is pulverized into the mixture. Press dough together in a ball and place on a sheet of parchment paper and flatten out lightly into a circle shape (or the shape of the top of your casserole); cover with another piece of parchment paper and roll out to about 1/4 inch thickness to the size of your casserole dish. Handle the dough minimally with your hands (you don't want to heat up or melt the butter in the dough, you want it to remain stiff). Once dough is rolled out evenly and the size of your casserole dish, pour hot filling mixture into casserole dish. Gently and carefully lift the dough and move it on top of the filling in the casserole (it is important to choose the right size casserole so your filling will be within an inch or so of the top when filled and the crust will fit and lay nicely on top). If it cracks a little, gently press it back together. You can use any leftover scraps of dough that you have left to build a crust around the edge of your casserole dish. Put chicken pot pie in a 350 degree oven for 15 minutes; lower oven temperature to 325 degrees and bake an additional 15-20 minutes until crust is golden brown and done (you can tell by touching the top of the crust).
If you want to see additional photos as well as the original recipe, here is the link: Chicken Pot Pie w/ Cheddar Herb Almond Crust
Thursday, July 5, 2012
Greek Style Turkey Spinach-Feta Burgers, Tzatziki Sauce & Greek Style Oven Roasted French Fries
Below are the recipes for the 3 items I made for the 4th of July; Greek
Style Turkey Spinach-Feta Burgers, Tzatziki Sauce and Greek Style Oven
Roasted French Fries. The burgers are very lean so be careful not to overcook them. The tzatziki sauce is chocked full of Greek yogurt, fresh dill, lemon, garlic and cucumbers and is a refreshing cool sauce to top the burgers with. The fries are easy to make and really complement the meal with the addition of the Greek seasoning that has oregano, salt, lemon peel, black pepper and marjoram in it. Enjoy!
*Note: This meal was made the week prior to going low carb/wheat free -- simply eliminate the potatoes for a low carb meal.
DIRECTIONS:
*Note: This meal was made the week prior to going low carb/wheat free -- simply eliminate the potatoes for a low carb meal.
Greek Style Turkey Spinach-Feta Burgers
INGREDIENTS:
1 pound ground chicken or turkey breast
1 tablespoon olive oil
1/2 cup feta cheese, crumbled
1 9-oz package frozen chopped spinach, thawed and squeezed dry
1 teaspoon dried oregano
1/4 teaspoon garlic powder
1/4 teaspoon black pepper
Lettuce Leaves to wrap them in, optional
DIRECTIONS:
In a medium bowl, combine ground chicken or turkey, olive oil, feta, spinach, oregano, garlic powder and black pepper. Divide into 4 equal portions and form into patties. Grill or broil (spray grill or broiler pan lightly with cooking spray) approximately 8 minutes on each side or until no longer pink inside and thoroughly cooked. Serve wrapped in lettuce leaves. Serving suggestion: Top with tzatziki sauce, chopped tomatoes and/or lettuce.
~~~~~~~~~~~~~~~~~~~~~~~~~~~~~~~~~~~~~~~~~~~~~~~~~~~
Tzatziki Sauce
INGREDIENTS:
16-20 ounces Greek Yogurt (I used Fage 2%)
1/2 English cucumber, grated or finely chopped (including peel)
1 large clove garlic, minced
1-2 tablespoons fresh lemon juice
1 teaspoon finely grated lemon zest
2 tablespoons fresh dill, chopped
2 tablespoons olive oil
1/2-1 teaspoon salt, or to taste
1/2 teaspoon black pepper, or to taste
DIRECTIONS:
In a medium bowl, blend all ingredients together well. Refrigerate and let chill 8 hours or longer to allow all flavors to thoroughly blend.
~~~~~~~~~~~~~~~~~~~~~~~~~~~~~~~~~~~~~~~~~~~~~~~~~~~
Greek Style Oven Roasted French Fries
INGREDIENTS:
2 large russet baking potatoes, cut into 1/4-inch wide fries
3 tablespoons olive oil
Sea Salt, to taste
Black pepper, freshly ground, to taste
Greek Seasoning, to taste
DIRECTIONS:
Preheat oven to 425 degrees. In a large bowl, toss the potatoes with the olive oil, salt and pepper. Arrange in a single layer on a foil covered baking sheet (I like to use Reynold's nonstick foil). Sprinkle with Greek Seasoning. Bake until golden brown and crisp, about 40-45 minutes (turn over half way through cooking). Season with additional salt and pepper, if desired. Serve immediately.
*Note: For a low carb meal, eliminate the potatoes
Subscribe to:
Posts (Atom)