Sunday, August 10, 2014

Sunday's Breakfast - Who Needs Bagels When You Can Have Breakfast Buns Instead!

This morning we slept in late. I didn't wake up until 10:30 which is unbelievably late for me. Now, having said that, I didn't get to sleep until about 3:00 a.m. last night. We had torrential storms with frightening thunder and lightning. Our power went out several times, but fortunately came back quickly each time. It actually went out the first time last night while I was in the middle of making my "pizza post" on the blog. I thought I had lost everything...including my computer...but luckily I didn't lose either. It looks like we are in for more rain and storms today and this evening. 

We decided to have a late breakfast at home and then run our local errands and get back to do some work around the house. I did manage to test my second batch of brownies though to see if my tweaks made them better. I'm happy to report that YES...they turned out just like I had hoped. I will post the recipe later this afternoon after we get back from our errands (hubby is giving me the evil eye) and before I start cleaning the house. I snapped a quick photo of my "better than bagel" breakfast this morning. I had one of my newest grain free sandwich buns lightly toasted and then spread with cream cheese along with a cup of coffee. Seriously...who needs bagels when you can have "breakfast buns" instead! The only thing missing is the hole...and the way I look at it, it just means more "bread to spread"...LOL. Here's the recipe again in case you missed it: Low Carb Sandwich Rolls (No Flax). There's a photo below. Enjoy!


P.S. -- Just so you know, these buns travel well, too! I slipped one in my purse when we went out yesterday morning. We had breakfast at Einstein's Bagels and all I needed to do was buy cream cheese and coffee...and I was in "breakfast heaven"...  ;-)


Saturday, August 9, 2014

Low Carb Herbed Pizza Crust -- NEW No-Flax Recipe!

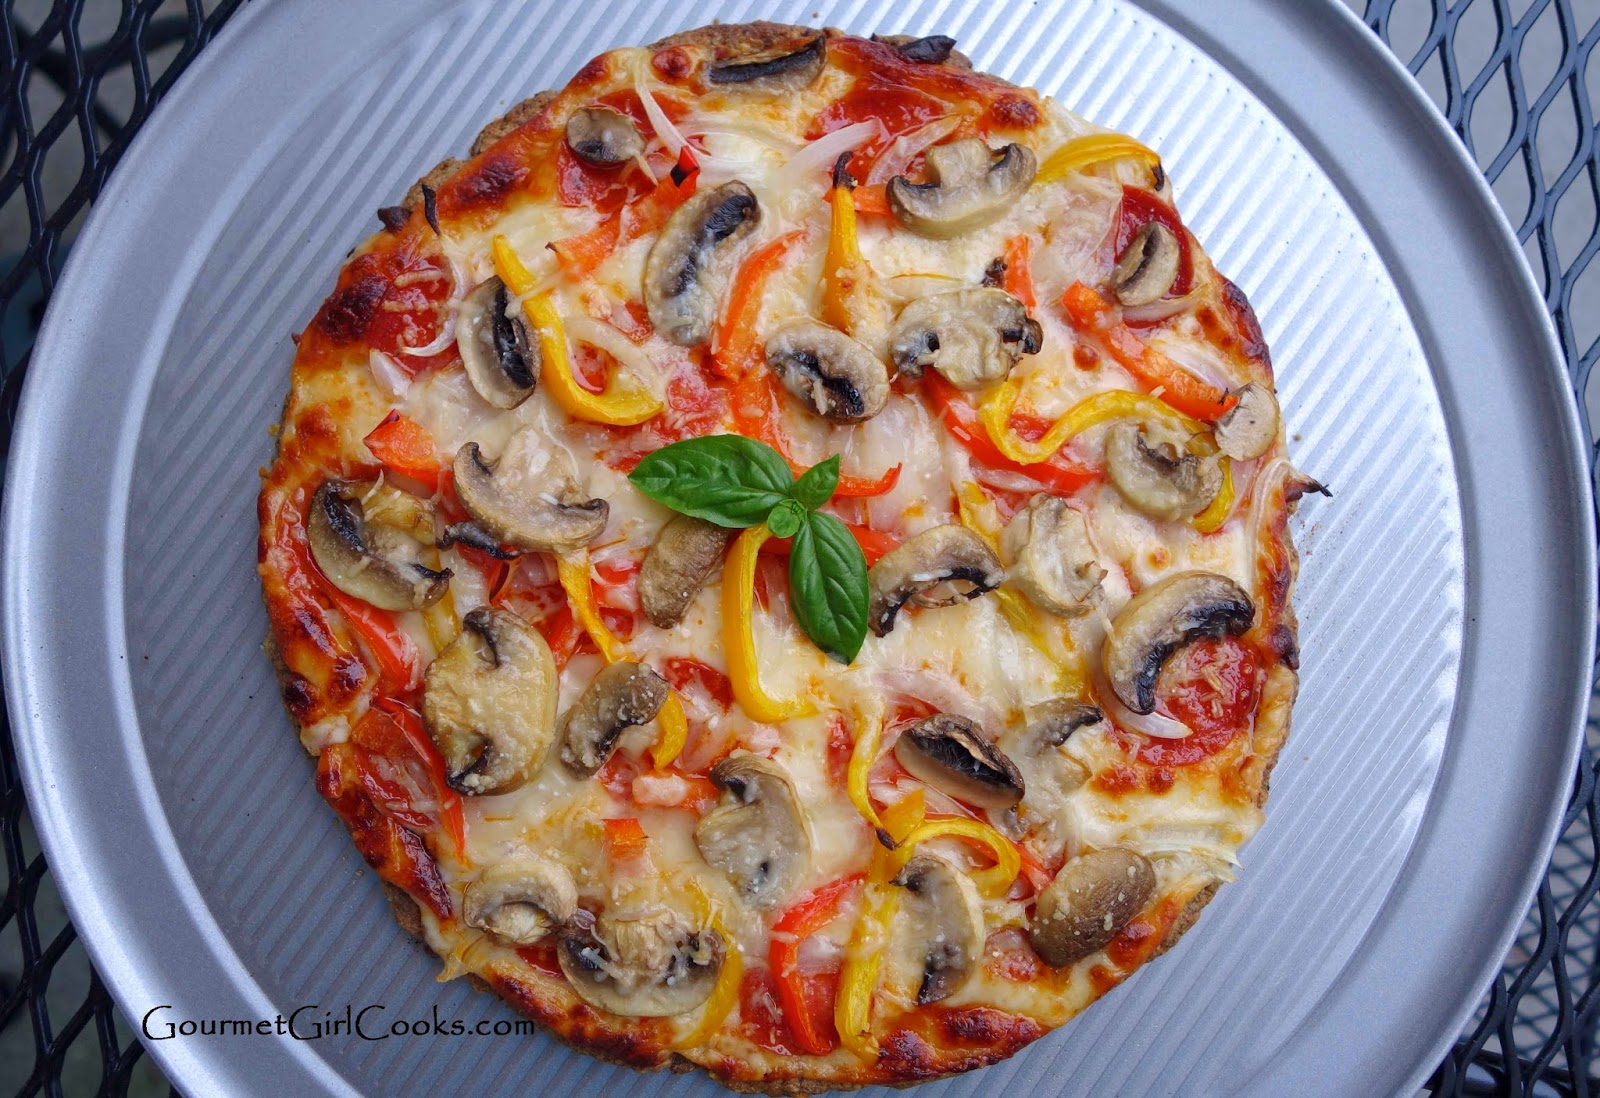
This evening I decided to make a pizza crust that does not contain flax like my regular pizza crust does. I've had numerous requests from folks that either can't eat flax or don't care for it for a flax free version, so I decided to give it a whirl tonight. It turned out fabulous! It's similar to my original Herbed Almond Flax Parmesan Pizza Crust...just not quite as crispy. It's still definitely a crust you can pick up to eat, but it's more flexible than my original crust (which can stand up on its side by itself like a frisbee...LOL). This one will allow you to fold your pizza slice in half when you eat it if you want to (like what many folks commonly do with traditional NY style pizza). It tastes amazing! While ground flax makes a crispier crust than ground chia does, this one was so good that I actually ate half of the pizza! Oftentimes I only eat 1 or 2 slices (instead of the 3 slices I ate tonight). I topped my pizza with a little pizza sauce (go easy on the sauce if you don't want soggy crust), sliced provolone cheese, shredded mozzarella cheese, pepperoni, thinly sliced onions, red and yellow bell peppers and cooked fresh mushrooms. I then lightly sprinkled the top with some shredded Parmigiano Reggiano to help it brown as it baked. 

The pizza crust gets baked first and then topped after it's cooked. It then is baked again for about 10 minutes until the cheeses are melted and the toppings are heated. If you like it a little browned and bubbly on top, run it under the broiler for a few minutes before removing from the oven. Let it cool for just a few minutes so your hot cheese doesn't go rolling off. If you've already tried my regular crust, let me know how you like this one compared to the original version with flax. This crust is definitely worth trying. Even though I like golden flax...I will definitely be making this crust again! The recipe for my new Low Carb Herbed Pizza Crust and a few photos are below. Enjoy!


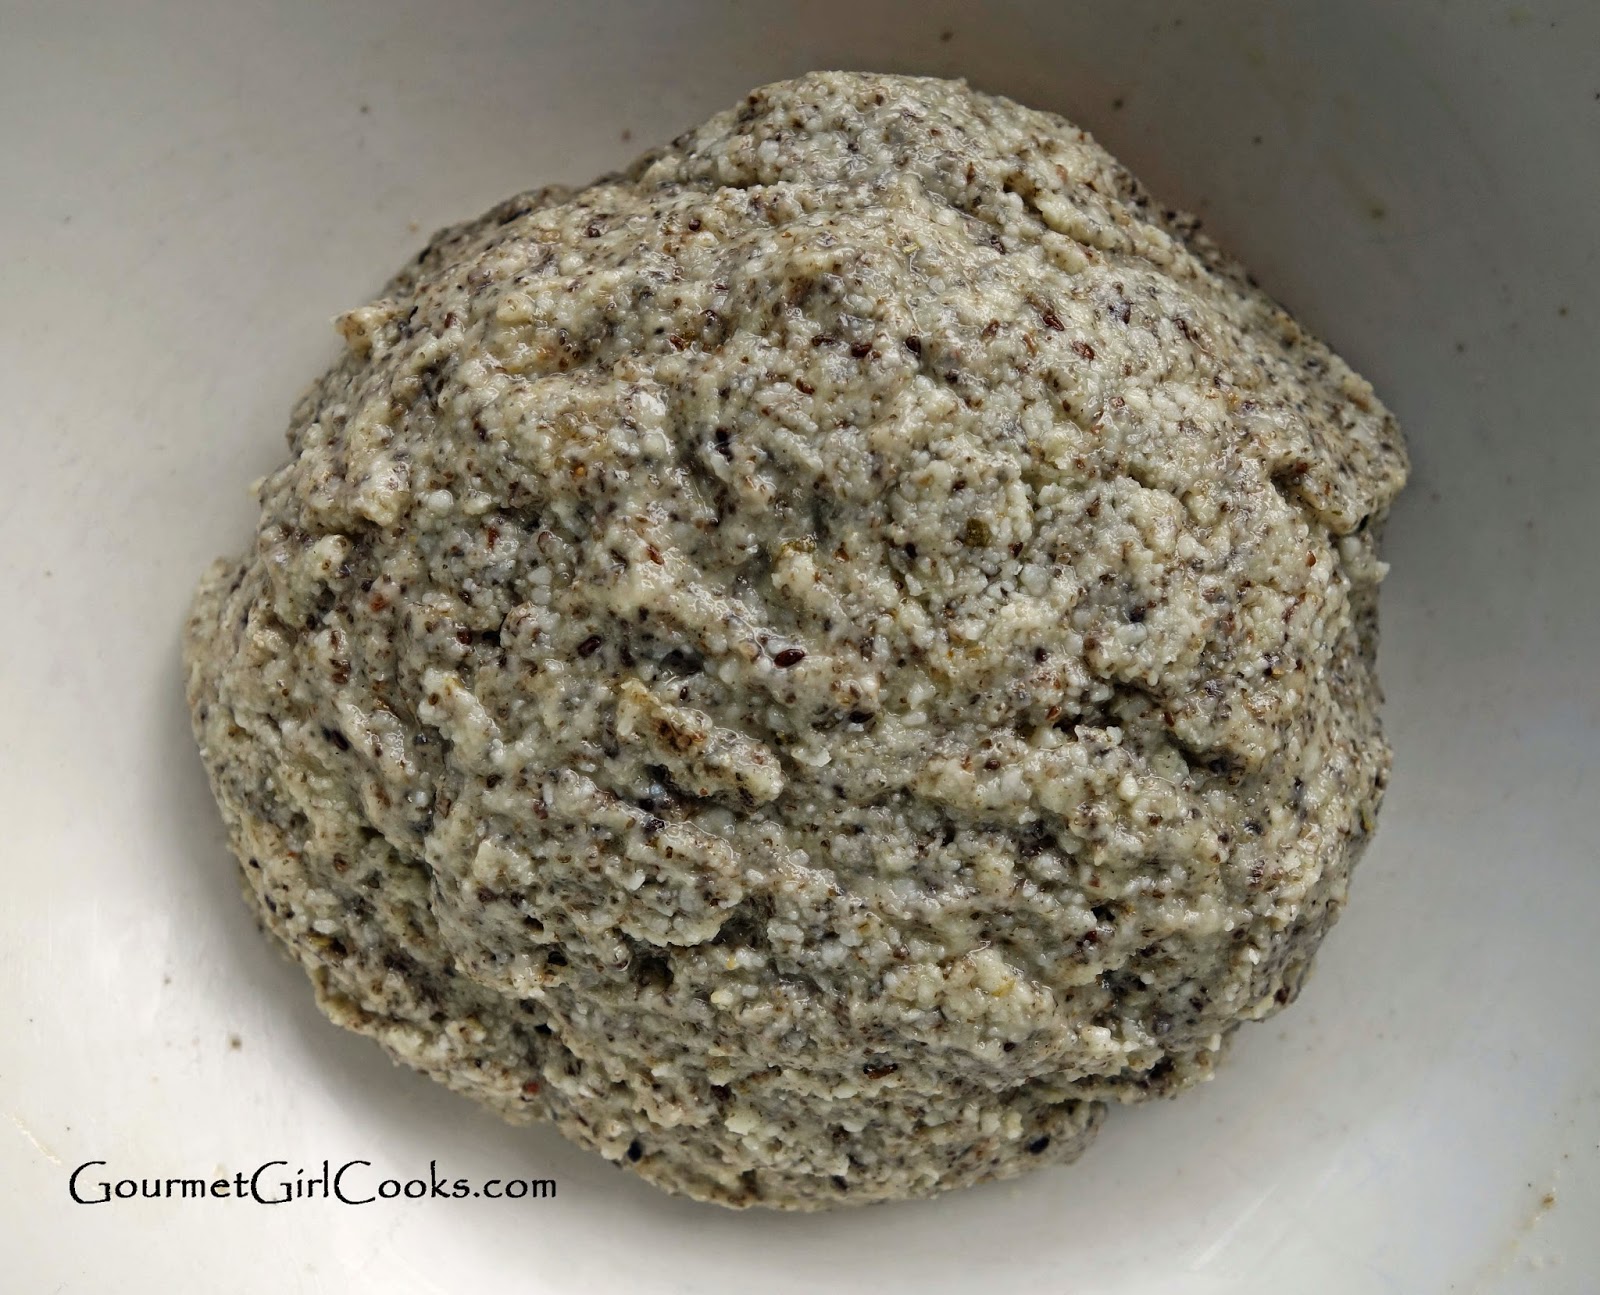
Ball of dough
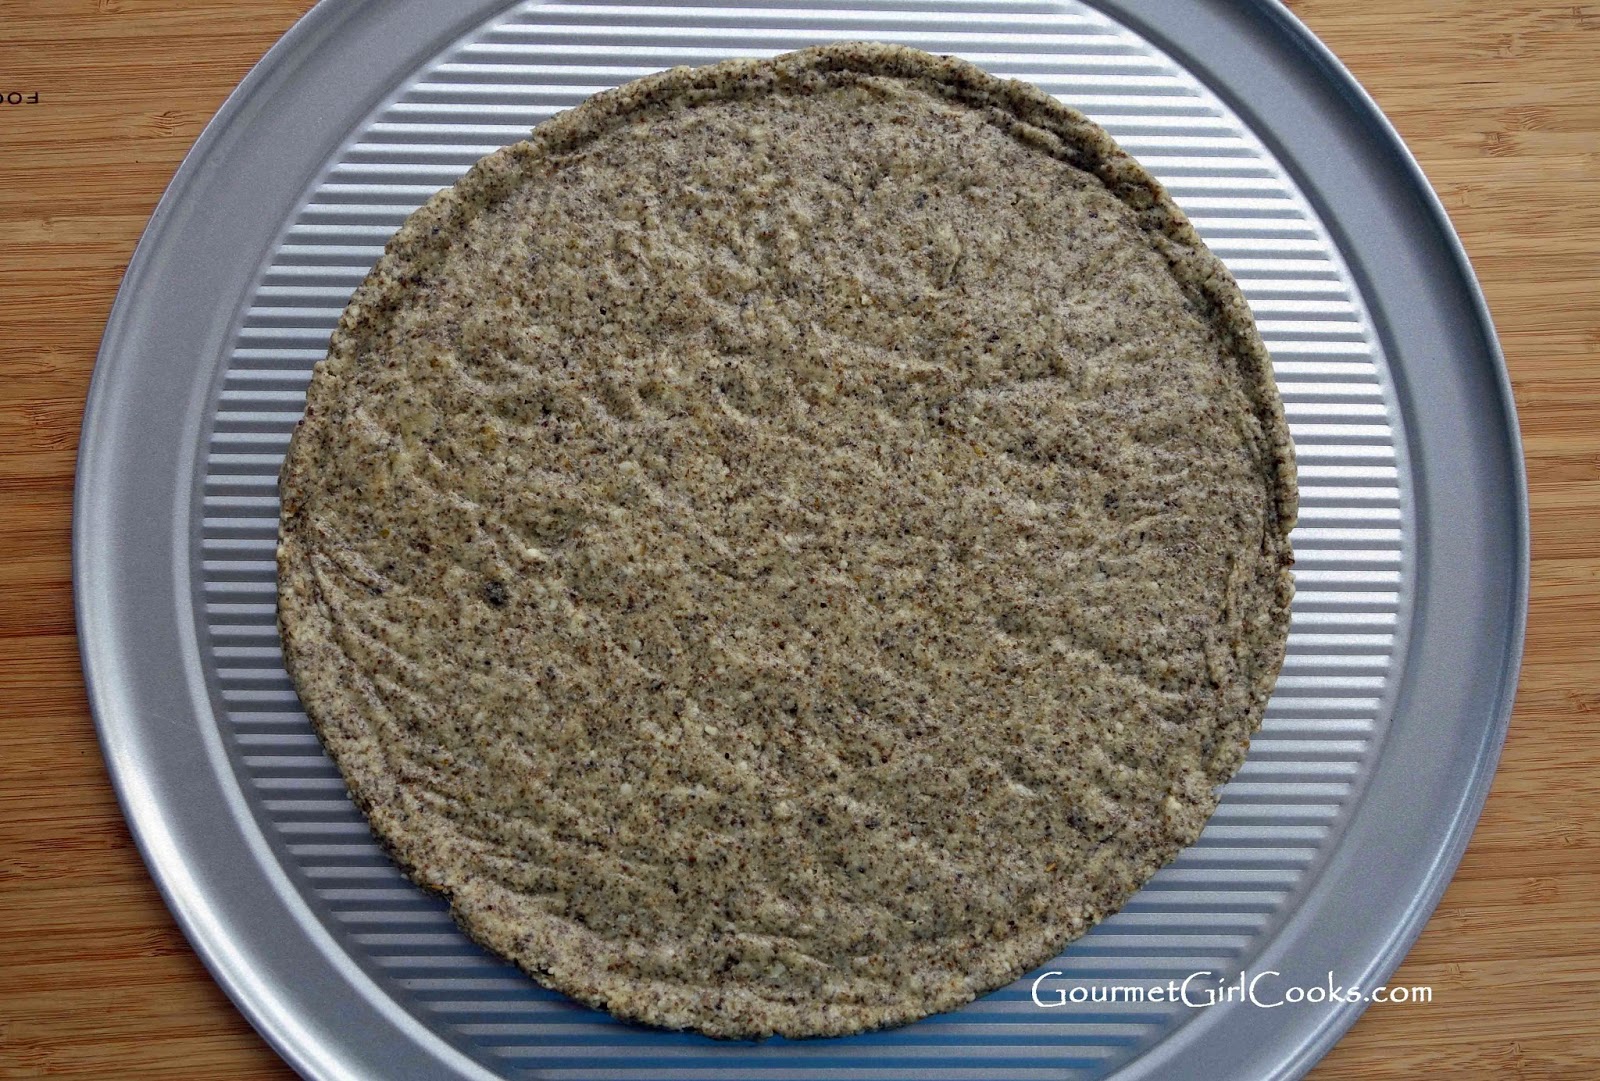
Dough pressed out onto the pizza pan with a rubber spatula
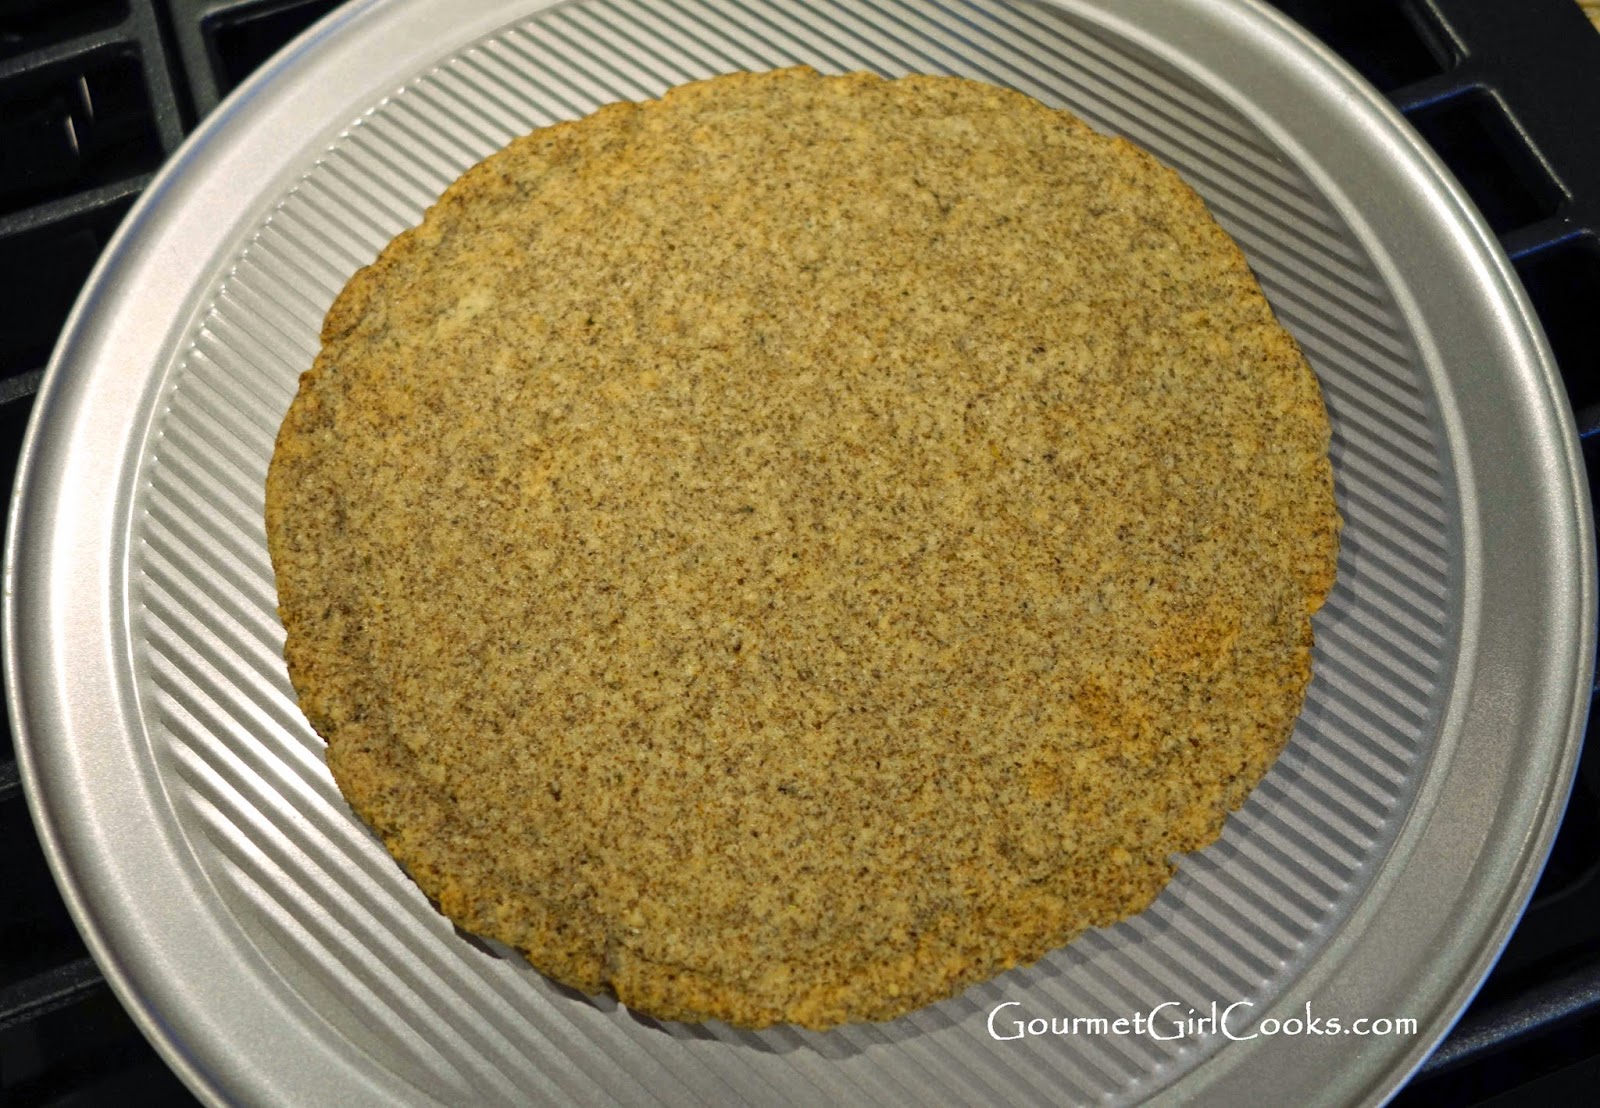
Crust is baked and fresh out of the oven after 18 minutes

Mini Frozen Brownie Yogurt Cups & Frozen Neopolitan Whoopie Pies - Quick, Easy & Fun!

This morning hubby and I got up early to run our errands which included our weekly visit to Costco and a stop at Einsteins Bagels for breakfast. I brought one of my grain free sandwich buns with me and used that as my bagel to spread cream cheese on. It was awesome and once spread with cream cheese, didn't look much different than what anyone else was eating (except mine didn't have a hole). It was overcast and looked like it might rain, but instead it turned out to be a bright and sunny day. When I got home, I baked a second test batch of the brownie recipe I'm working on. The first batch I made a couple of days ago turned out good, but not exactly what I was looking for. They were a little more dry than I like and way too chocolatey (believe it or not). I used my Valrhona cocoa powder which is a deep dark cocoa powder and probably a bit more intense than the typical kinds found in most grocery stores. So, my second test batch is cooling now as I type this post.

While I was making this next batch, I contemplated what to do with the current batch of brownies I had sitting on the counter. Now, don't get me wrong, hubby and I have eaten several of them...they are good but probably too deep, dark and intense for "mainstream" palates. They are super dark like ice cream sandwich cookie exteriors are...which gave me an idea! This afternoon, I made a couple of things with the leftover super dark brownies. I sliced a few brownies into thin slices (about 1/4" thick) and whipped up a quick and easy Frozen Vanilla Greek Yogurt to use as the ice cream sandwich/frozen whoopie pie filling. I partially froze the "frozen Greek yogurt mixture" before scooping it onto my little brownie bases and then placed a slice of fresh strawberry on top, a bit more frozen vanilla yogurt and then a brownie lid. I pressed them down so the frozen yogurt sort of oozed out the sides (like little mini Neopolitan whoopie pies) and then popped them into the freezer to freeze. After making a few of those, I broke up the remaining brownies and folded them into the rest of the partially frozen yogurt and then scooped them into little 3-ounce mini cups and froze them. Voila...I had nice little mini "frozen brownie yogurt" cups in small individual portions! No ice cream maker or special ice cream molds required!

When I made my Frozen Lemon-Coconut-Blueberry Greek Yogurt Pops recently, I froze about 7 little mini cups with the leftover yogurt mixture. I've really enjoyed pulling one of those little individual mini servings out and eating it for dessert. Sometimes you don't really want or need a larger dessert but just a little something sweet. So, I decided to do the same with this. I think I actually prefer the mini cups to the larger pops believe it or not! I snapped some photos of my little Frozen Brownie Yogurt Mini-Cups and my little Frozen Neopolitan Whoopie Pies below as well as included the simple recipe for Vanilla Frozen Yogurt. This frozen yogurt would also be great with broken up chocolate chip cookies or fresh fruit stirred in as well! Enjoy!


Simple Frozen Vanilla Yogurt

Ingredients:

1-1/2 cups plain Greek yogurt, preferably full fat (or unsweetened cultured coconut milk yogurt for a dairy free option)
1/2 cup heavy cream (or canned coconut milk for a dairy free option)
1/2 cup Swerve confectioners style sweetener
1-1/2 teaspoons vanilla extract
1 teaspoon liquid stevia, optional
1/4 teaspoon xanthum gum, optional (helps prevent ice crystals and gives a creamier consistency)
Add-ins: (Broken chunks of brownies, cookies, fruit, or nuts), optional

Directions:

Blend all ingredients together in a bowl (except for add-ins). Taste for sweetness and make any necessary adjustments. Pour mixture into a shallow bowl or container and place in freezer. Partially freeze for about 45 minutes; stirring and folding with a rubber spatula about every 15 minutes. When partially frozen and thickened, fold in add-ins (brownies, cookies, fruit, nuts, etc.), if desired. Scoop into small 3-ounce disposable paper or plastic cups and freeze until set.

*Note: If confectioners sweetener is not available, simply grind granular sweetener in a small Magic Bullet type blender or grinder.


Friday, August 8, 2014

Grain-free Mexican Out - Beef, Shrimp & Chicken Fajitas!

After work this evening, hubby and I went all over the place trying to find a particular kind of "dog cookie" that have been our dog Spike's favorite since he was a puppy. It appears they are discontinuing them so we went everywhere trying to buy up any local remaining stock. I finally found 3 large boxes of them (about 12 pounds) and got them. It was late when we finished our search, so we just stopped by our favorite Mexican restaurant for a late dinner of fajitas. In the past, I've taken a couple of my grain free tortillas with me, but I love these fajitas as is, too, which is how I enjoyed them this evening. I get the Beef, Shrimp & Chicken Fajitas that are cooked along with onions, peppers, tomato, yellow squash and zucchini. I like that they add the squash and zucchini to their fajitas...I've never seen that added to them elsewhere. I also had a side of guacamole, salsa and sour cream. It was a delicious dinner. I'm going to try and recreate them at home soon! I snapped a quick photo of my grain-free meal for you to see how easy it is to eat out when you are grain free if you know what to order and what questions to ask. Enjoy!


Thursday, August 7, 2014

Simple Beef Brisket & Pepper Jack Sandwiches and a Chocolate Sneak Peek

It was a hot day here today. We got up to 94 degrees which is the hottest day of our summer so far. According to the weather report, we've hit 93 on two different days and we beat that today by one degree. At the moment, we are having thunderstorms with lots of lightning. I decided against heating up the kitchen while making dinner tonight. I used the leftover Slow Cooker Beef Brisket to make simple Brisket & Pepper Jack Sandwiches. I used my thick Low Carb Sandwich Rolls and piled them high with thinly sliced beef brisket topped with some of the cooked onions and a thick slice of Cabot Pepper Jack Cheese. To heat it up, I very thinly sliced the beef brisket and placed it in a pile on a plate (about the size and shape of the roll). I topped the pile of beef with a thick slice of pepper jack cheese and placed it in the microwave on medium heat for a couple of minutes just until the cheese began to melt. I used a spatula and transferred the mounds of beef and cheese over to our rolls. I served them alongside some of the leftover Broccoli Cheese Casserole from last night's meal. It was a perfect meal that used last night's leftovers and kept the kitchen cool. 

I'm looking forward to tucking one of these sandwich buns in my purse this weekend and using it as my "bagel" when we go to Einstein's for breakfast on Saturday morning. It will be perfect to slice in half and enjoy topped with cream cheese. I snapped a couple photos of my quick and easy sandwich below. I've also included a photo of my "chocolate recipe project" that I'm working on. These turned out good...but before I post the recipe, I want to make them again with a couple of little tweaks. I know what I want them to be like "in my head"...I just need to make them come out that way "in the pan" now!  ;-) Enjoy!


Coming soon to a blog near you...   ;-)


Wednesday, August 6, 2014

Slow Cooked Beef Brisket & Broccoli Cheese Casserole (Wheat Belly Style)

We are officially more than half way through the week...Yay! This evening, we're having Slow Cooked Beef Brisket for dinner. Late last night (close to midnight), I placed a 2.25 pound beef brisket in my slow cooker to cook overnight. I sliced half of a medium onion and arranged 1/2 of the slices on the bottom of the crock pot and then placed the brisket on top. I poured about 1/2 cup of dry red wine (Pinot Noir) over the brisket and then seasoned it with sea salt, black pepper and ground ancho chile pepper (for smokiness). I placed the remaining onion slices on top, a couple of garlic cloves, a couple tablespoons of torn fresh flat leaf parsley and then scattered a little over 1 cup of fresh grape tomatoes around the brisket, covered it and cooked it overnight until noon time today. I cooled and refrigerated it when I came home for lunch and when I got home this evening, I simply dropped the crock back into the crock pot base and turned it on low and let it reheat for a couple of hours while I got some things done around the house, which included making a Broccoli Cheese Casserole from the Wheat Belly 30-Minute or Less Cookbook. It was a quick and delicious dinner since my crock pot did most of the cooking ahead of time. 

While the brisket was reheating, I decided to experiment a bit with a new chocolate dessert recipe that I'm planning to post tomorrow! I'm going to taste test it this evening before I post the recipe...but I think (and hope) it's going to be a good one! I'm excited! A couple of years ago, I made a similar type of recipe very early on in my Wheat Belly journey and was criticized and challenged so much from a "not very nice man" that it literally took me almost 2 years before I've attempted a recipe like this again! He hadn't even made it or tried it...but he tried to convince me and others that it wasn't Wheat Belly friendly...but it was (he just didn't have his facts straight). The only thing not friendly was HIM! ;-)  So, if it turns out good, I'll post it tomorrow...I'm definitely not looking for any controversy and certainly not over a recipe! I snapped a couple photos of this evening's meal below. Enjoy!


Tuesday, August 5, 2014

Low Carb Sandwich Rolls (No Flax) - Low Carb & Grain Free

This evening I used some leftover cooked chicken to make a quick and simple chicken salad. I just mixed the shredded chicken with a bit of mayonnaise, sea salt and sriracha for a little kick. 

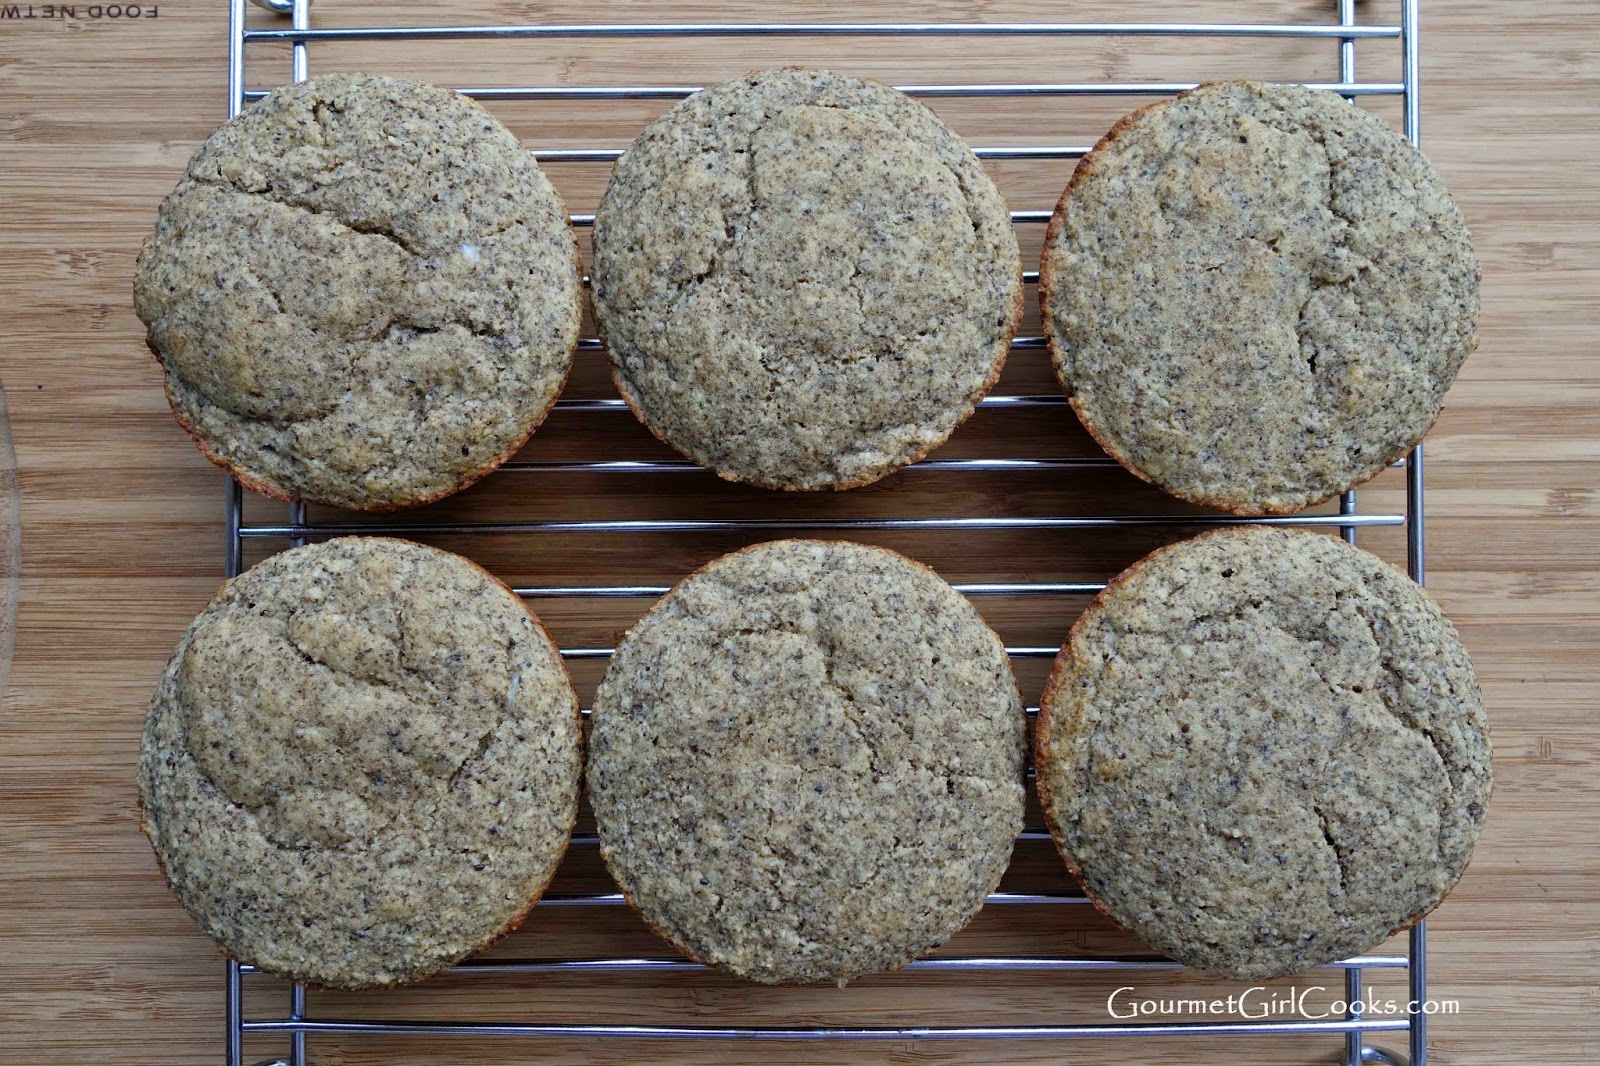
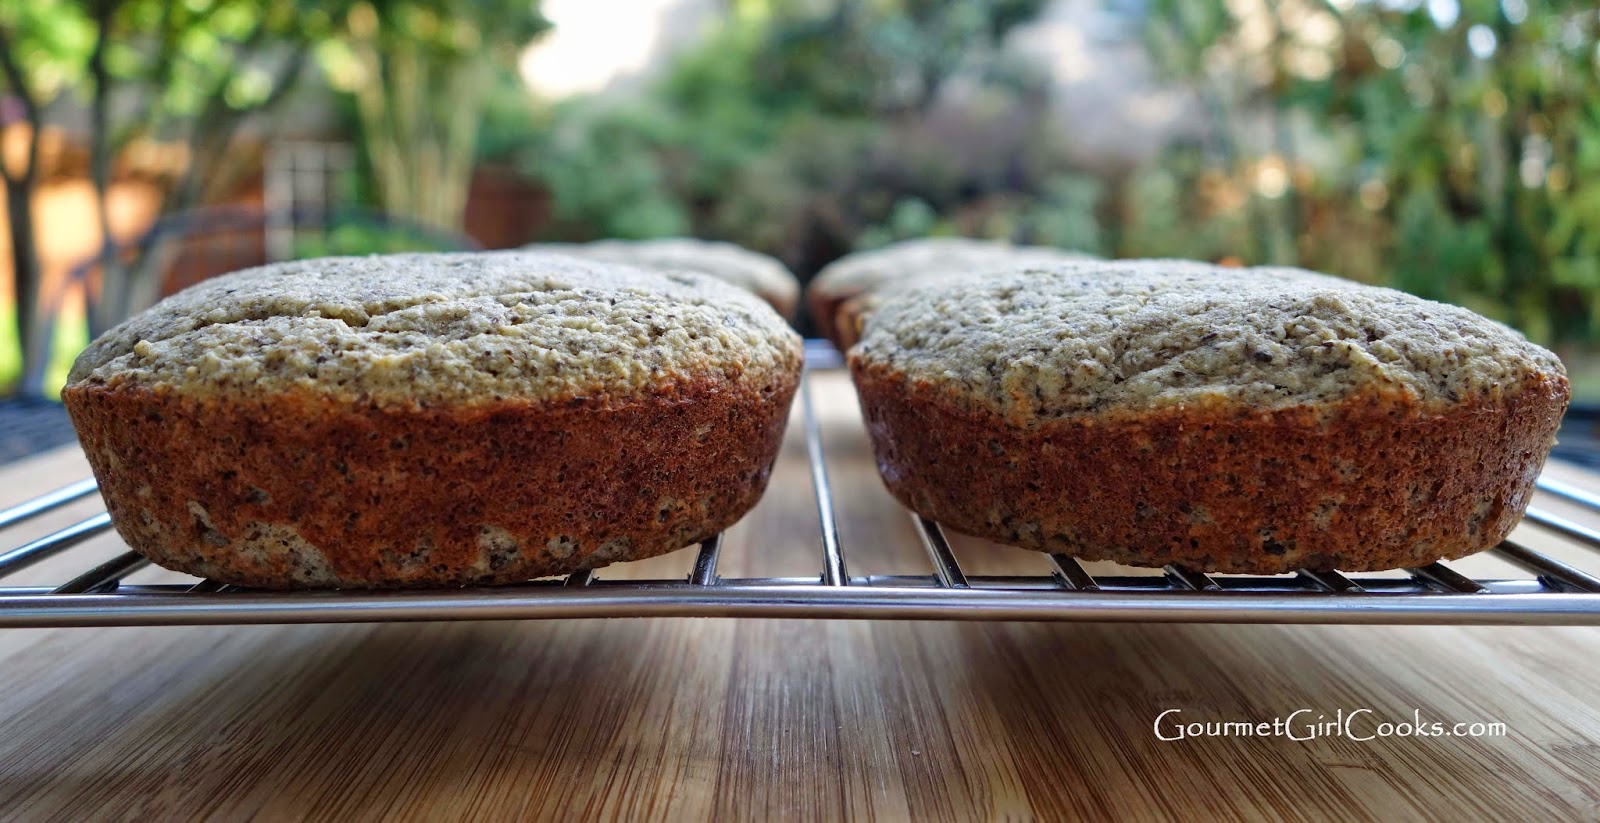
Due to the numerous requests on my blog, Facebook and email, I also decided to experiment with making sandwich rolls that did not contain flax this evening. I know that some of you either can not eat flax or simply don't care for it. These no-flax rolls turned out good. I will be honest though and tell you that I still prefer my Sesame Seed Sandwich Buns made with golden flax...but these are good too. So, if you are one of the many that have asked me for bread or rolls without flax...these are for you! 

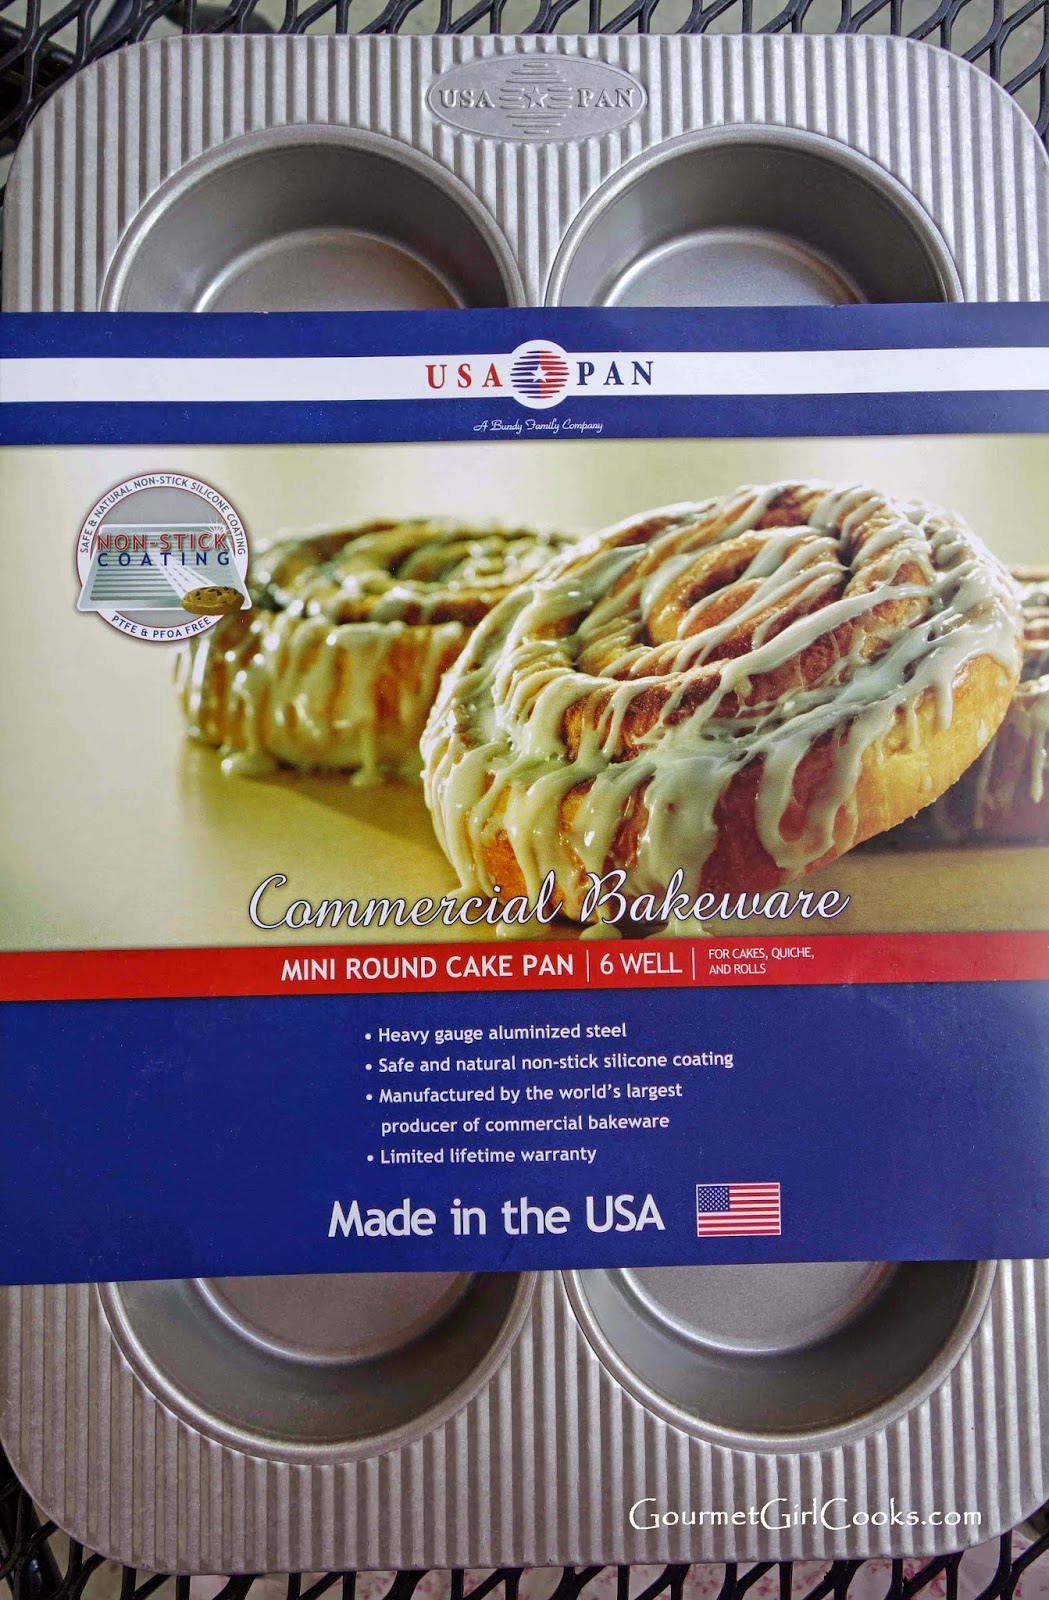
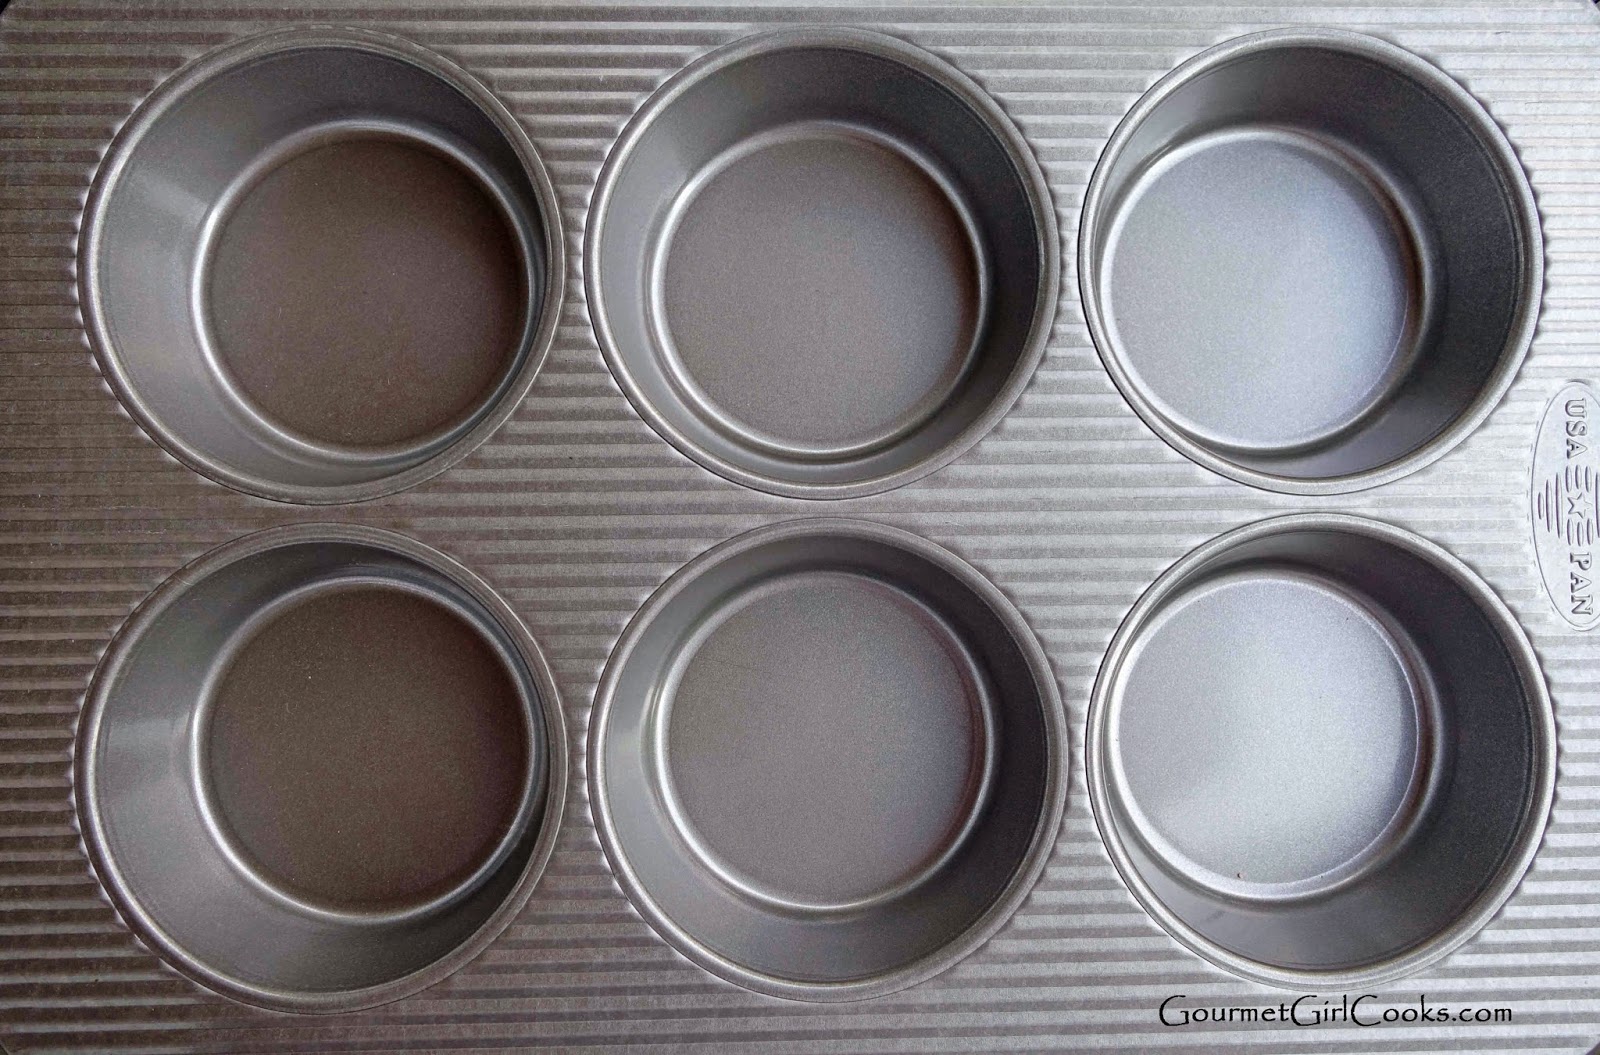
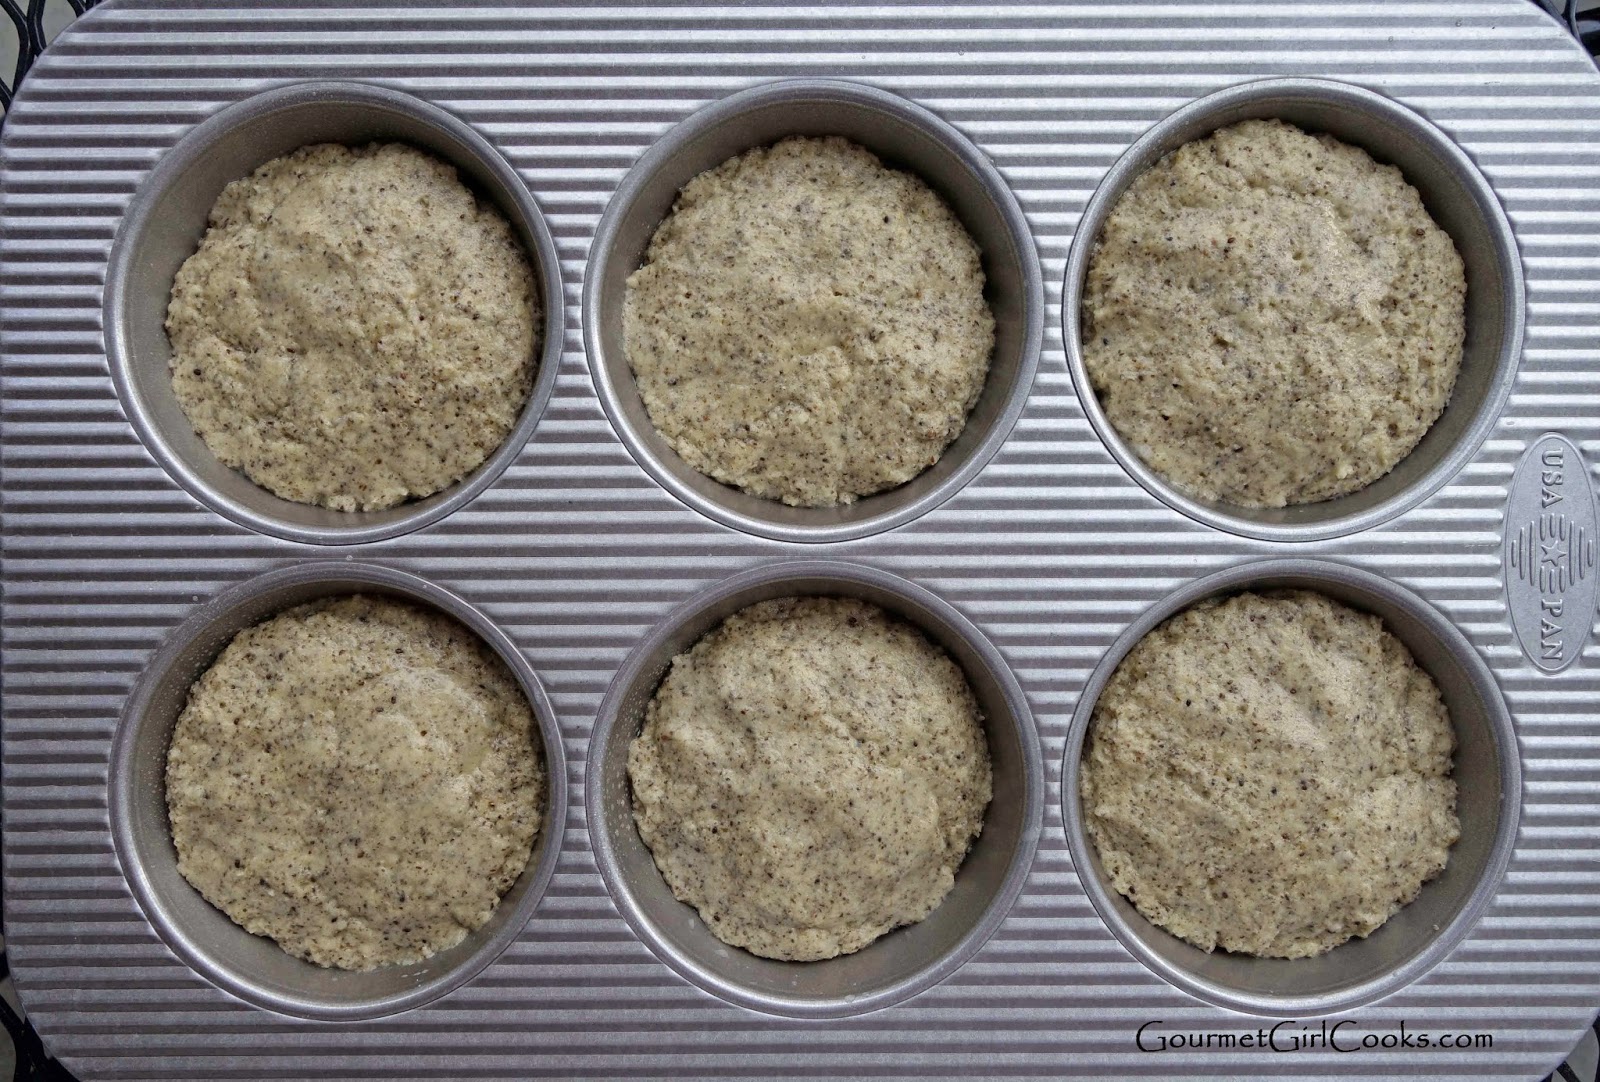
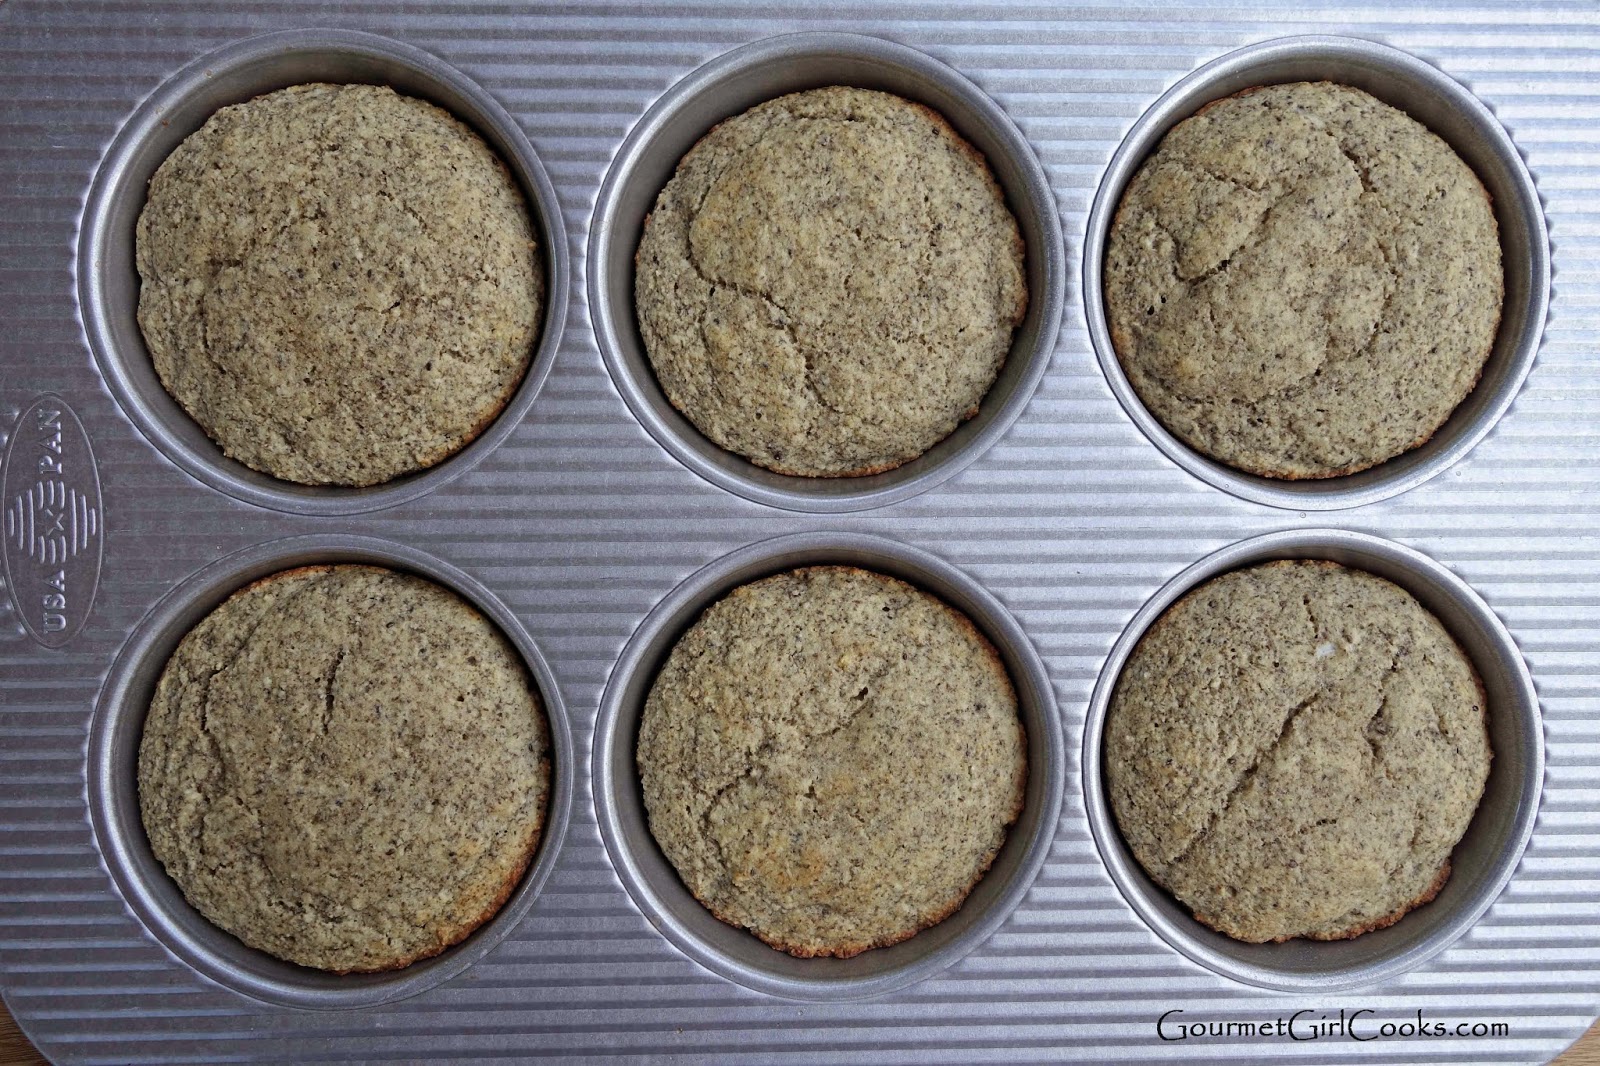
I decided to try out my new USA mini cake pan to bake these in. I usually use my muffin top pan for sandwich buns and it makes perfectly shaped thinner sandwich buns, but I wanted to see if I could make a thicker roll using this pan since the wells are deeper which would make them bake "up" and not "out" like the others. They turned out nice and thick (at least 1 inch thick, maybe a little thicker). So, if you are looking for a thicker sandwich bun or roll...this pan works great. I snapped a few photos of my simple chicken salad sandwich as well as the rolls. I've included the recipe for my flax-free Low Carb Sandwich Rolls below. If you are unable to find ground chia seeds, you can simply grind whole chia seeds in a coffee grinder or spice grinder until powdered like flour. Each of these thick rolls contain about 6 net carbs. Enjoy!


Dough ready to pop into the oven...
Fresh out of the oven
Cooling...

Monday, August 4, 2014

Greek Style Spinach-Feta Pie - Low Carb, Wheat & Grain Free

This evening I made my Greek Style Spinach-Feta Pie for dinner. It's one of my favorites and its been way too long since I've made it. I used to make it almost every week and for whatever reason have taken a break for the last few months. When I created this recipe, it was not too long after going grain free 2 years ago. It was inspired by missing one of my favorites, Spanakopita (spinach and feta cheese wrapped in phyllo pastry dough). I tried to capture the fresh flavors of it in a quiche-like pie. My favorite way to eat it is in the simple almond flour pie crust that's just mixed together and pressed into a pie dish. I've enjoyed it without the crust and it's delicious that way too and a bit quicker to make if you want to cut about 15 minutes or so off of the prep time. I snapped a few photos of it below. The recipe can be found here: ----> Greek Style Spinach-Feta Pie. It's great for breakfast, lunch or dinner...and on rare occasions, I've actually had it for all 3 meals in the same day! I guess you can say I'm a bit obsessed with it. Enjoy!


Part of why I chose this oven is because it's huge and has a large window

BOOM!


Sunday, August 3, 2014

Chicken & Cheese Quesadillas and Kitchen Update Photos

Today was a long and busy day. Hubby and I worked all day long deep cleaning our house after all the work that has been done the last couple of months during our kitchen renovation. We didn't get everything done but we put a huge dent in it. 

Both my sons came for dinner this evening and I took advantage of a rotisserie chicken that I bought this morning and brought home and pulled all the meat off of to use this evening to make quick Chicken & Cheese Quesadillas. I cooked peppers and onions to add to our quesadillas. They turned out great. I sandwiched shredded chicken, cheddar cheese, Moneterey pepper jack cheese, cooked red and yellow bell peppers and onions in between 2 of my Grain-Free Tortillas. I placed a tortilla in a dry nonstick pan over medium heat and then layered cheese, chicken, veggies and more cheese and then topped it with another grain-free tortilla and placed a glass lid over the pan for a couple minutes to melt the cheese that I used as "glue" to hold both tortillas to the filling. When the bottom tortillas get nice and toasty and crisp, I flip it over and heat the other tortilla until toasty while the filling ingredients get nice, hot and melty. I like to slide the quesadillas onto a rack to set up a bit before cutting into quarters. Using the rack keeps the bottom tortilla crisp as it cools a bit. If you move it directly onto a plate or cutting board, the bottom tortilla tends to soften and get a little soggy. After about 5 minutes or so I move them to a cutting board and cut into quarters. They are simple to make. I served them with salsa, sour cream, fresh diced tomatoes and avocado. I snapped a couple photos below. I've also included a couple photos I took of my kitchen this evening after the boys left. They are not the best photos because it was already dark. I'll take better photos soon when it's bright during the day. I'm just so glad it's done! :-) Enjoy!


Saturday, August 2, 2014

Grilled Eggplant Lasagna - Low Carb & Grain Free

We had a really nice day today. Yesterday I had a doctor's appointment in the morning and then took the rest of the afternoon off and painted my kitchen. I changed the green color in the main part of the kitchen (but left the green color in the bumped out eating area). I painted the kitchen a shade of brown called Oak Barrel (by Sherwin Williams) to set off the backsplash tile and granite counters. I think I'm finally about done with the kitchen! After hubby got home from work last night, we returned the extra tile and supplies back to the store that we didn't need and then did our Costco run. I was tired when we got home after 9:00 so I just ate some rotisserie chicken (from Costco) and a couple squares of chocolate. How does that sound for dinner...chicken and chocolate! LOL Even though I was tired, I went ahead and baked 2 loaves of my grain-free bread. I made both versions (the one with flax and the one without it). I wanted to be able to sleep in today (which I did) and then have a late breakfast at Panera or Einsteins (which I also did). I took a few slices of my grain-free bread with me in a little baggie and just got coffee and cream cheese to put on my bread while hubby had his usual bagel (he is not grain free). After breakfast, we hit a few stores and ran some other errands.

While out shopping today, I picked up some eggplant to make Grilled Eggplant Lasagna this evening. I grilled the eggplant instead of baking it in the oven to give it a little extra flavor. I used Rao's spicy Arrabbiata sauce (only half of a jar) along with ground beef and onions to make a super thick (non-juicy) meat sauce. I also added a couple heaping tablespoons of organic sun dried tomatoes packed in oil to add additional tomato flavor without adding extra liquid to my sauce. The key to making any kind of grain free lasagna is to use LESS SAUCE. If you like more sauce, heat it and add it when you serve it. Sometimes I ladle it on top or place my piece of lasagna in a little puddle on my plate. This will ensure your lasagna isn't swimming in liquid. I layered fresh mozzarella, provolone, ricotta and grated Parmesan cheeses in my lasagna. I snapped a few photos below and included my easy peasy recipe as well as photos of the various steps. You can add more or less cheese to your own taste. If you only follow one of my recommendations...make it "use less sauce." This is definitely one of those situations where "less is more." Enjoy!


Meat sauce, 1st layer of eggplant, provolone, ricotta and fresh mozzarella
2nd layer of meat sauce
Grated Parmesan
2nd and final layer of grilled eggplant
3rd and final layer of meat sauce
Final topping of provolone and grated Parmesan...ready for the oven
Out of the oven
BOOM!
Found this at Sprouts...it's sweetened with erythritol and it's great!
Made a batch of these cookies for dessert with the dough I made and refrigerated last week