As if there wasn't enough to deal with already, another very difficult family situation arose this past year involving one of my grown children that I won't get into the specifics of because it is an extremely private and painful matter. Our family was tested by someone that did unthinkable and inexcusable things to one of my children; things that hurt our family very deeply. What this person did was dishonest, cruel and unforgivable and I will leave it at that. There is nothing someone could do to hurt me more than to hurt one of my children, regardless of how old they are. Fortunately, our family is strong and resilient and we continue to move forward from this nightmare. My goal now is to get back to the things that I love and that bring me joy...like cooking and blogging. I want to do this...and more importantly, I need to. So, this is step one of that process. If you wrote to me or tried contacting me these last couple of months, and I didn't respond, I am sorry. I've been taking baby steps and posting a bit on Facebook and Instagram...but my blog is where I share myself as well as my recipes with you. So, be on the lookout for me to begin showing up in your feeds again. Thank you for your patience and understanding while I took this necessary break. I have missed blogging and my interactions and communication with so many of you over these past almost 6 years now. Although we have never met, I feel like I really know so many of you and I'm excited and look forward to returning to my real world. I'm BAAAAACK!
On another note, I know Saint Patrick's Day is coming up and many of you in the past had requested I make a grain and gluten free version of Irish Soda Bread. I created a traditional version several years ago. There were several variations...traditional with raisins and then for those that don't like raisins, I created one with dried cranberries and/or blueberries instead. I also created smaller individual Irish Soda Bread Rolls. So, here you go, below is the recipe for my Irish Soda Berry Bread (just replace the berries with 1 ounce of raisins if you prefer). The links to the other recipes are in the bolded links in this paragraph. Enjoy!


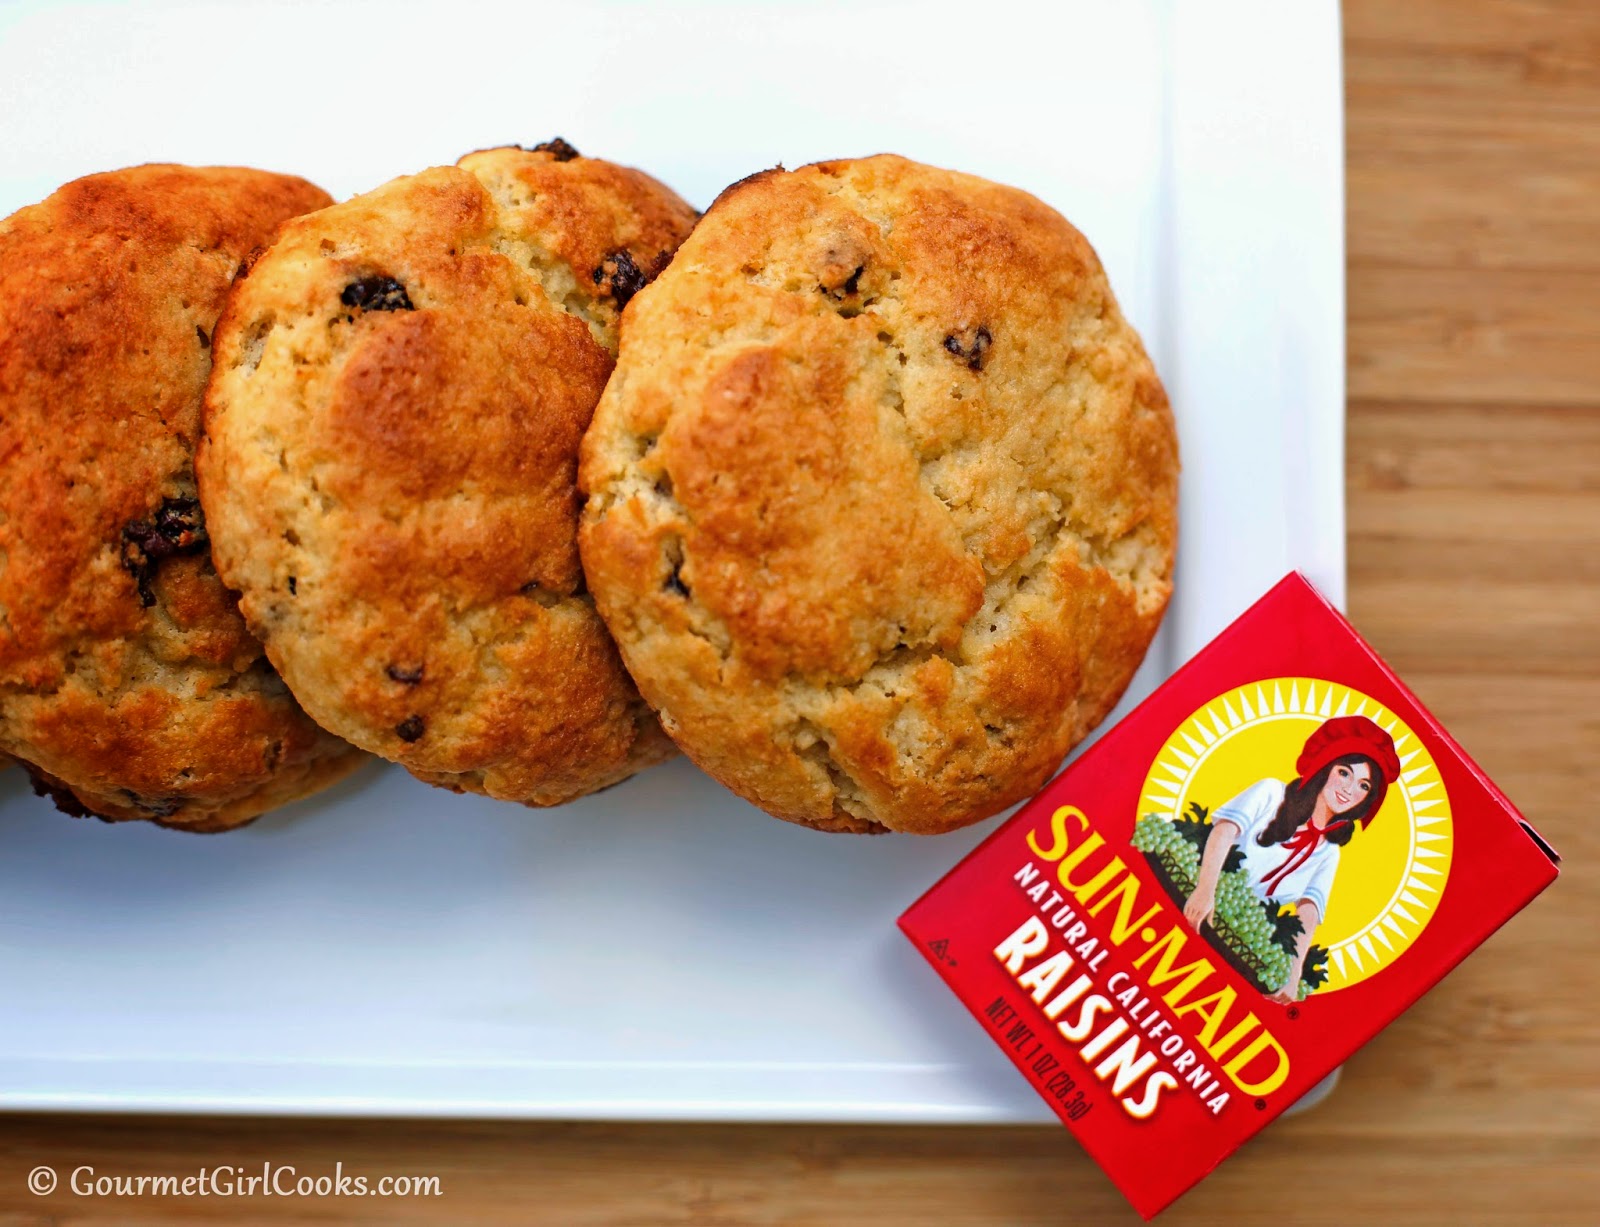 |
| Irish Soda Bread Rolls |
Irish Soda Berry Bread
Ingredients:
2 cups blanched almond flour
1/2 teaspoon sea salt
1 teaspoon baking soda
1 teaspoon baking powder
3 tablespoons Swerve Sweetener (or other granular sweetener)
2 tablespoons diced chilled butter
1/2 teaspoon xanthum gum
3 to 4 tablespoons dried cranberries or blueberries, finely chopped
2 teaspoons coconut flour
1/2 cup buttermilk
1 large egg
Directions:
Preheat oven to 350 degrees F. Lightly grease an ovenproof skillet.
In a medium bowl, add almond flour, salt, baking soda, baking powder, sweetener, and whisk until well combined. Using a pastry cutter/dough blender, cut in butter until mixture resembles coarse meal. Whisk in xanthum gum.
In a small bowl, toss chopped berries with coconut flour until lightly dusted (this keeps them from sticking together); stir berries into dry mixture.
In a glass measuring cup, add buttermilk and egg and lightly beat. Make a well in center of dry mixture; pour wet mixture into dry ingredients and mix together with a rubber spatula just until dough pulls together into a soft ball. Shape dough with hands lightly dampened with water into a rounded loaf and transfer to a lightly greased 10-inch cast iron or oven proof skillet, baking sheet or cake pan. Use a sharp serrated knife to score top of loaf with "X-shaped" 1/2-inch deep slashes.
Bake until golden brown, about 32-35 minutes. If bread begins browning too quickly, lightly tent with a piece of aluminum foil. If additional browning is desired, reduce heat to 325 degrees and bake an additional 5 to 7 minutes longer. Bread is done when a toothpick inserted into the center comes out clean. Cool in pan for 5 minutes; carefully transfer bread to a wire rack to cool. Slice and serve with butter or jam at room temperature, or lightly toast sliced bread in a 350 degree F oven for a few minutes.
*Note: If adding raisins, finely chop a 1-ounce box of raisins. If preferred, do not add fruit and enjoy bread plain, or substitute chopped nuts of your choice.