These rolls are amazing! They're topped with a vanilla glaze that can either be used as a fluffy vanilla frosting when chilled or a luscious vanilla glaze when warmed and spread over one of these warm sweet rolls. I tested them out with frozen organic wild blueberries as well as dried blueberries. I prefer to glaze them one at a time as I eat them. I simply pop one into the microwave for 10 seconds or less and spread it with the glaze mixture and let it melt and run down the sides. If serving them to a group, just glaze and top them all at once instead. You could toss in a couple diced strawberries and swap them for half of the blueberries if you wanted and topped with the white vanilla glaze, red strawberries and blueberries, they would make the perfect Labor Day Weekend breakfast! I found them to be a cross between a buttermilk biscuit and a sweet roll...you know, sort of a "biscuit-like sweet roll." Check out my photos and recipe below. Enjoy!

 |
| Scoop |
 |
| Pat and smooth with dampened fingertips |
 |
| Before baking |
 |
| After baking |


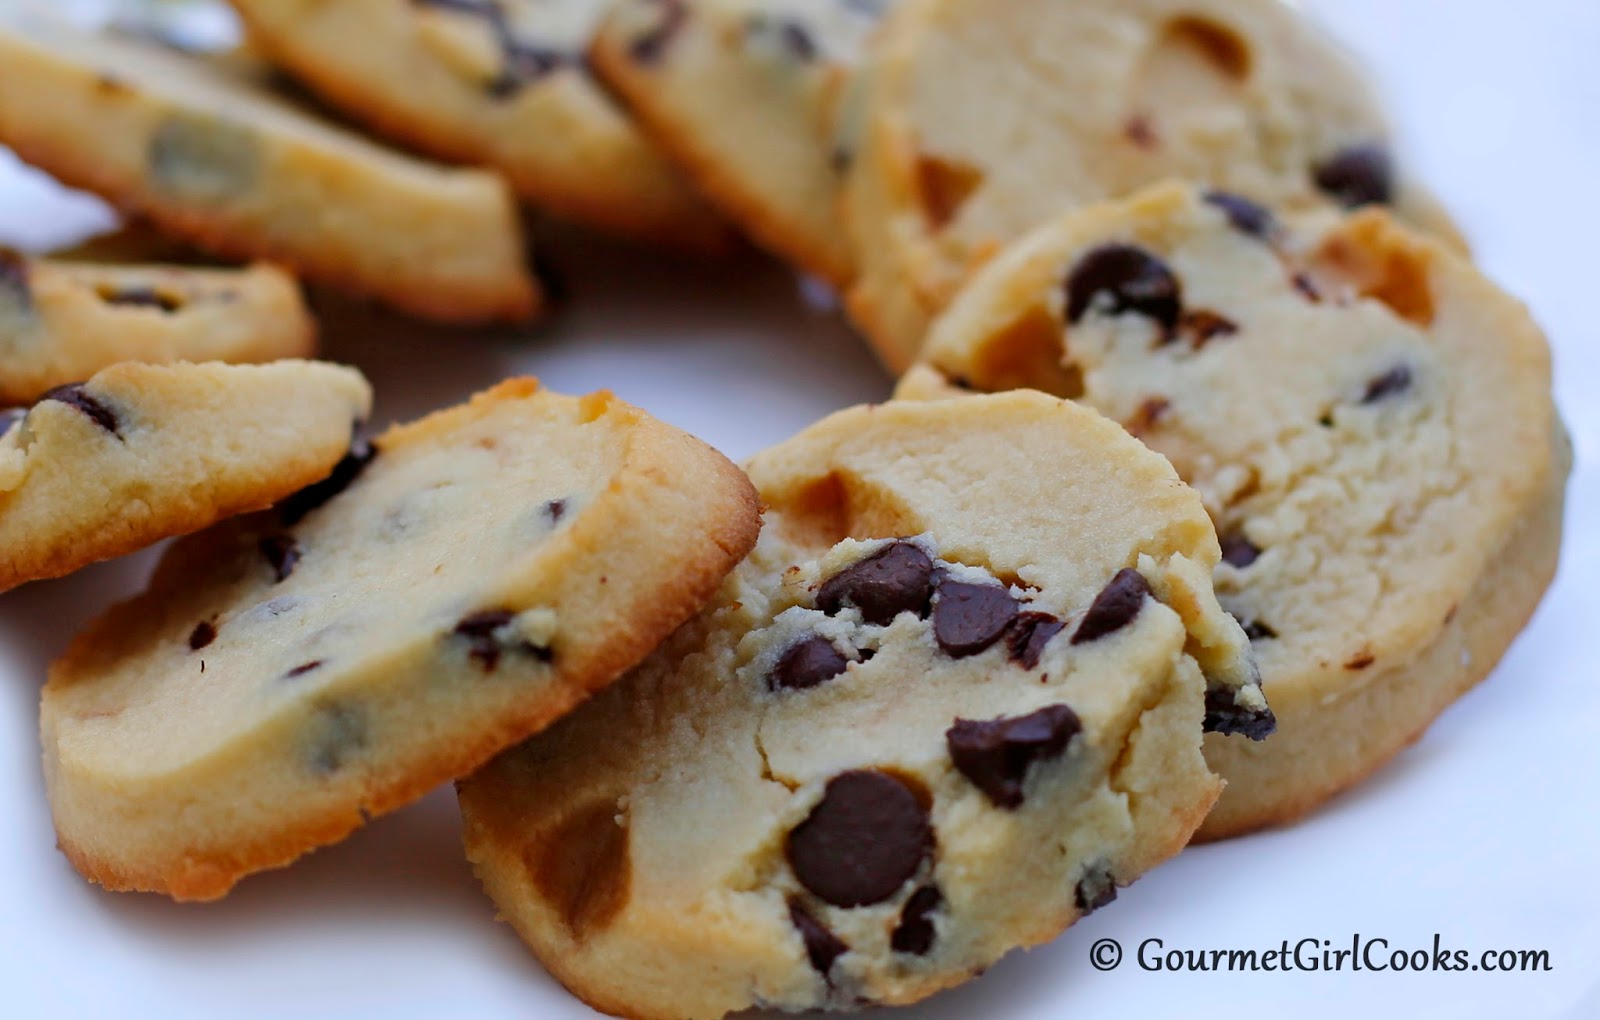
Blueberry Breakfast Rolls
Makes 12
Ingredients:
3 cups blanched almond flour
1/2 cup confectioners style Swerve Sweetener (or other powdered sweetener)
3 teaspoons baking powder
1/2 teaspoon baking soda
1/2 teaspoon sea salt
3 Tablespoons chilled butter, diced
3 ounces very cold brick style cream cheese, diced
2 large eggs
1/4 to 1/2 cup cold buttermilk (*see note below for directions on how much to use)
1/2 cup of thawed “frozen wild blueberries”, drained and patted dry (or dried blueberries)
Directions:
Preheat oven to 350 degrees F. Grease a muffin top pan or line a large baking sheet with parchment paper.
In a medium mixing bowl, add almond flour, sweetener, baking powder, soda and salt; whisk to mix well. Add diced chilled butter and cream cheese. Using a pastry/dough blender, cut butter and cream cheese into dry ingredients until moistened and crumbly.
Crack both eggs into glass measuring cup; fill with buttermilk to the 3/4 cup mark (total mixture of eggs and buttermilk should equal 3/4 cup). Make a well in the center of the flour mixture; add buttermilk and egg mixture and mix just until it pulls together into a soft sticky dough. Fold in the blueberries. The dough will be light and fluffy.
Scoop dough onto prepared pan or baking sheet using a 3-tablespoon size retractable scoop, spacing evenly apart to make approximately 12 equal sized mounds. Lightly tamp down tops to barely flatten top only (do not flatten biscuits). Bake for approximately 20-22 minutes or until light golden brown. Allow to cool for about 5 minutes, then transfer to wire rack to complete cooling. Prepare optional vanilla glaze and spread on top of warm biscuits, if desired. Makes 12.
*Notes: Because eggs vary in size and volume, add them to the glass measuring cup first and then fill with buttermilk to the 3/4 cup mark (amount of buttermilk used will be between 1/4 cup to 1/2 cup, depending on the actual volume of eggs). The total liquid mixture should equal 3/4 cup. A tip to keep frozen blueberries from bleeding into the batter is to thaw them first, drain off juice; gently blot and pat dry with paper towels. Spread out on a parchment lined plate or baking sheet and freeze to keep from turning batter blue when folding them in.
Vanilla Glaze:
1 1/2 Tablespoons softened cream cheese (very soft and almost melted)
7 to 8 Tablespoons heavy cream
1 teaspoon vanilla extract
1/4 cup confectioners style Swerve Sweetener (or other powdered sweetener)
Few drops liquid stevia, to taste
To Make Glaze: Combine cream cheese, confectioners style sweetener, and vanilla. Add cream a few tablespoons at a time, mixing vigorously after each addition until smooth and desired consistency. To adjust sweetness without altering glaze consistency, add a drop or two liquid stevia, to taste. When chilled, this glaze behaves like a rich and fluffy frosting. When warmed or spread on a warm biscuit, it melts and behaves as a glaze. Refrigerate any leftover glaze.
*Note: If desired, add 1/2 to 1 teaspoon finely grated lemon zest to glaze.