Thursday, July 17, 2014

Grilled Caprese Chicken - Fresh, Low Carb & Delicious

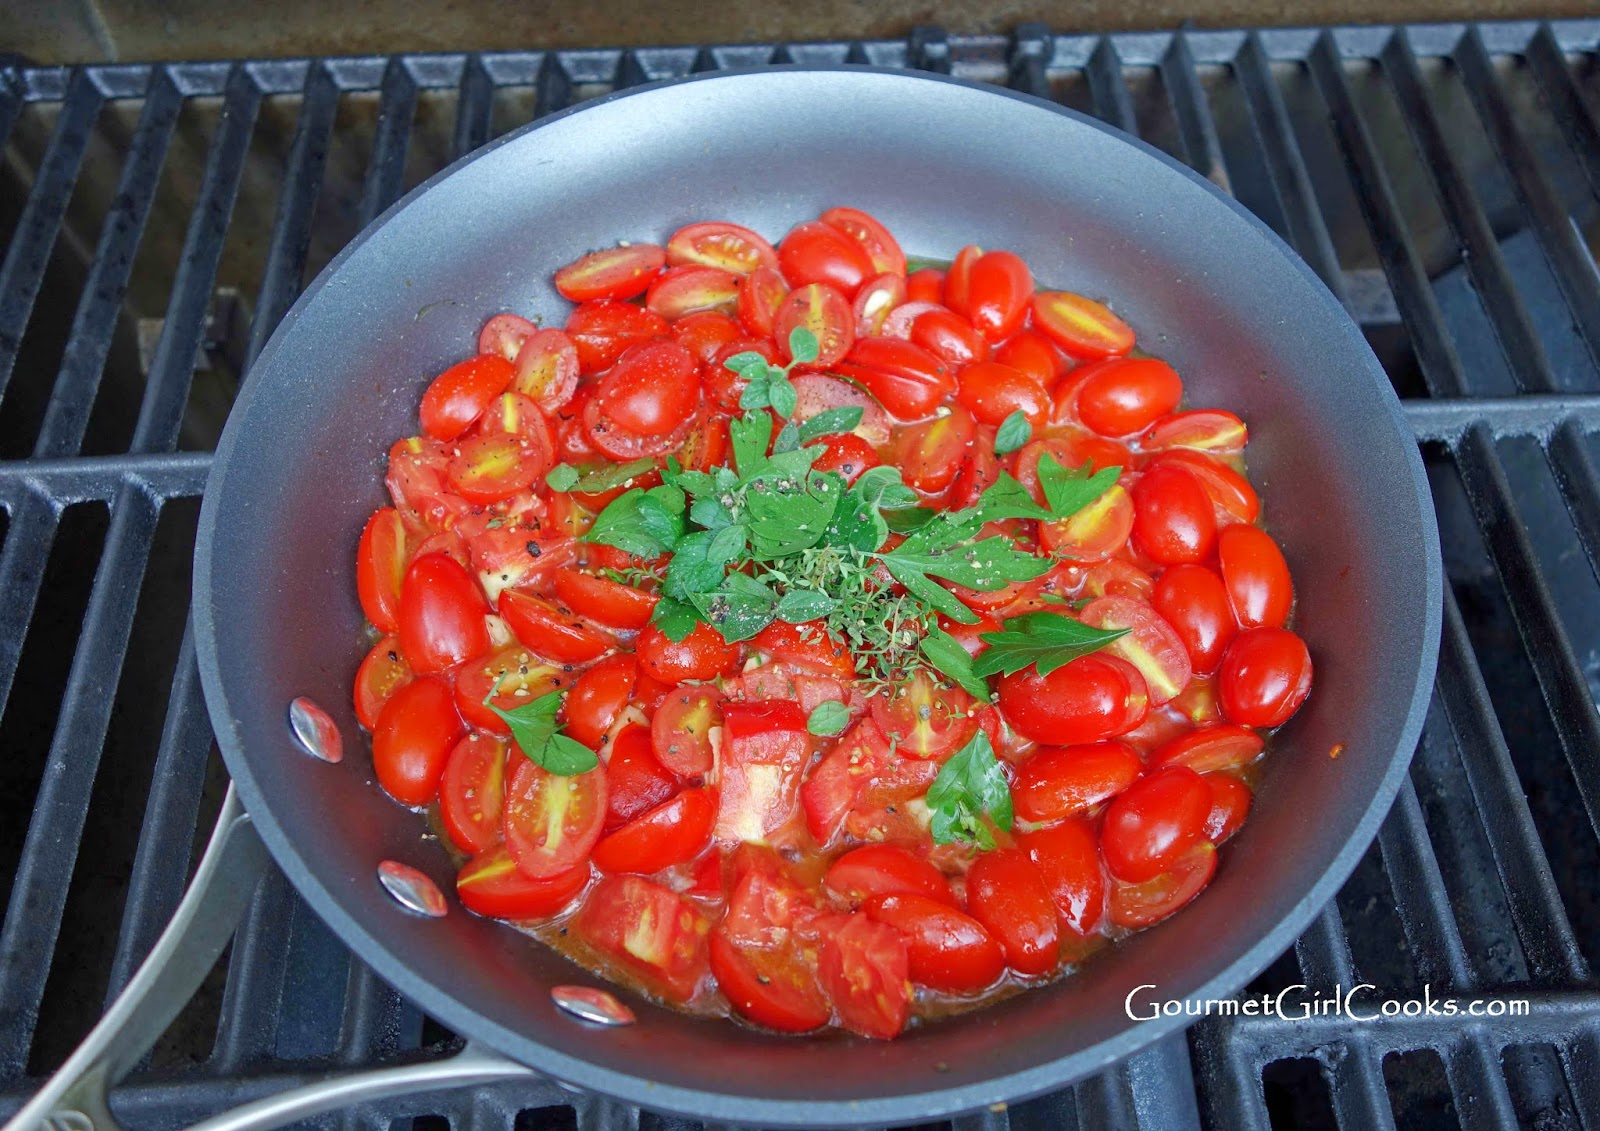
This evening I wanted to make a meal that would use up some of the ingredients I had an abundance of...namely fresh grape tomatoes and herbs that I had picked from our backyard patio garden. We had too many tomatoes to use up on salads...so I decided to use them as a base for fresh tomato sauce that I made on top of our grill in one of my ovenproof skillets (I used the grill as an outdoor oven to keep the house cool). I had some chicken cutlets in the fridge as well as fresh mozzarella, shaved Parmesan and lots of fresh basil, oregano, parsley and thyme growing in pots out back. All these ingredients pointed me in the only logical direction for dinner...Grilled Caprese Chicken.

It was so easy to make; below are the simple steps (no exact measuring is required):

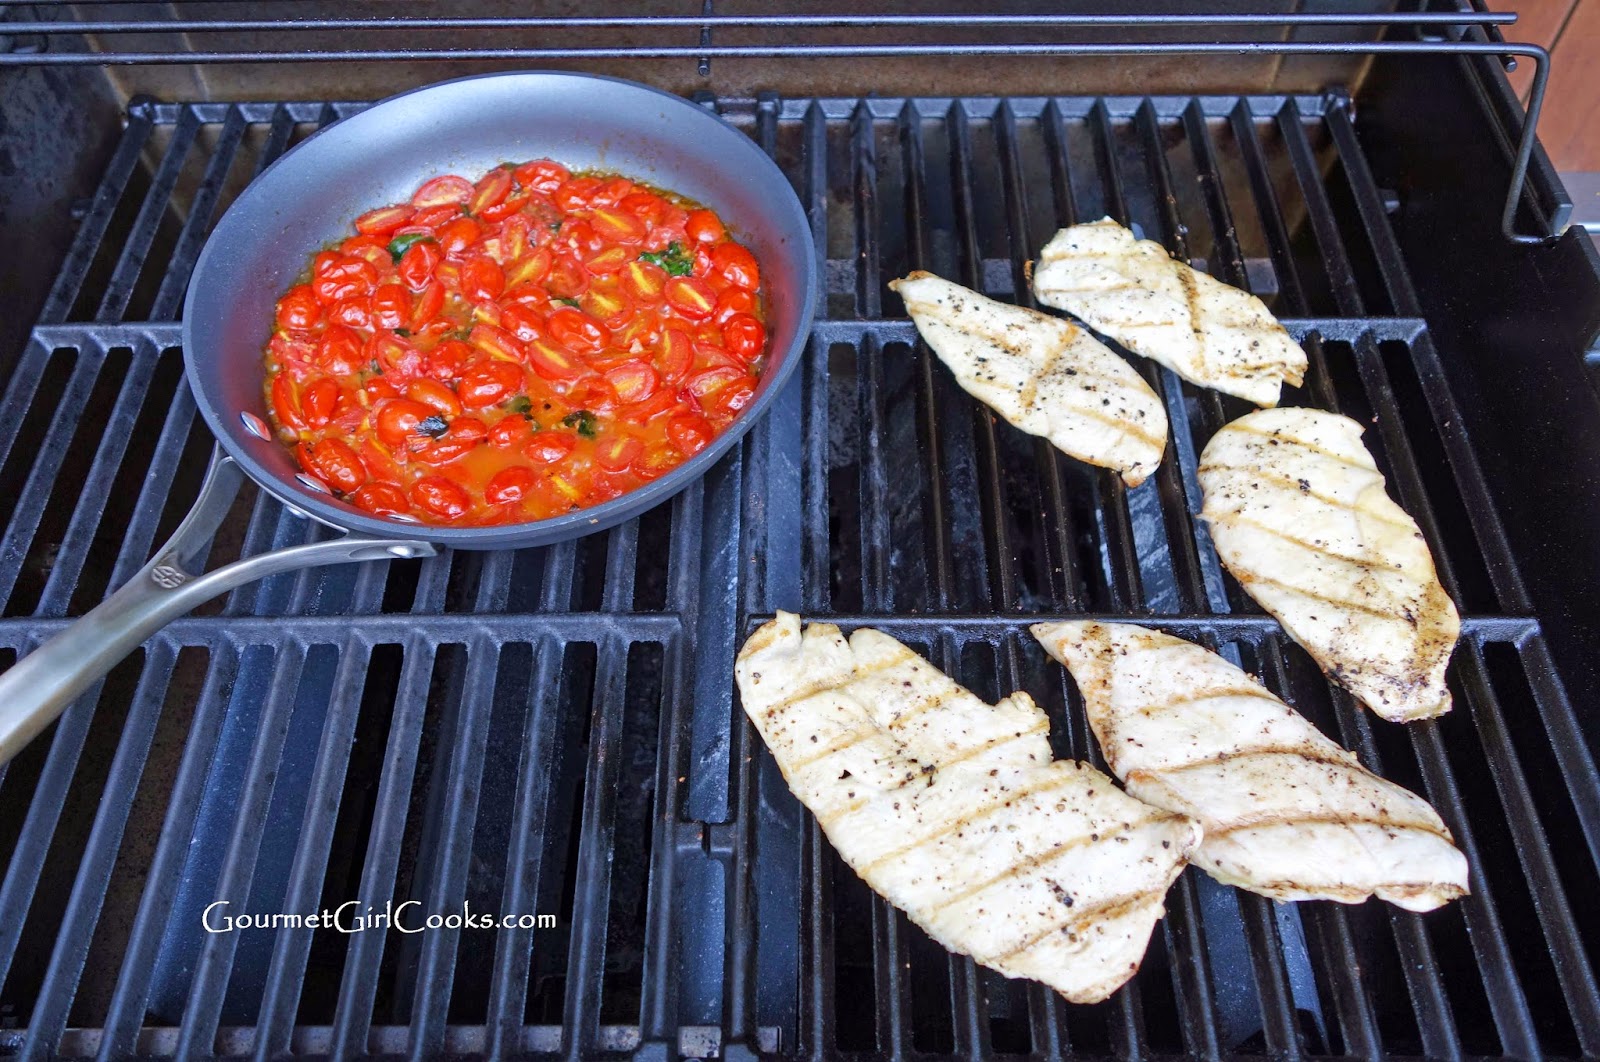
  • I minced a large clove of garlic and added it to an ovenproof skillet with a splash of olive oil and placed it on the grill to begin cooking. 
  • After a couple minutes, I tossed in a bowl of fresh grape tomatoes that I had sliced in half lengthwise. 
  • I added sprigs of fresh thyme, oregano, Italian parsley and seasoned it with a few grinds of sea salt and black pepper. While that was cooking I spritzed the chicken cutlets with olive oil and seasoned them with salt and pepper. I placed them on the grill to cook alongside the simmering fresh tomatoes and herbs. The cutlets only take about 5 or 6 minutes to cook. I added them in a single layer to my skillet, nestling them in the fresh tomato sauce. 
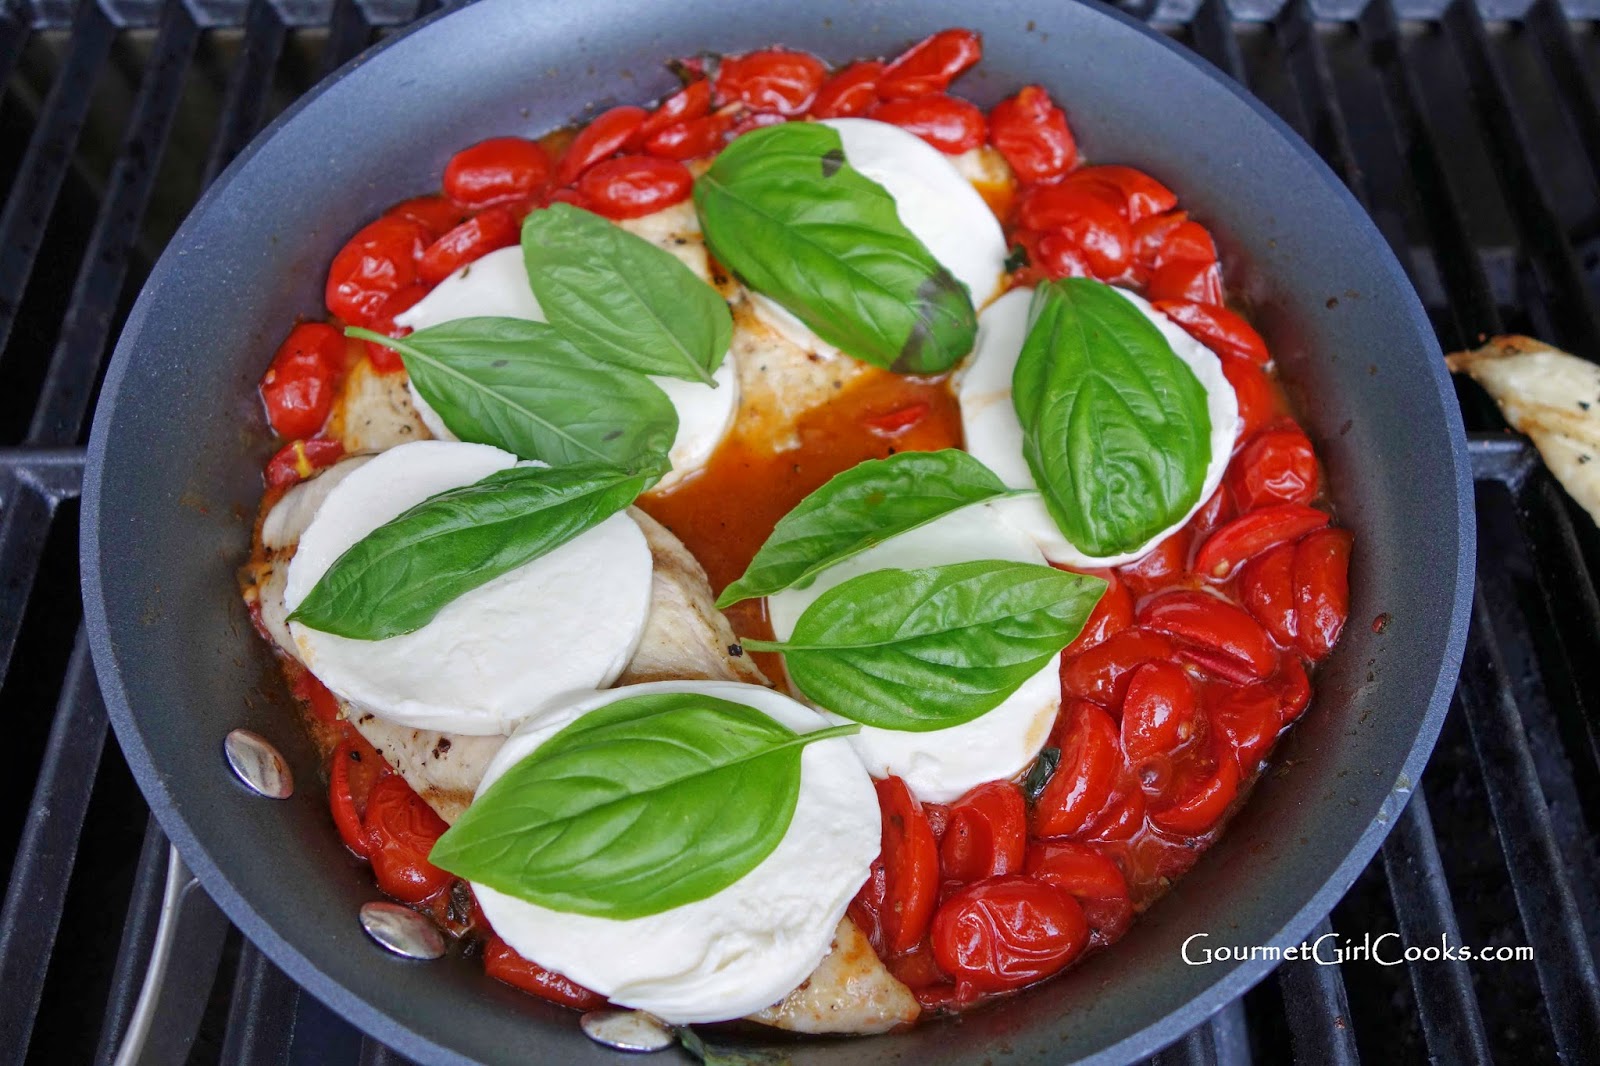
  • I topped them with fresh mozzarella slices, fresh basil and then placed another cutlet on top to sandwich the cheese and basil. 
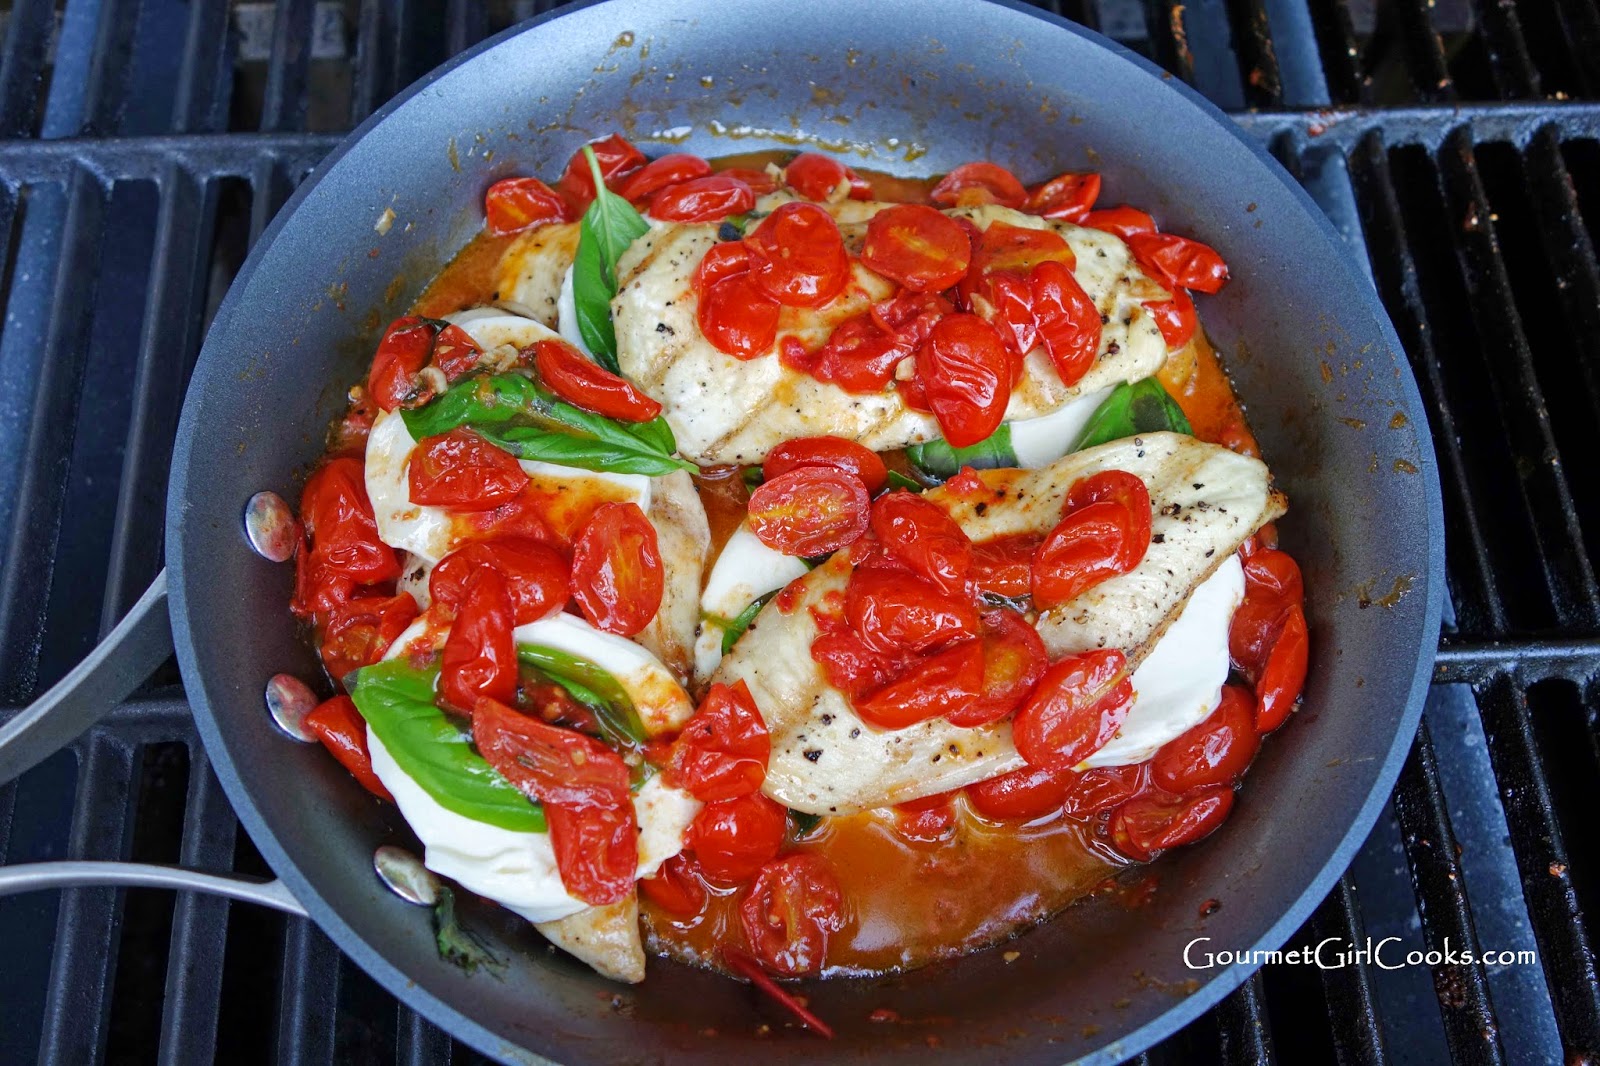
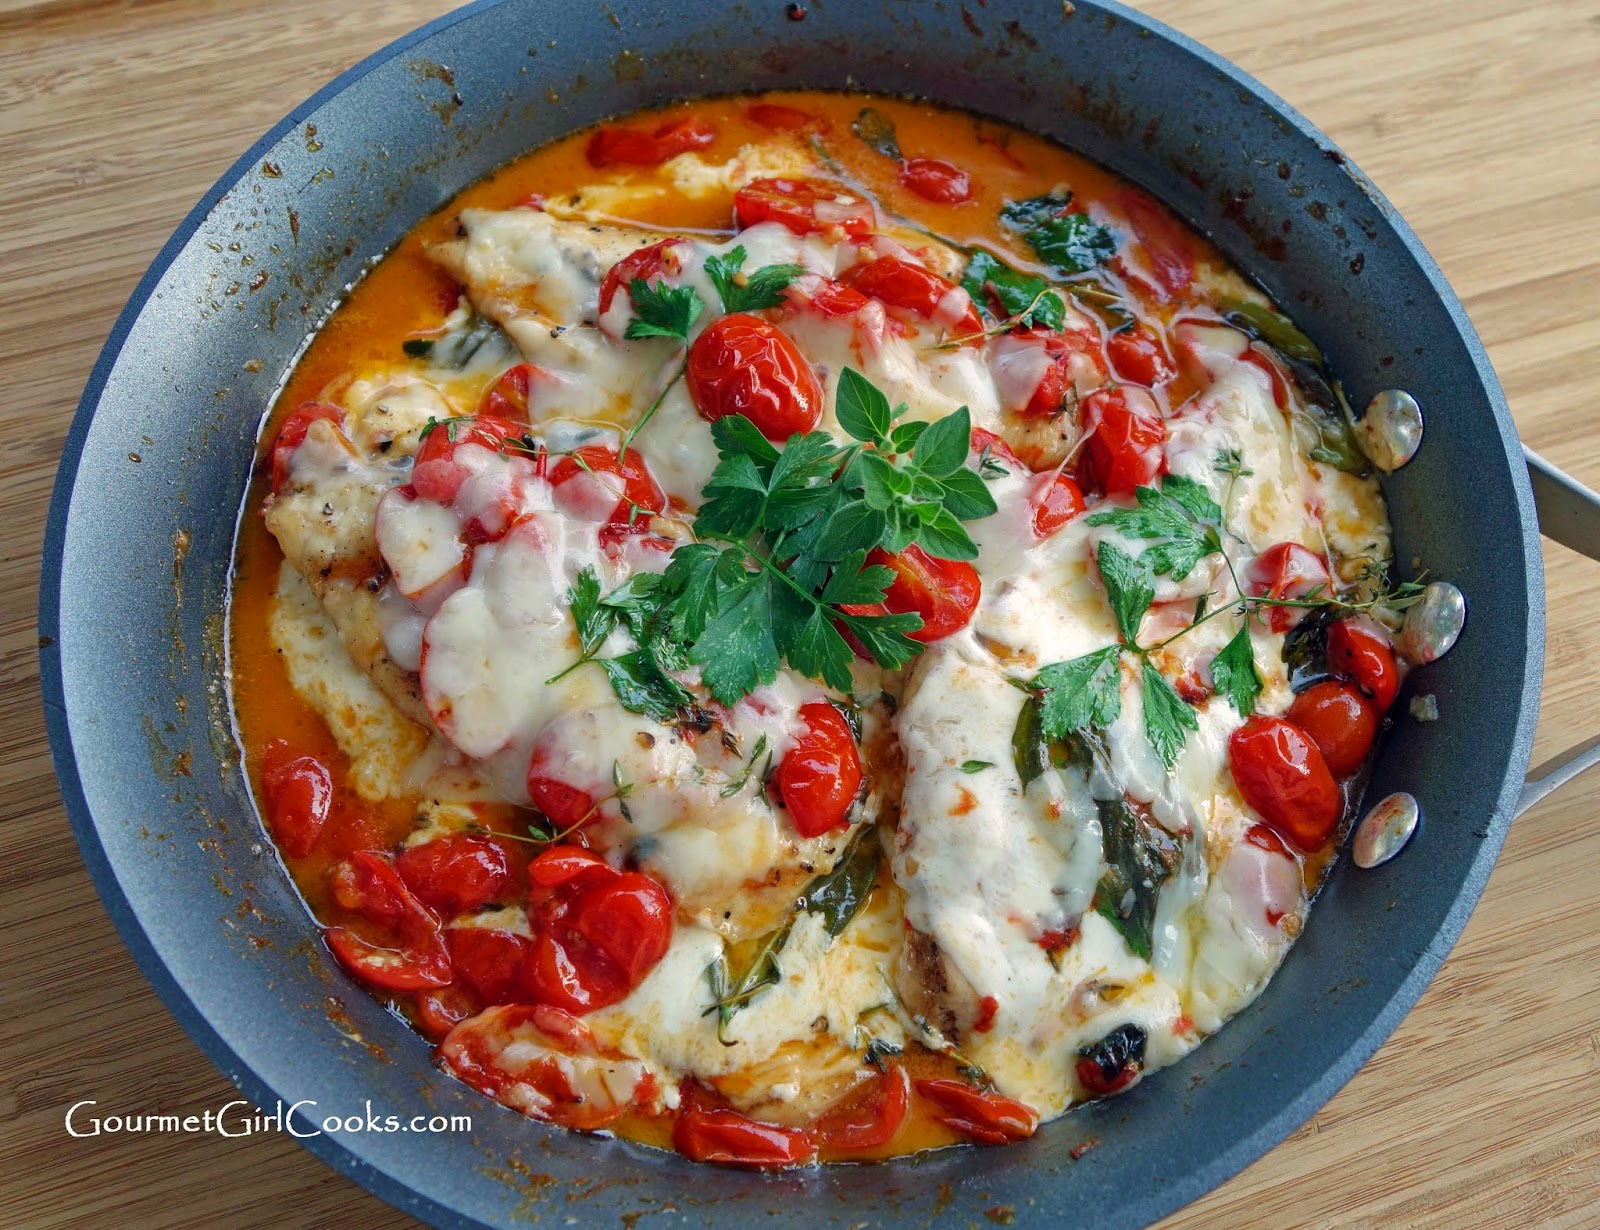
  • I spooned some of the cooked tomatoes on top of the chicken and then topped everything with shaved Parmesan cheese and let it "bake" on the grill for about 5 minutes until everything was melted and ready to eat. 
It was absolutely delicious and had all the fresh flavors that I love about summertime. This is one of those simple recipes where no measuring is required...you just use what you have and add as much or as little of each ingredient as you like. I snapped a few photos for you to see below. Enjoy!


Fresh mozzarella, shaved Parmesan and freshly picked herbs


BOOM!

Wednesday, July 16, 2014

Wild Salmon w/ Peppered Dijon Cream Sauce

Today was an unseasonably pleasant day here for a change. It was in the 60s this morning and it felt like a cool fall morning. It was absolutely gorgeous.

Yesterday, we had someone come and remove a big hornets nest we stumbled upon over the weekend in our backyard. I am so relieved to have that out of our yard. After hubby got home from work last night, we ran all over the Atlanta area trying to find and purchase our backsplash tile for the kitchen after our installer called and said he would be here Sunday to begin installation and they hoped to finish it on Monday. He told us to go ahead and purchase the tile. Instead of waiting until Saturday to go pick it up, we decided to go after work last night. When we got there, the store that had it in stock a week ago no longer had any...so we rushed far across town to another location to try and get there before they closed at 9:00. We found part of the tile, but they didn't have my mosaic border...yikes! We didn't get home until after 10:30 last night and hadn't even had dinner yet. Needless to say, we were not only disappointed but exhausted. We planned to go to another a third far away location this evening...but I just needed a break, so we stayed home. If it's meant to be...we will find it in time.

For dinner this evening, I prepared the large 2-pound wild sockeye salmon fillet I picked up at Costco over the weekend. I brushed it with olive oil and seasoned it with a little salt and pepper and then placed it on a medium hot grill (skin side down) and roasted it for about 10-12 minutes until done (cooking it outside kept my kitchen cool). I wrapped it in foil to keep warm while I prepared the quick and easy Peppered Dijon Cream Sauce. Normally, I am not a big sauce fan...but I must admit, this one was delicious. I didn't want a runny sauce...I wanted it to be thick and creamy and a bit creamier than tartar sauce. I used cream cheese to add the thick creaminess to my sauce, along with butter and cream. It was so very simple and I just made it up as I went along until it had the taste and consistency I liked. We enjoyed the rest of the Yellow Cheddar Squash Casserole along with our salmon. It was a quick and easy dinner to put together. I snapped a few photos below as well as included the easy peasy recipe for the sauce. Enjoy!


Monday, July 14, 2014

Quick Chicken Dinner, Yellow Cheddar Squash Casserole & Easy Coleslaw

This evening we had a super quick dinner since we had leftovers from last night's meal. I love this kind of dinner...especially in these dog days of summer. Yesterday we worked all day long; I worked inside the house sorting and organizing the kitchen and hubby worked outside in the yard. With all my cleaning and moving heavy boxes around this past weekend, I somehow tweaked my back so I'm trying to take it easy for a day or two and taking a break from cleaning since it won't go anywhere and will still be there waiting for me when my back is better. While hubby was working in the yard, he stumbled upon a bald-faced hornets nest in one of our shrubs. It's really big...about the size of a football and its right outside my dining room window about 3 feet off the ground. These are the most aggressive type of hornets in Georgia and supposedly if you get within 3 feet of their nest or disturb them, they will attack you and by the hundreds! So, tomorrow I'm having someone come and remove the hornets nest from our yard. It's scary having something like that just a foot or two from the house. 

Last night's dinner was fairly simple since we worked around the house all day long and the leftovers we enjoyed this evening made tonight's super easy as well. Since both my sons were home yesterday, I wanted to have something good for dinner but not too time intensive since we were exhausted from our busy weekend. We just picked up a rotisserie chicken and I made Easy Coleslaw and my Yellow Cheddar Squash Casserole to go with it. It was really nice having the convenience of an already cooked chicken along with 2 homemade side dishes. I snapped a couple photos for you to see below. We all need a break once in awhile and the rotisserie chicken was a welcome break last night! Enjoy!


Saturday, July 12, 2014

Hot Dog Cheeseburgers - Better than Bacon Cheeseburgers & Low Carb

Today was a busy day. As much as I was hoping to sleep in today, my eyes were wide open before 6:30 this morning! Why is it that I have to drag myself out of bed during the work week...but when I finally have a chance to sleep in, I'm wide awake??? Ugh! As soon as my eyes opened, I began thinking about all the things I needed to do...and as much as I tried to go back to sleep, I couldn't. We got up and out of the house early this morning and stopped at Einstein Bagels for breakfast. I brought 2 slices of my grain free bread and just bought a side (or as they call it a schmear) of cream cheese and their Vanilla Hazelnut coffee. I even brought a cup of Fage yogurt, too! It felt just like "the old days" -- as in before I went grain free. I honestly enjoyed it just as much as I used to. Hubby and I headed to Costco afterward and did our weekly shopping. We always take a cooler with us just in case we want to make other stops on the way back home so we can keep our perishables cool (like the wild salmon we bought). We stopped and did a bit of grocery shopping on our way home. 

As soon as we got home, I began working on my next project...cleaning out our pantry! I have a walk in pantry...or, shall I say I am "supposed" to have a walk in pantry. I have not been able to walk into it for a long time! LOL I proceeded to remove every single item from it and check the dates on everything. I tossed more stuff than I kept. What I realize is that I don't need as much pantry space these days...well, not for food anyway. What I really need is refrigerator and freezer space since almost everything I buy is fresh or made from scratch. I spent a good part of the afternoon working on that project. I'm almost finished...I just need to sort through and organize all my storage containers...but that will have to wait until tomorrow. We ran a few more errands and then it was time to get started on dinner.. 

Since it was so hot and muggy this afternoon and I was exhausted...we made a quick and easy dinner that didn't require heating up the kitchen at all. I decided to make "Hot Dog Cheeseburgers" with a side of coleslaw and fresh grape tomatoes that I quartered and tossed with olive oil, Pomegranate vinegar, fresh fresh thyme and basil and some sea salt and pepper. What are "Hot Dot Cheeseburgers" you ask? Think "bacon cheeseburger" only the bacon is replaced with a sliced hot dog instead.  I made simple ground sirloin burgers (seasoned with Montreal steak seasoning) and then grilled the burgers and hot dogs (Applegate's organic uncured). I served them on my Sesame Seed Buns that I split in half and then topped with a burger, sharp cheddar cheese, a hot dog sliced lengthwise (and placed criss-cross on top of the cheeseburger)...added a squirt of yellow mustard and then finished it by adding the top half of the bun. Voila..."Hot Dog Cheeseburger"! It was SO good. I actually like it better than a bacon cheeseburger. I absolutely love the coleslaw, too. The tomatoes were our own homegrown as well as the fresh herbs. It was such a simple meal and perfect for a hot summer evening. 

I can't tell you how much I enjoy these Sesame Seed Buns that I created. They have made mealtime this summer so much more enjoyable for me than my last 2 grain-free summers. While I don't mind not eating bread...there is just something satisfying about sinking your teeth into a simple sandwich once in awhile. And if you can do so by making a simple and delicious grain-free bun...why not enjoy it? These buns have about 4 to 4.5 net carbs each. If you miss eating a burger on a bun or a simple sandwich...these buns are definitely worth trying! You can find the recipe here: Sesame Seed Buns. Of course, if you prefer not to have the sesame seeds on top...just leave them off. I've included the basic simple recipe for my coleslaw below. Coleslaw dressing is such a personal taste kind of thing in my opinion. I've given you the combination and amounts I used -- feel free to tweak it to your own taste by tasting it as you go. It is so simple that you'll wonder why you haven't always been making your own dressing before! Enjoy!


Friday, July 11, 2014

Main Dish Salad Topped w/ Grilled Chicken - Quick & Easy

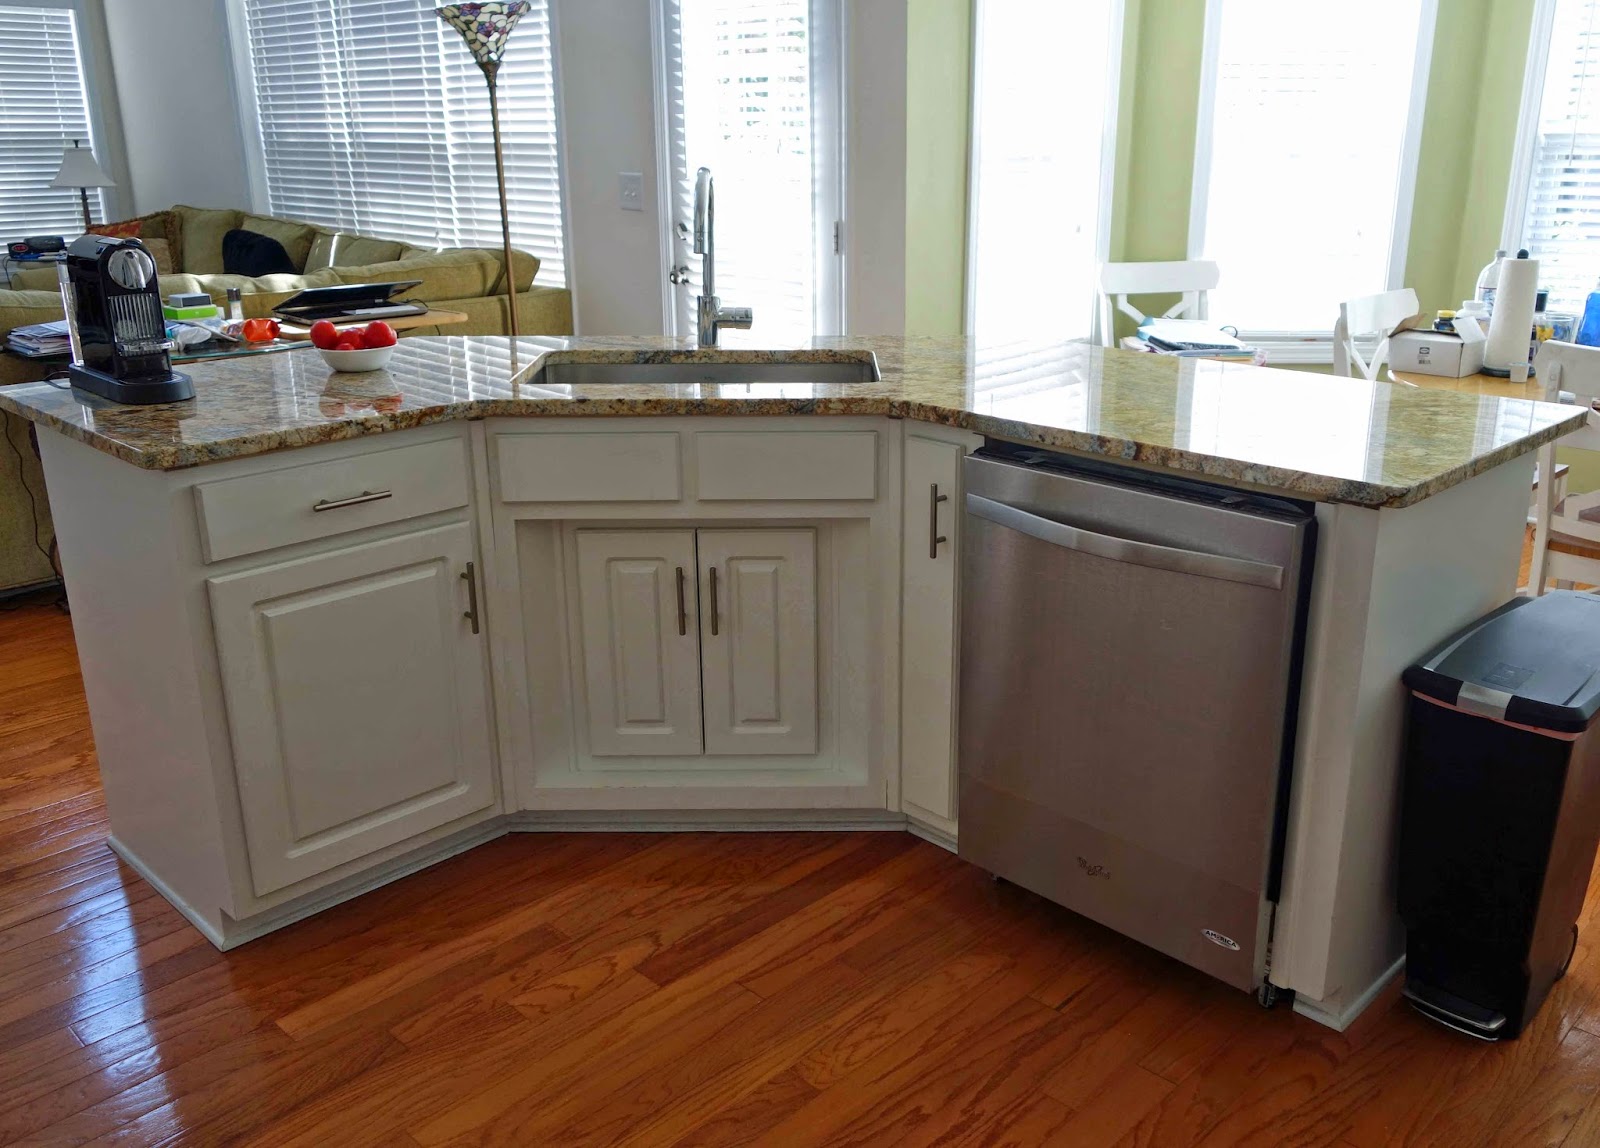
Thank goodness it's Friday! Well, this week has been productive with regards to my kitchen renovation project. My dishwasher was installed and my electrical work was done. I haven't had a chance to run my dishwasher yet but plan to do so tomorrow. The only thing left to do is get my backsplash tile installed and do the little bit of painting that needs to be done. Tomorrow I plan to put the rest of the kitchen stuff away that now that all the work in the remaining 2 cabinets is complete. At the moment, we are undergoing a torrential thunderstorm. We made a late night jaunt to Sprouts this evening but I was too tired to do much shopping so we'll go back again tomorrow...yay! For dinner this evening I made quick and simple main dish salads topped with grilled boneless chicken breasts. It was simple, quick and delicious. I snapped a couple photos below. Enjoy!


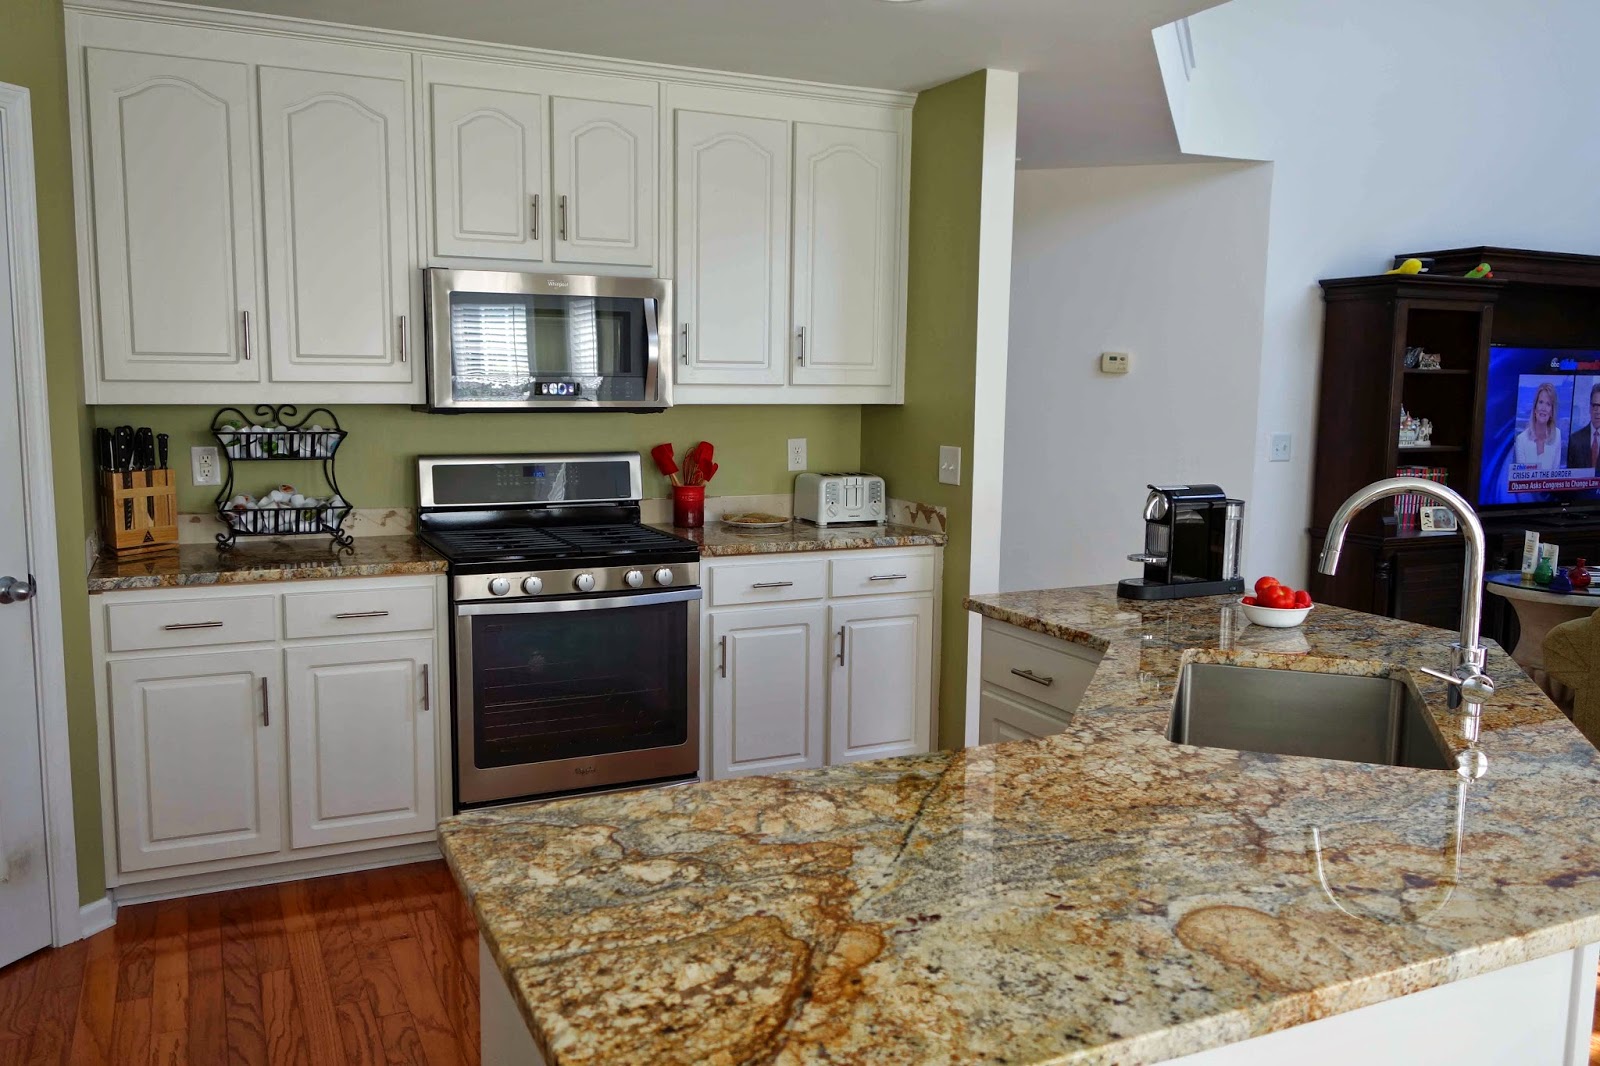
Love my new sink...it's huge and deep. There's nothing I can't wash in here!


Wednesday, July 9, 2014

Grilled Spice Rubbed Chicken Topped w/ Fresh Tomato Gratin

This evening I made a quick and easy dinner. I got the inspiration after picking lots of ripe tomatoes from our patio garden when I got home. It seemed like they all turned ripe at the same time and there were way too many for us to eat "fresh/raw". As I sat there staring at the bowls of freshly picked tomatoes and wondering what to do with them (knowing full well that there would be more ripe tomatoes to pick tomorrow)...the idea came to me! Since I had already planned to grill some spice rubbed boneless chicken thighs (sprayed with olive oil and then seasoned with Montreal Steak Seasoning), I decided to make a simple Fresh Tomato Gratin with the tomatoes on the grill to cook right alongside the chicken. Cooking them on the grill would also keep our kitchen nice and cool.

I cut up several cups of assorted tomatoes into chunks...plum, grape, cherry and regular slicing tomatoes. I tossed them into an ovenproof skillet along with a couple of minced cloves of garlic and a generous splash of olive oil, sea salt and pepper. I placed the skillet on the hot grill and cooked them for about 10 minutes until they began softening and the juices began to ooze out of them. I stirred in several generous heaping tablespoons of finely grated Parmesan along with some freshly picked thyme, oregano, basil and Italian parsley and let it cook about 10 minutes more. I topped it with large shavings of Parmesan cheese and let that melt into it for a few minutes. I served the grilled chicken topped with the Fresh Tomato Gratin. This meal was even better than "farm to table"...it was more like "patio to plate"...LOL.  The tomatoes were still warm from the sun when I was cutting them up -- it doesn't get any fresher than that, not to mention all the herbs were freshly picked and placed directly into the gratin without ever setting foot in the house. I ended the meal with a piece of my Zucchini Walnut Bread. It was a simple fresh meal that screamed "summertime". Check out the photos below. Enjoy!


Finely grated Parmesan and fresh herbs have been added
Topped with shaved Parmesan
It's ready to eat now!


There's always room for a little dessert!


Tuesday, July 8, 2014

Cook Once...Eat Twice - Grilled Beef Fajitas w/ Chipotle Lime Marinade

This evening we ate the Grilled Beef Fajitas w/ Chipotle Lime Marinade left from Sunday night's dinner. Before putting the meat away Sunday night, I sliced it thinly so all that would be needed was a quick reheating. Since hubby doesn't like peppers and onions, I refrigerated them separately from the meat. To reheat them this evening, I first heated the meat in a skillet on the stove to make hubby's "beef and cheese" fajitas and then added the peppers and onions to the rest of the meat to heat up for mine. I made a couple of grain free tortillas which only takes a few minutes (I enjoyed Sunday night's fajitas over a salad). I placed a hot tortilla on my plate and topped it with thinly sliced pepper jack cheese to melt, then topped it with the beef, peppers and onions, salsa, avocado and sour cream. It was big, messy and delicious! 

This was the meal I had intended to eat last night...until I made the Zucchini Walnut Bread...then all common sense went out the window and that alone became my dinner instead. I'm proud to say that common sense returned this evening and I finally enjoyed the fajitas. I will admit though, that there was one more brief moment of craziness this afternoon at lunch time. I opened the fridge and stared at all the delicious choices I could have made for my lunch....I had Sesame Sandwich Buns in there...mesquite brisket in there...leftover fajitas in there...marinated chipotle lime marinated chicken in there...but you know what I had for lunch instead? LOL Yup...Zucchini Walnut Bread...seriously, who does that??? I really enjoyed the fajitas this evening because they were effortless to put together so quickly after work this evening and they were just as good as they were Sunday night. I snapped a couple photos below. Enjoy!


Monday, July 7, 2014

Best Ever Zucchini Walnut Bread - Low Carb & Grain Free

When I got home from work this evening, I was in the mood for zucchini bread for some reason. I've been planning to create a grain-free version of it for several weeks now, but just haven't had the time. Well...tonight was the night that I made the time...and I am so glad that I did. This zucchini bread is SO good! Many, many years ago when my kids were tiny...we used to have a big garden and I always had more zucchini than anyone knew what to do with. At the time, I lived in a small neighborhood and I would load my kids' little red Radio Flyer wagon up with zucchini, tomatoes, etc. to take around the neighborhood to give away. Well...after a while, I think the neighbors would run and hide when they saw the little red wagon coming...they didn't want to seem ungrateful and say no...but I grew more zucchini and tomatoes than either me or my entire neighborhood could use! LOL During the summertime, I would literally make dozens and dozens and dozens of loaves of zucchini bread and freeze it to use throughout the fall and winter. My kids loved it and to them it was a treat.

Tonight's recipe for Best Ever Zucchini Walnut Bread is just that...the best I have ever had...and that's coming from someone who has made more loaves of zucchini bread in her life than I can count. This bread is moist, sweet and packed full of delicious crunchy walnuts...and its oh so cinnamony! I have a confession to make...tonight I had every intention of having fajitas for dinner leftover from last night. The truth is that instead of fajitas, I had a nice sized square of Zucchini Walnut Bread topped with whipped cream and dusted with cinnamon with a cup of coffee for dinner! LOL Hey, the fajitas will still be there tomorrow! This bread makes a great dessert or snack, not to mention a terrific quick breakfast bread as well. If you want to make it more like a treat...it would be great topped or mixed with some dark chocolate chips too! This bread is nice and moist but not "oily moist" like most traditional zucchini breads that use 1 cup or more of oil (like my old recipe that I used to make). Also, my old recipe used to call for grated zucchini that needed to be squeezed dry. My recipe doesn't require that. It is so very simple and more important...so very good. Try it...you'll like it. This bread is a little on the sweet side -- but not overly so. If you like it less sweet, add 1 cup of sweetener first and taste the batter before adding the remaining 1/2 cup. I snapped a few photos below as well as included the recipe. Enjoy!


Before going into the oven...
Fresh out of the oven...
The smell is amazing...


Sunday, July 6, 2014

Grilled Beef Fajitas w/ Chipotle Lime Marinade - Kitchen Renovation Update

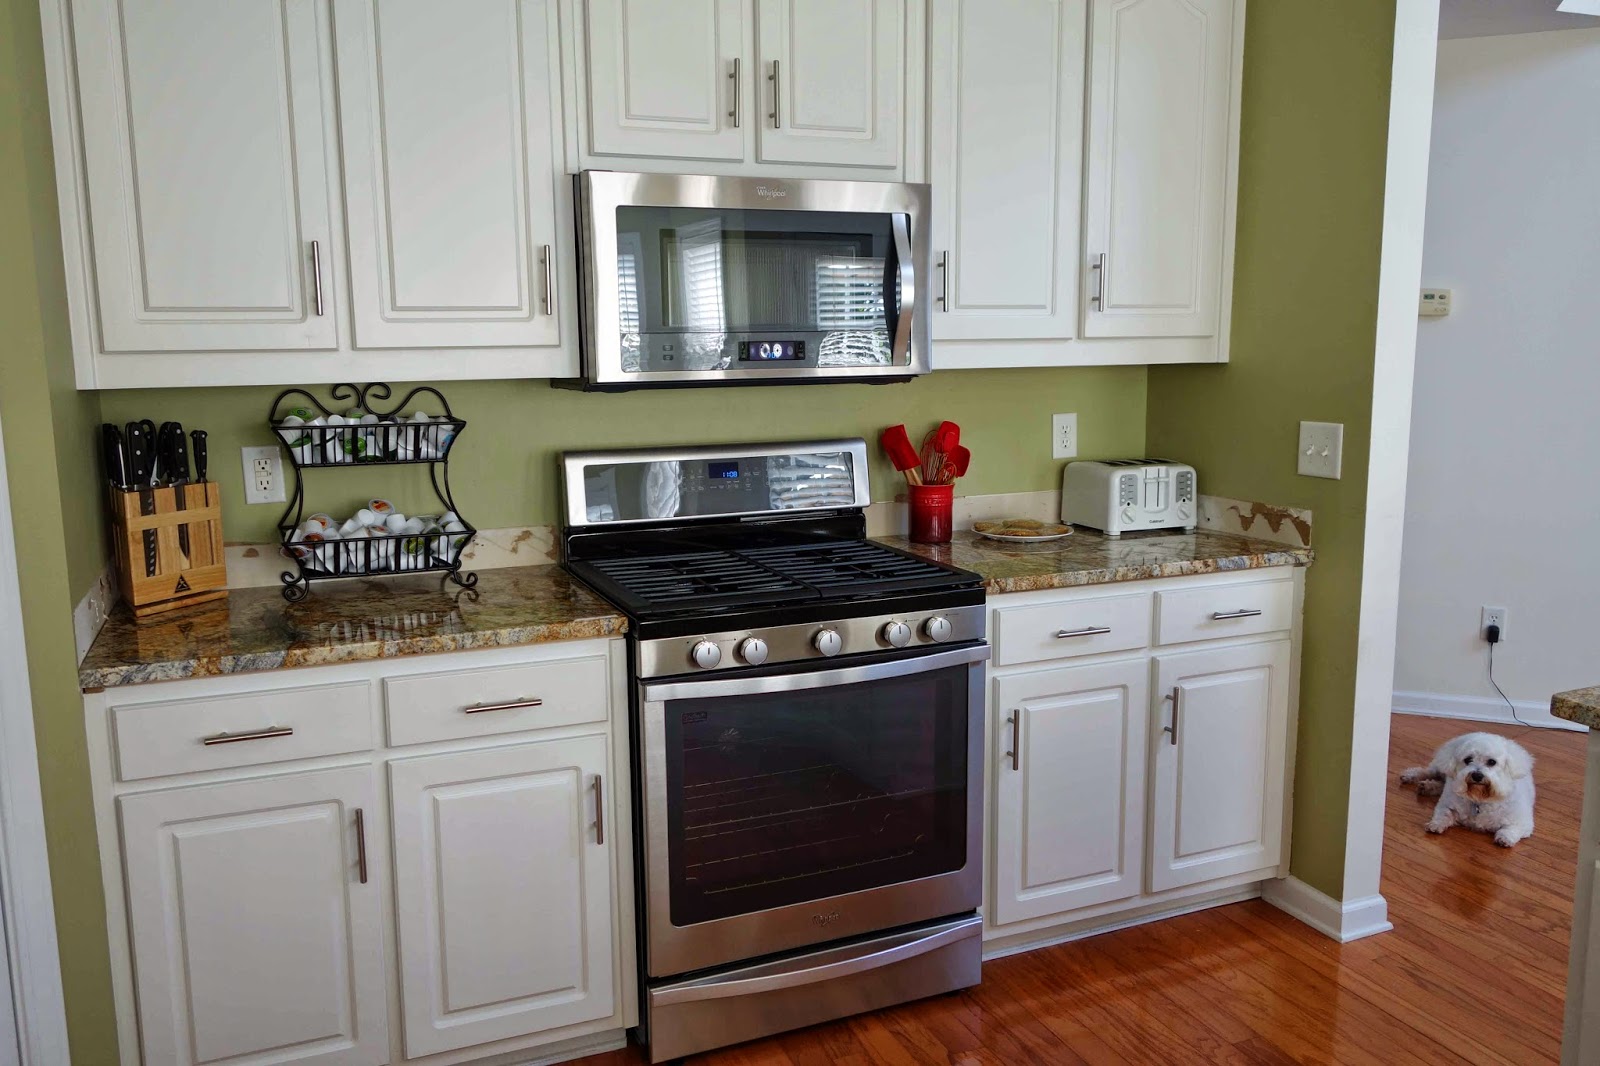
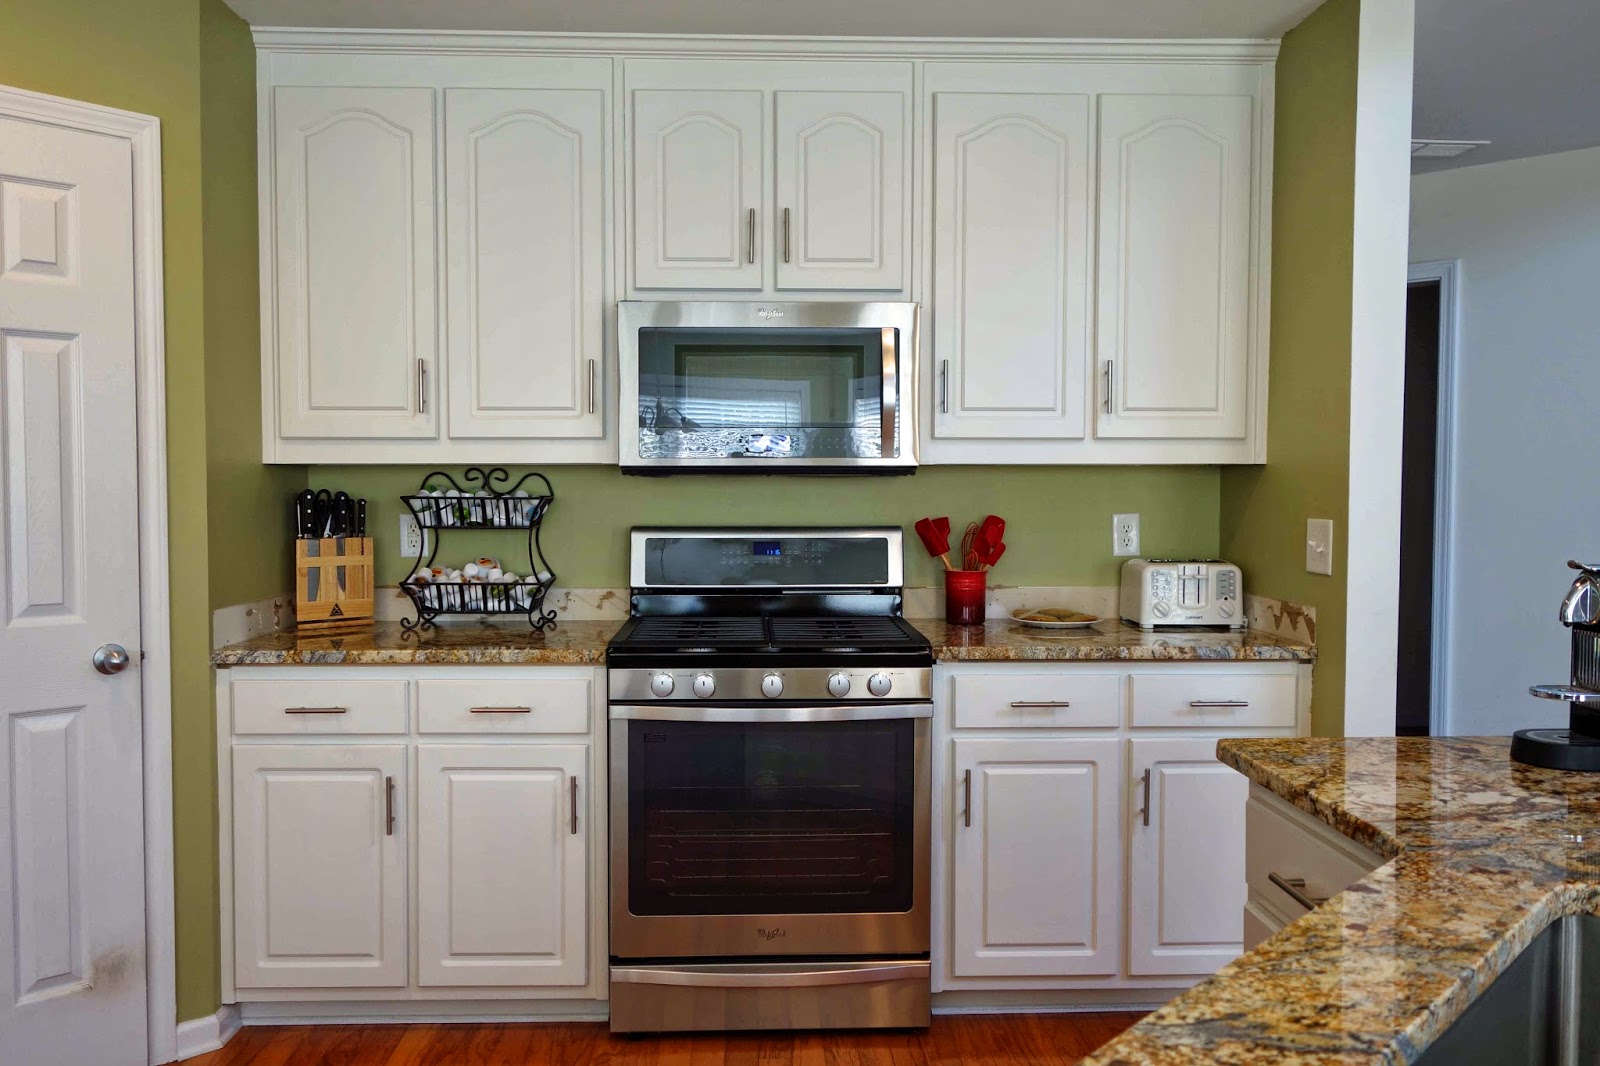
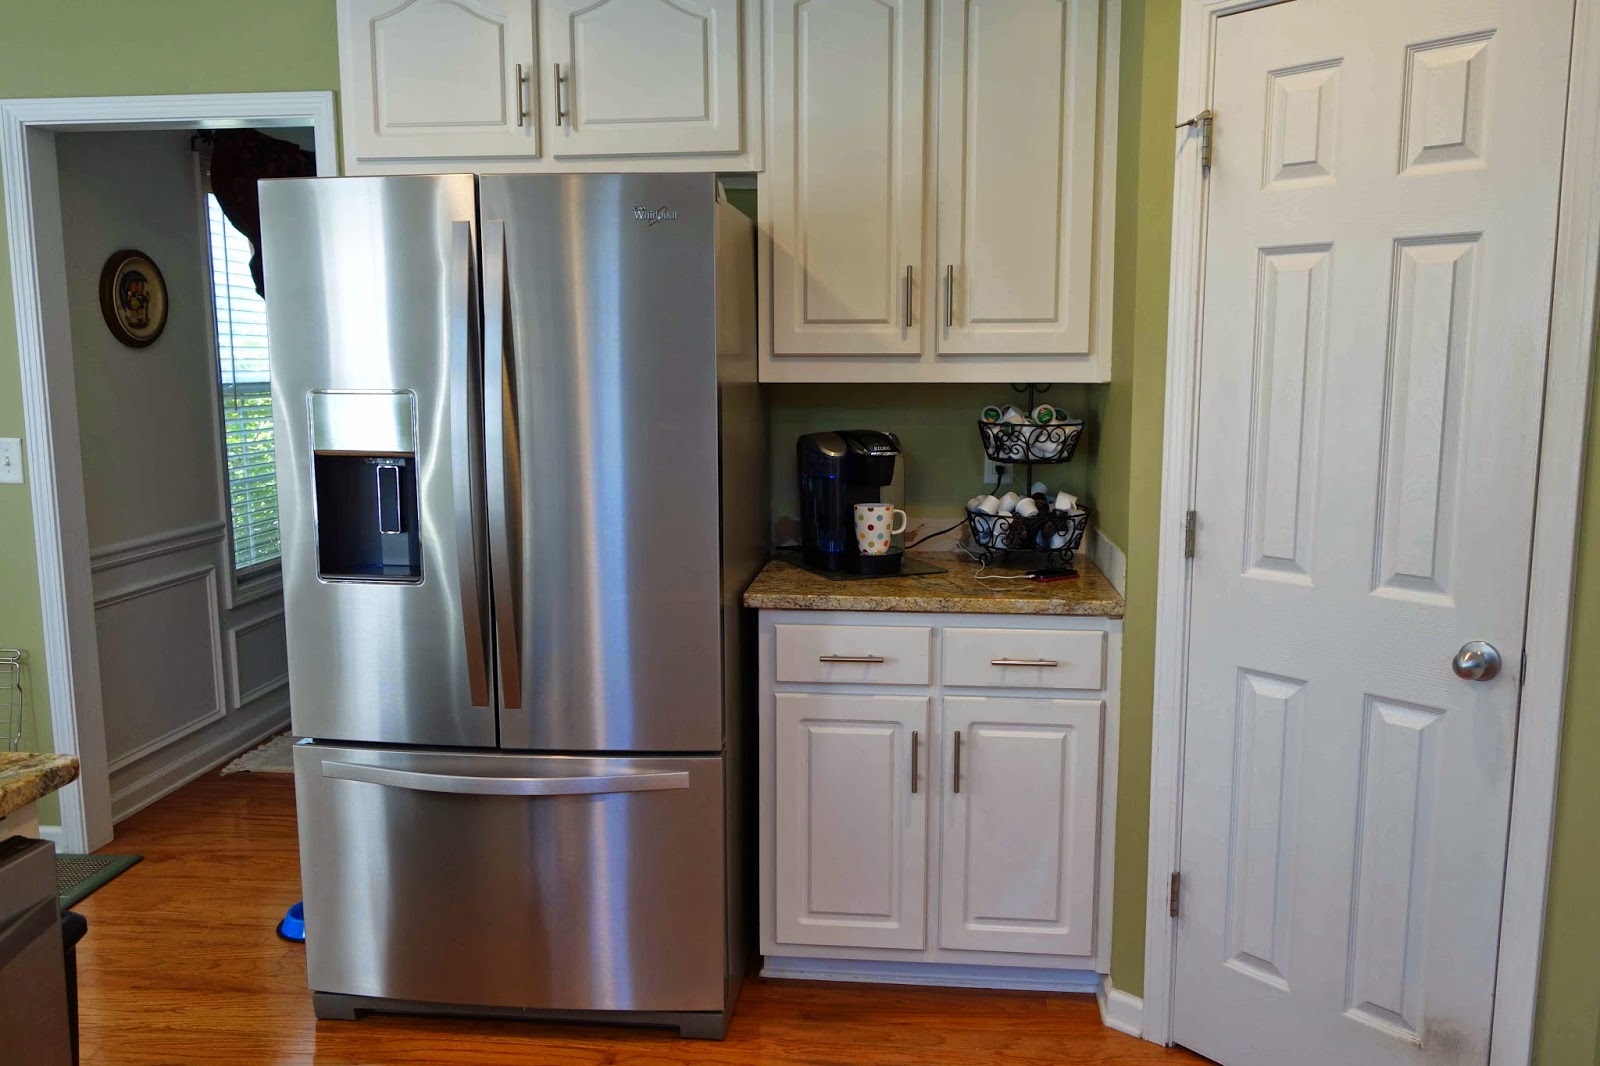
Today was an extremely busy day. We worked until the wee hours of the morning last night on our kitchen renovation project. Even though we are not physically doing the work ourselves (thank goodness)...there is just so much to do. Hubby installed the new cabinet hardware last night and I washed down the cabinets. While our house is still far from organized -- we worked all day long and finally have it whittled down to a state of more organized chaos...LOL. We did make lots of progress, but there are just some things we can't really finish until we see how our dishwasher installation and electrical work is going to pan out...so we have to leave a couple of cabinets empty for the electrician and plumber to work in them this week. I snapped some photos of the kitchen this morning before we started cleaning for you to see how its progressing. I think I've selected my backsplash...but before I decided for sure, I want to find out about the possibility of relocating some wall outlets so they don't interfere with it. I snapped a couple photos of that too so you can see what I'm considering if you are interested. 

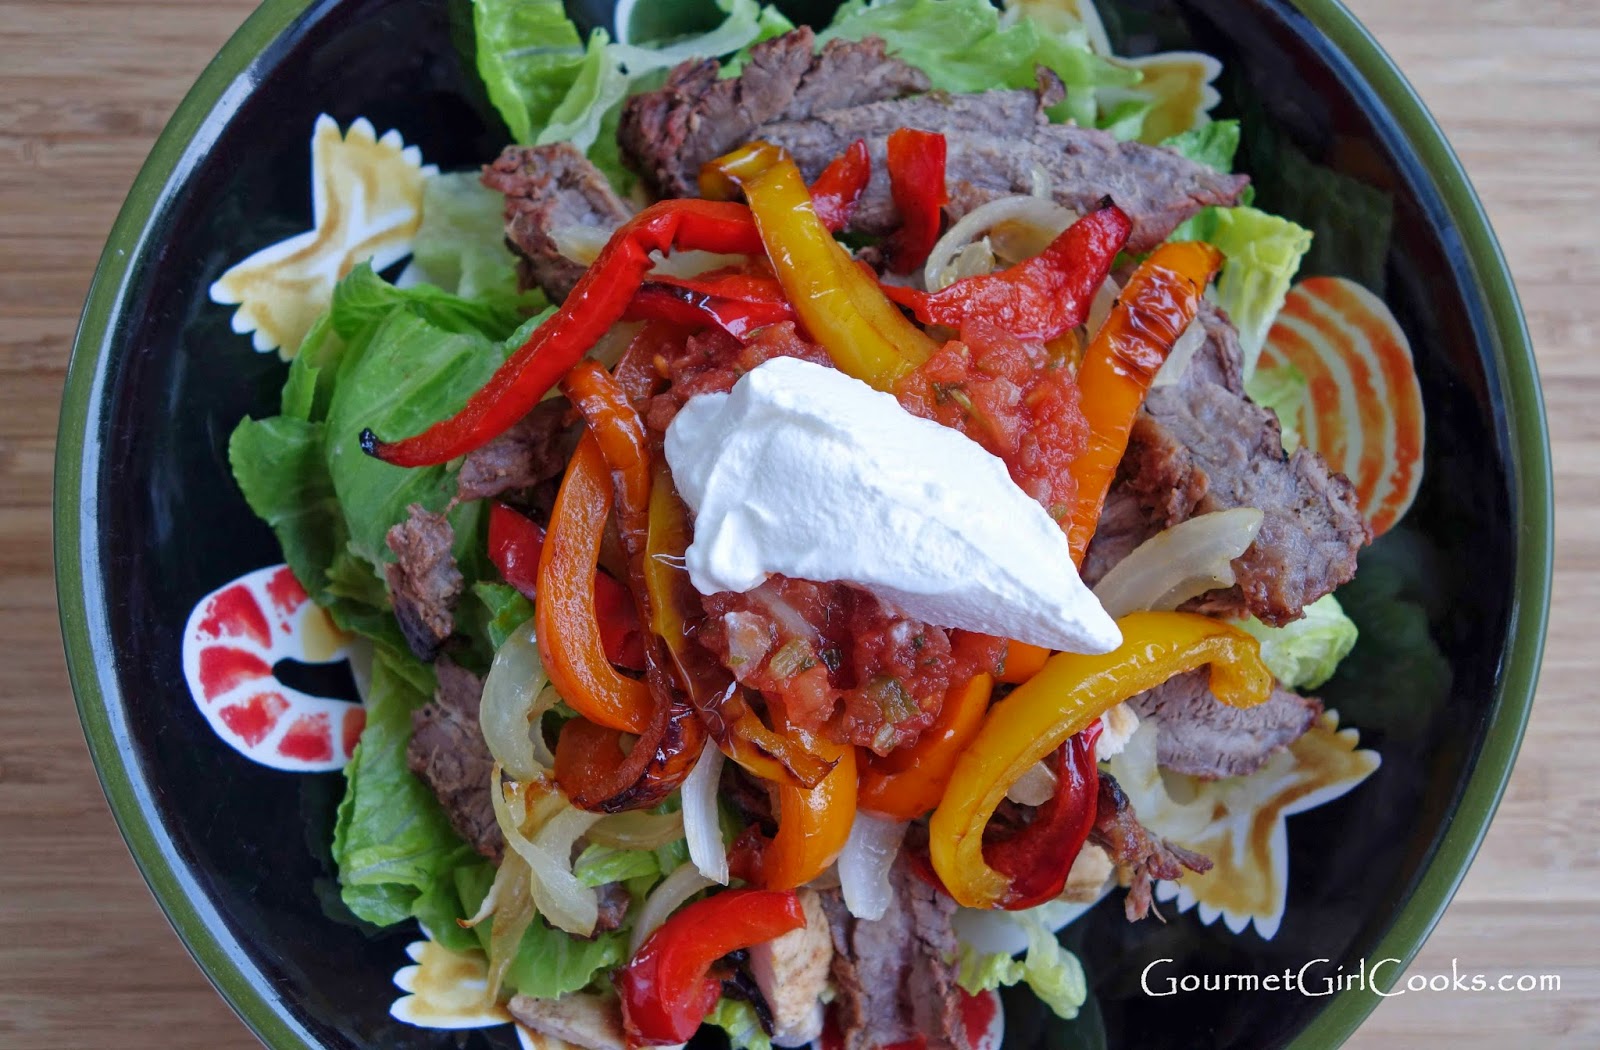
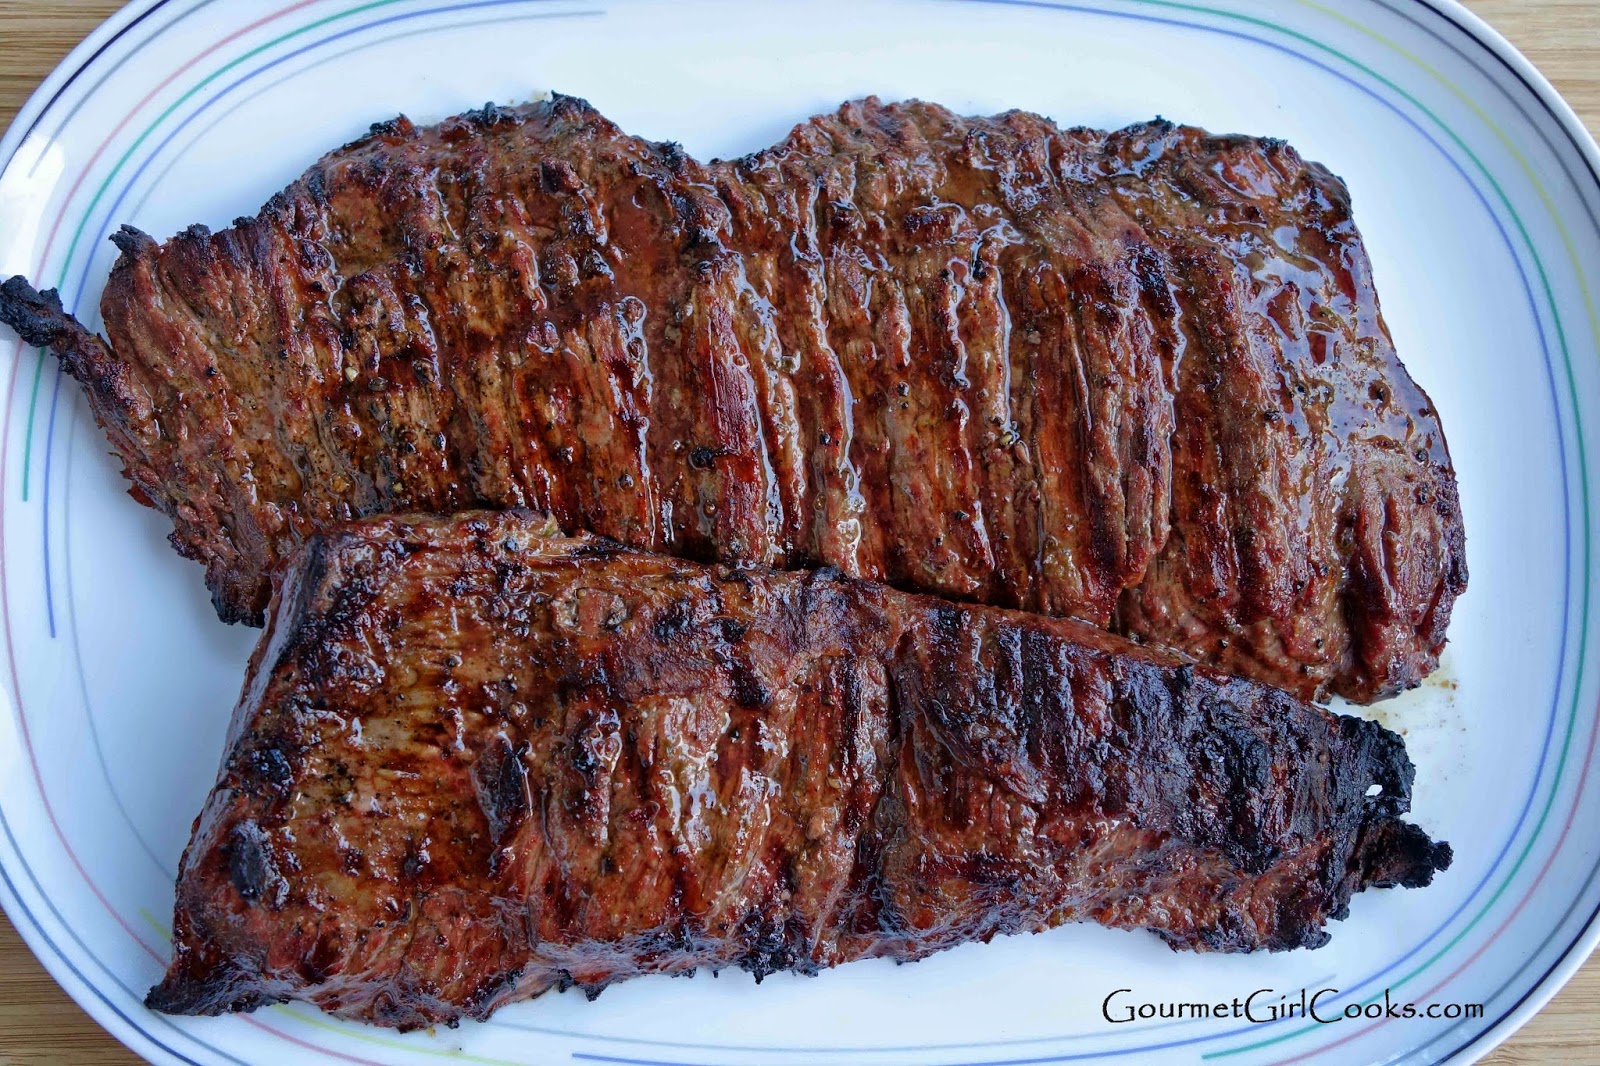
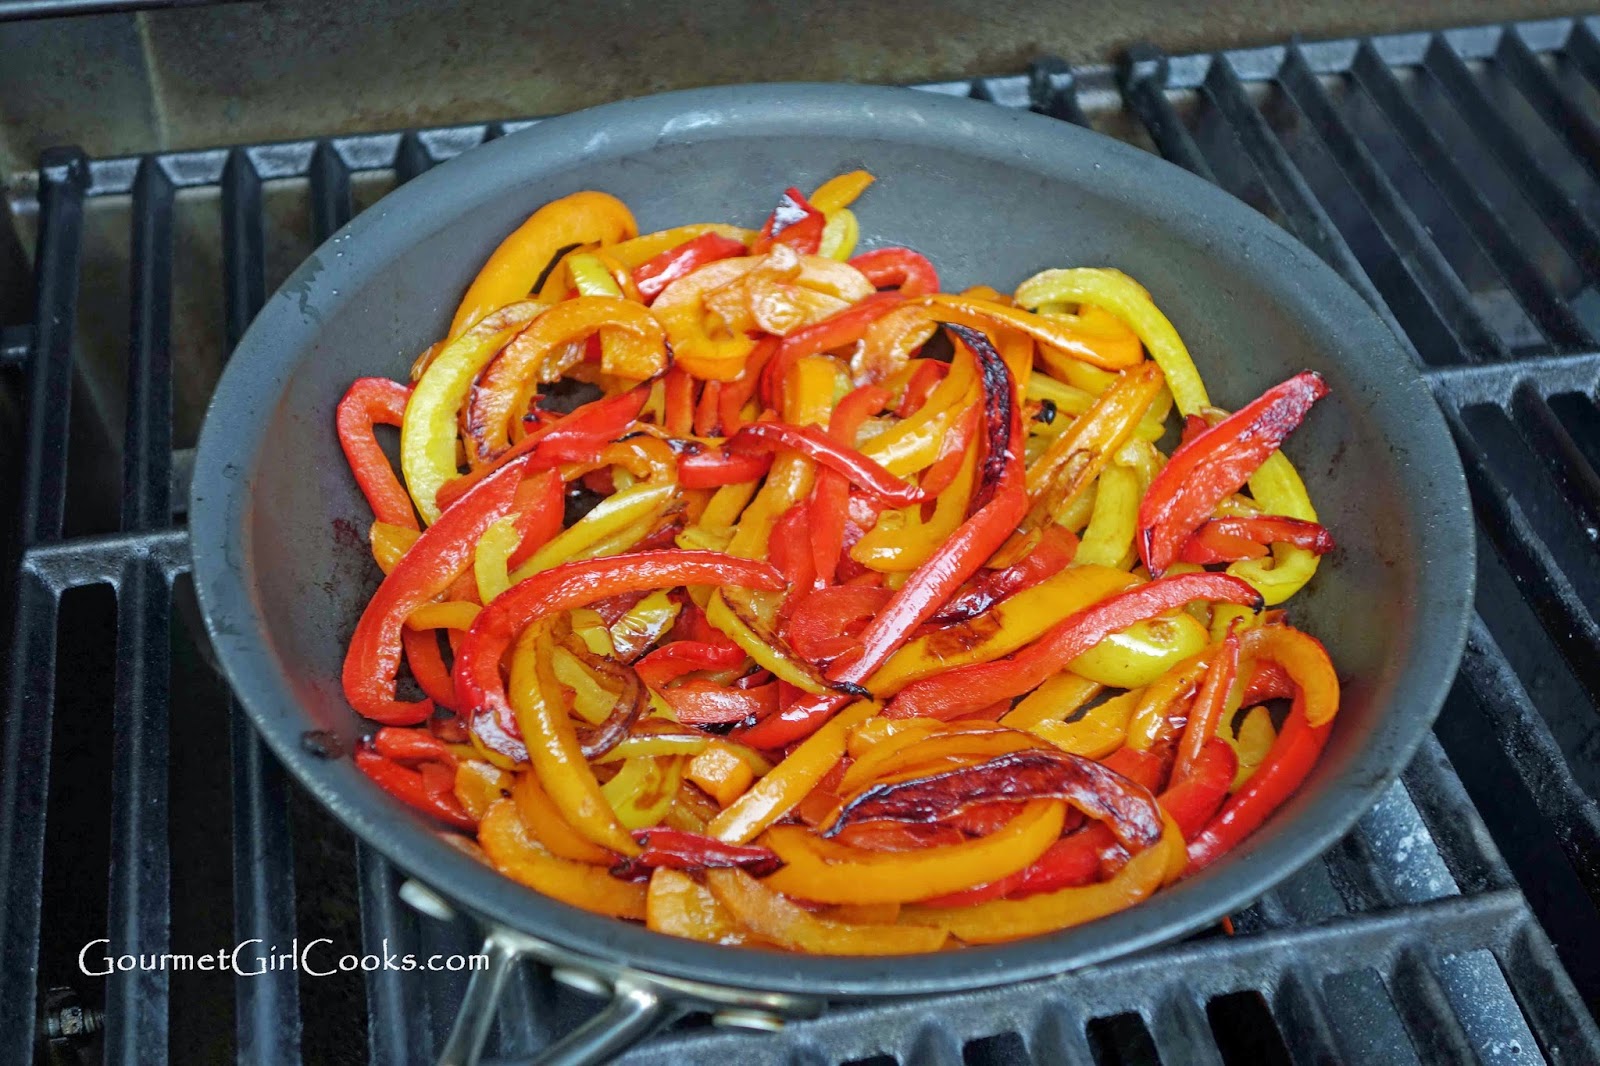
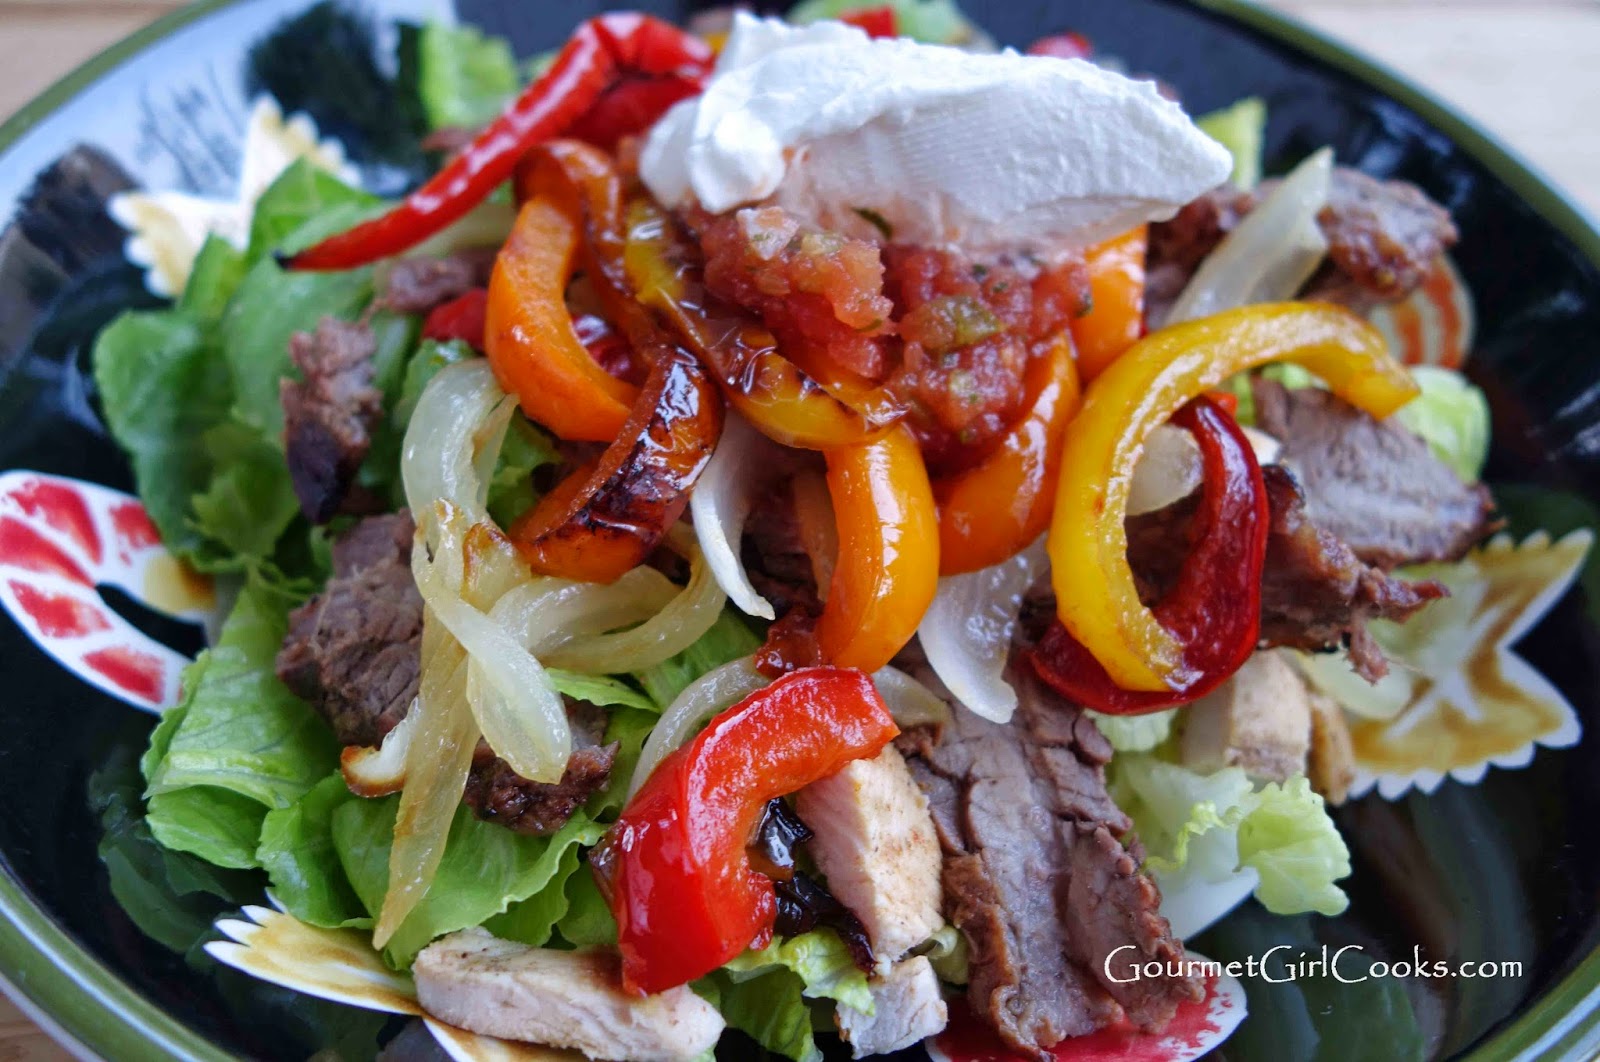
The good news is that our kitchen table is now completely cleaned off so my sons came to eat dinner with us and we actually sat at the table like normal people...LOL. For dinner, I made fajitas -- I made beef fajitas with skirt steak that I marinated most of the day in a chipotle lime marinade. Since my youngest son doesn't care much for beef, I also separately marinated chicken for his fajitas. Neither he or hubby like onions so I had to cook the peppers (red, yellow and orange) separately from the onions (you'd think I run a restaurant with all these accommodations, huh?). I took advantage of using the grill as my stove and just placed my skillet on top of the grill beside the meat and cooked the onions and peppers. I wasn't in the mood to eat my fajitas in my grain free tortillas this evening; I wanted to eat them over a salad topped with fresh salsa and sour cream. Youngest son ate his that way too while hubby and oldest son ate theirs in tortillas. As luck would have it...our grill ran out of gas half way through cooking...so hubby had to go run and get our tank filled which delayed dinner by about 30 minutes. I snapped some photos of my dinner below as well as some kitchen renovation update pics. The fajita recipe is here: Grilled Beef Fajitas w/ Chipotle Lime Marinade. Enjoy!


Ignore the ugly walls -- they haven't been done yet. 

The dishwasher that is sticking out 2 inches...to be fixed this week
Hubby installed the new cabinet hardware last night
Love my new fridge -- I kept the old one too -- so now I have almost 60 cu ft of refrigerator space! Eating only "real food" (instead of processed) the last couple of years shifted my need for extra pantry space to extra refrigerator space instead.
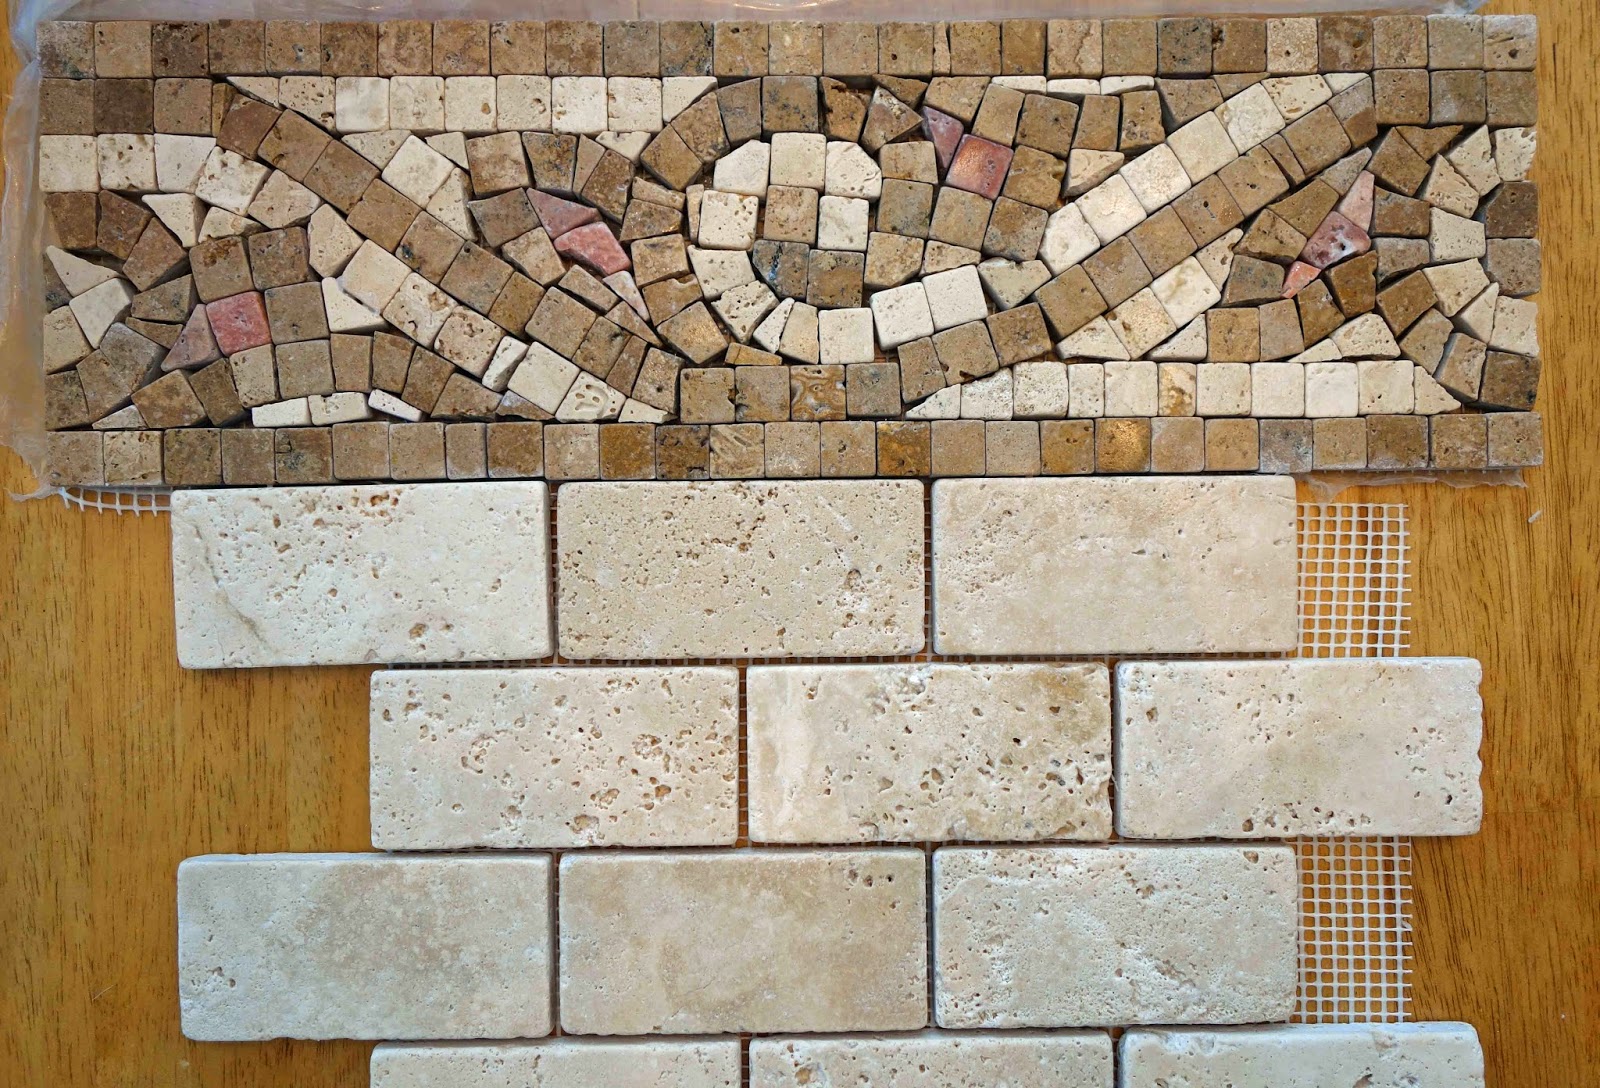
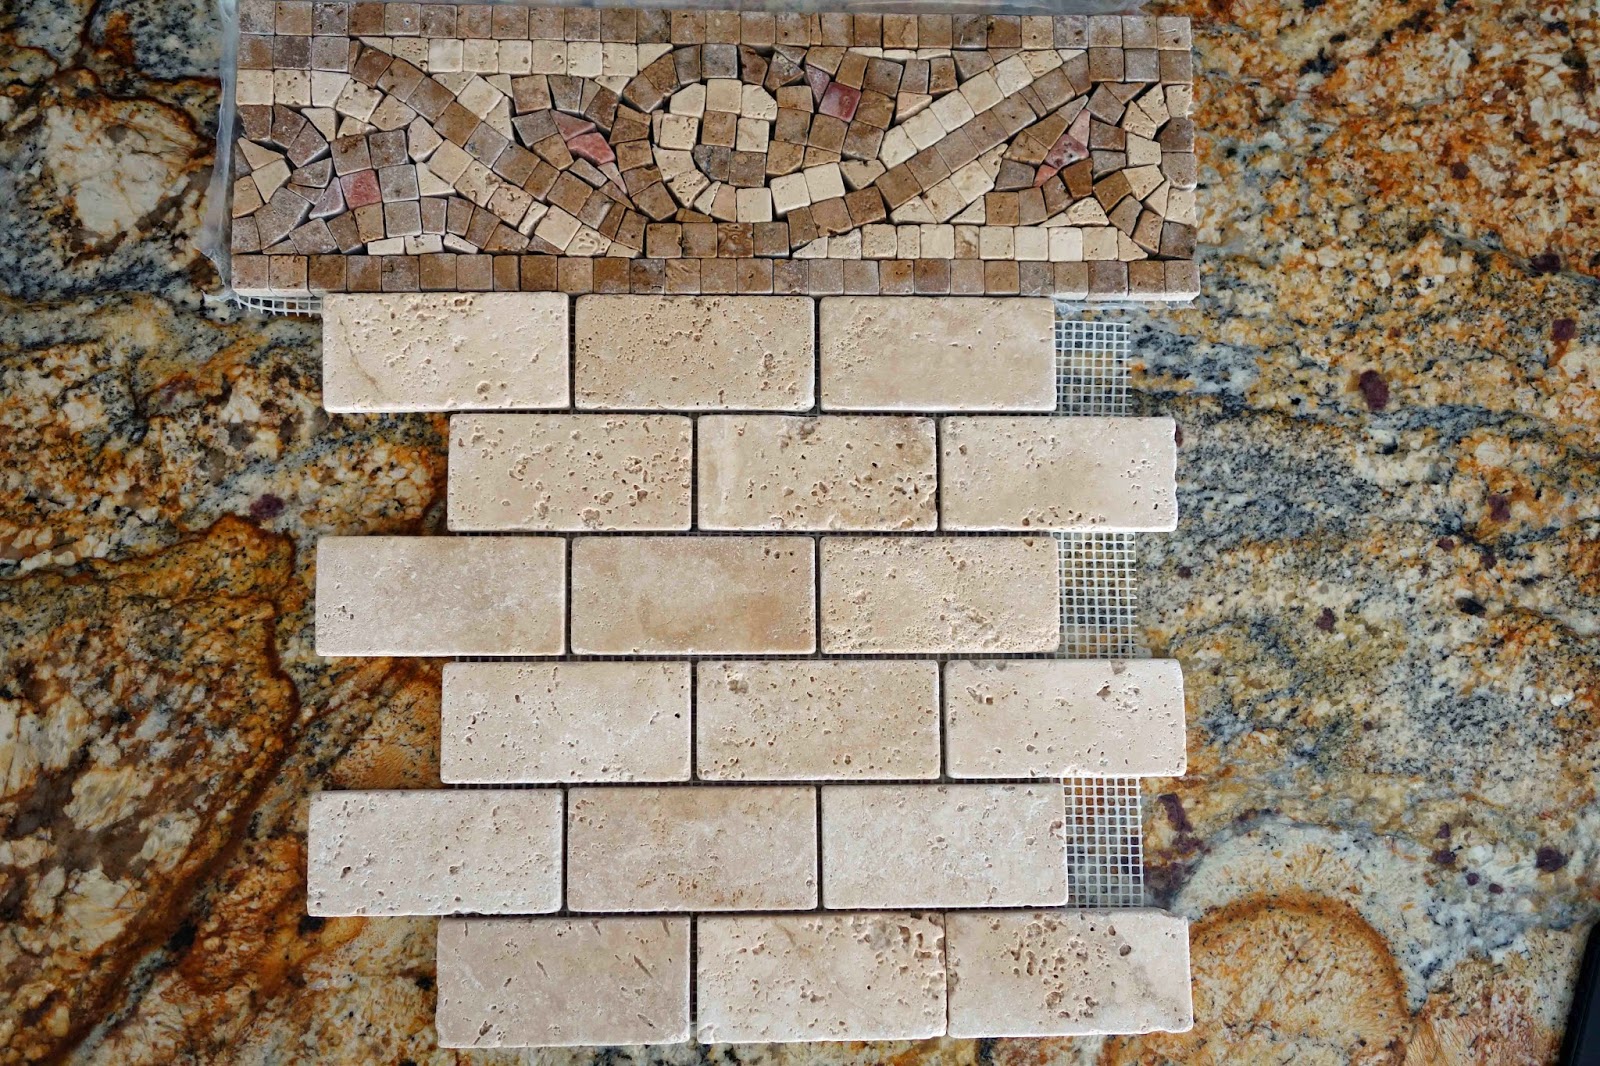
Here's a photo of my tile samples for the backsplash I'm considering -- the subway tile along with the border.
Here's a glimpse of it on my counter -- it will predominately be cream colored with the mosaic border pulling some of the colors out of my counters

Barbecued Chicken w/ Sweet & Spicy Chipotle Barbecue Sauce, Coleslaw & Roasted Tomatoes

Today was a beautiful day here. Even though it got warm in the afternoon, it was breezy with much lower humidity which was a nice change. It has been so muggy here recently and the cool front that moved in last night was wonderful. We ran our usual weekend errands this morning and even stopped at Einsteins Bagels for a late breakfast. I tucked 2 slices of my grain free bread in a baggie and slipped it into my purse before heading out. All I had to do was order a side of cream cheese and  coffee and I was set. I love their vanilla hazelnut coffee -- I think it is way better than Starbucks. We did our Costco run and then headed back home to resume putting our house back together. While we haven't finished yet, we made significant progress. As I'm typing this here at midnight, hubby is just finishing up replacing all our cabinet hardware in the kitchen. My drawers are back in and we removed everything first and cleaned them out and reorganized them. I can't put everything back in all the cabinets yet since we still have some plumbing and electrical work left to do this week in my kitchen island...but it's slowly but surely returning to somewhat normal. 

I made a quick and simple dinner this evening. I still had barbecue sauce left from the beef ribs I made several days ago. I used that sauce to make barbecued wing drummettes yesterday and then used it again this evening to make barbecued chicken with chicken breast halves (with bones and skin). To go with our chicken, I served the coleslaw left from yesterday's cookout. A couple of days ago I picked a bowl of fresh cherry tomatoes from our plants. To use them up (since there's already a lot more out there to pick), I decided to make "oven roasted tomatoes"...only I put my skillet on the grill while the chicken was cooking and used our grill as the oven. It kept from heating up the kitchen. They turned out unbelievably good. I placed a couple tablespoons of olive oil in a nonstick ovenproof skillet and then added a bowl of cherry tomatoes that I had cut in half. I tossed in a couple of coarsely minced cloves of garlic and then seasoned them with salt and pepper. I put the skillet directly onto the grill beside the chicken. I cooked them for about 20 minutes. After 15 minutes of cooking, I picked some fresh thyme and tossed it in and then added a splash (1-2 teaspoons) of balsamic vinegar and let them cook another 5 minutes until browned and caramelized. I served them like a condiment alongside our chicken. I absolutely loved them. Now I know what to do when I have more fresh tomatoes than I can eat! I snapped a few photos below and included the barbecue sauce recipe. Enjoy!