Sunday, September 14, 2014

Low Carb Lasagna w/ Grain-Free Noodles

Today was a fairly relaxing day. It was dark, gloomy and overcast all day long. The one good thing about that is that our high today was only 75 degrees! My sons just left around 10:00 this evening and it's already down in the low 60s and it actually feels chilly outside, especially since it was in the 90s just yesterday.

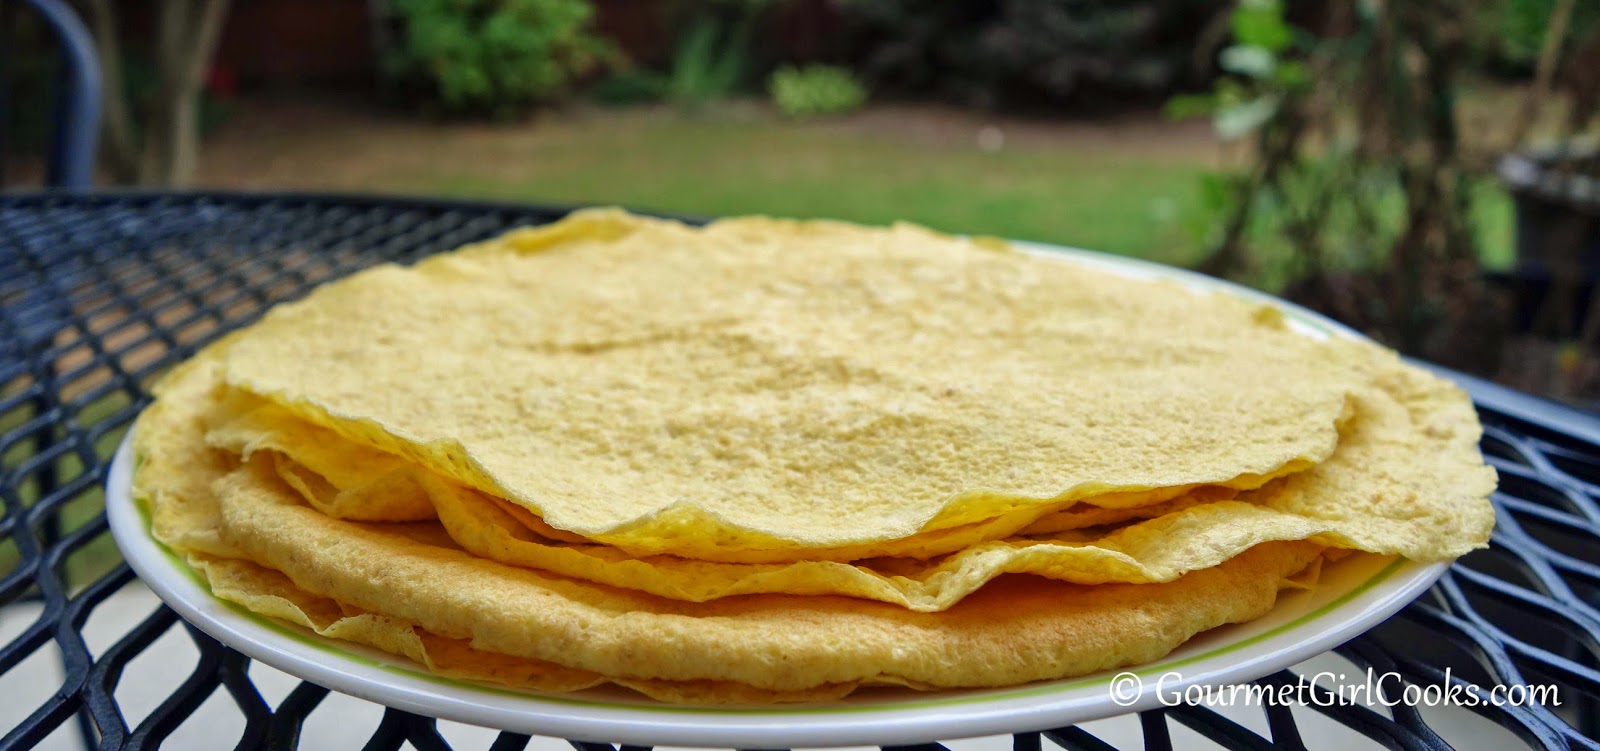
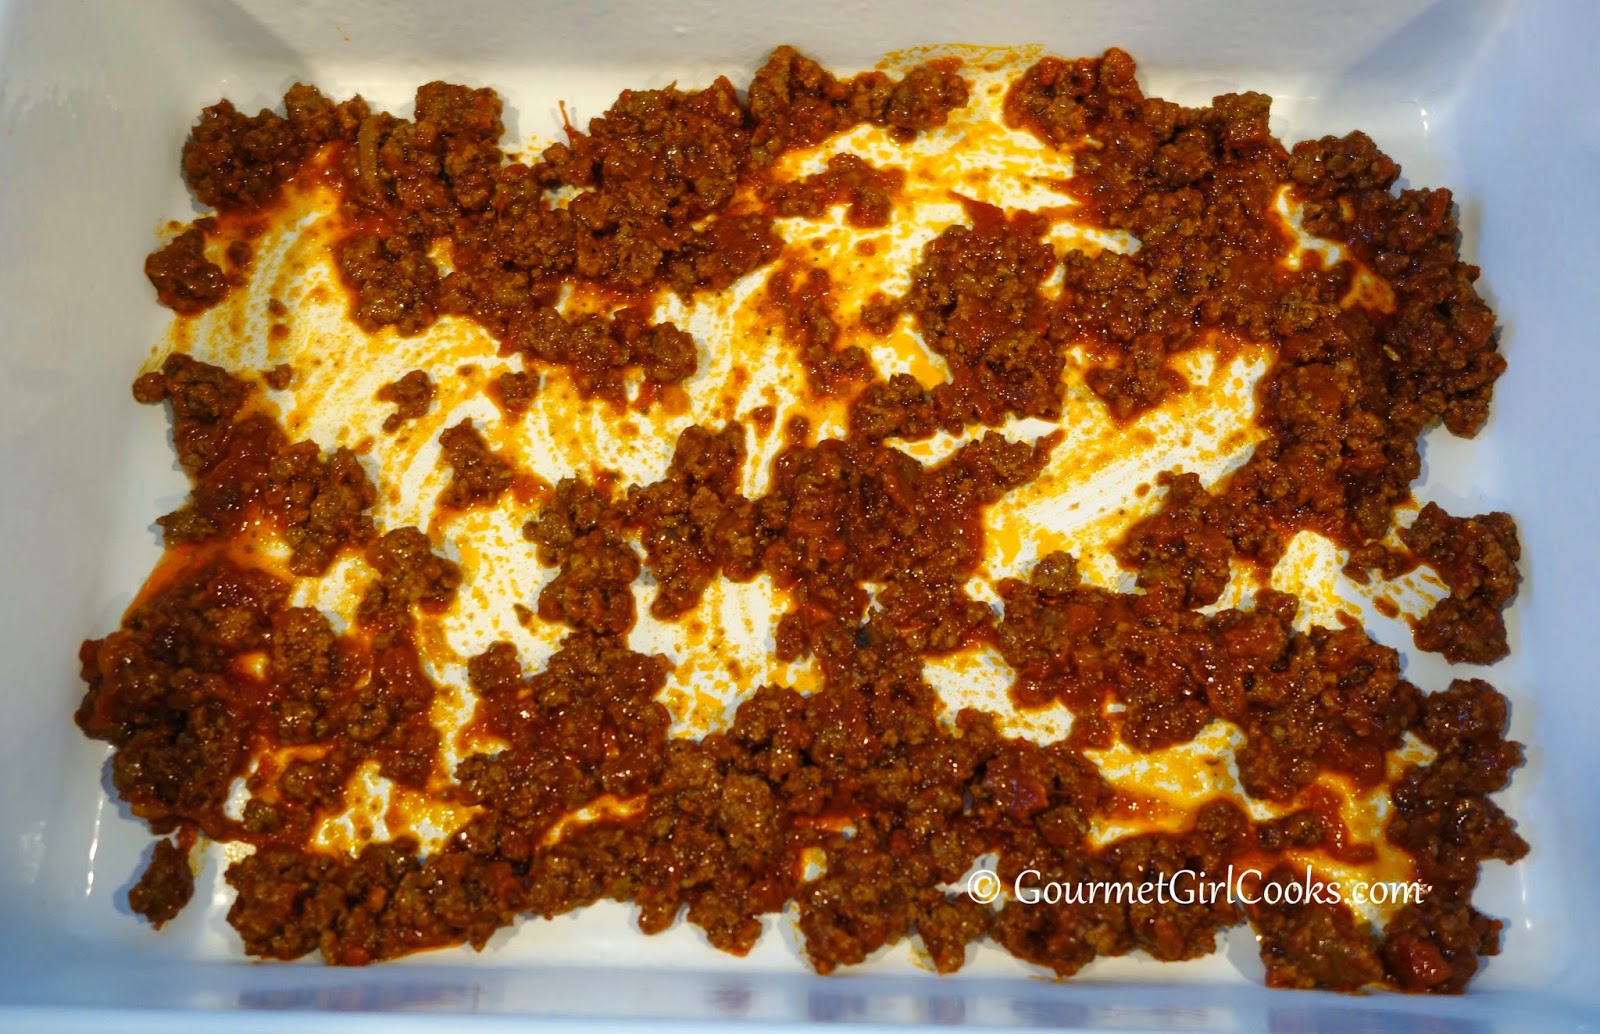
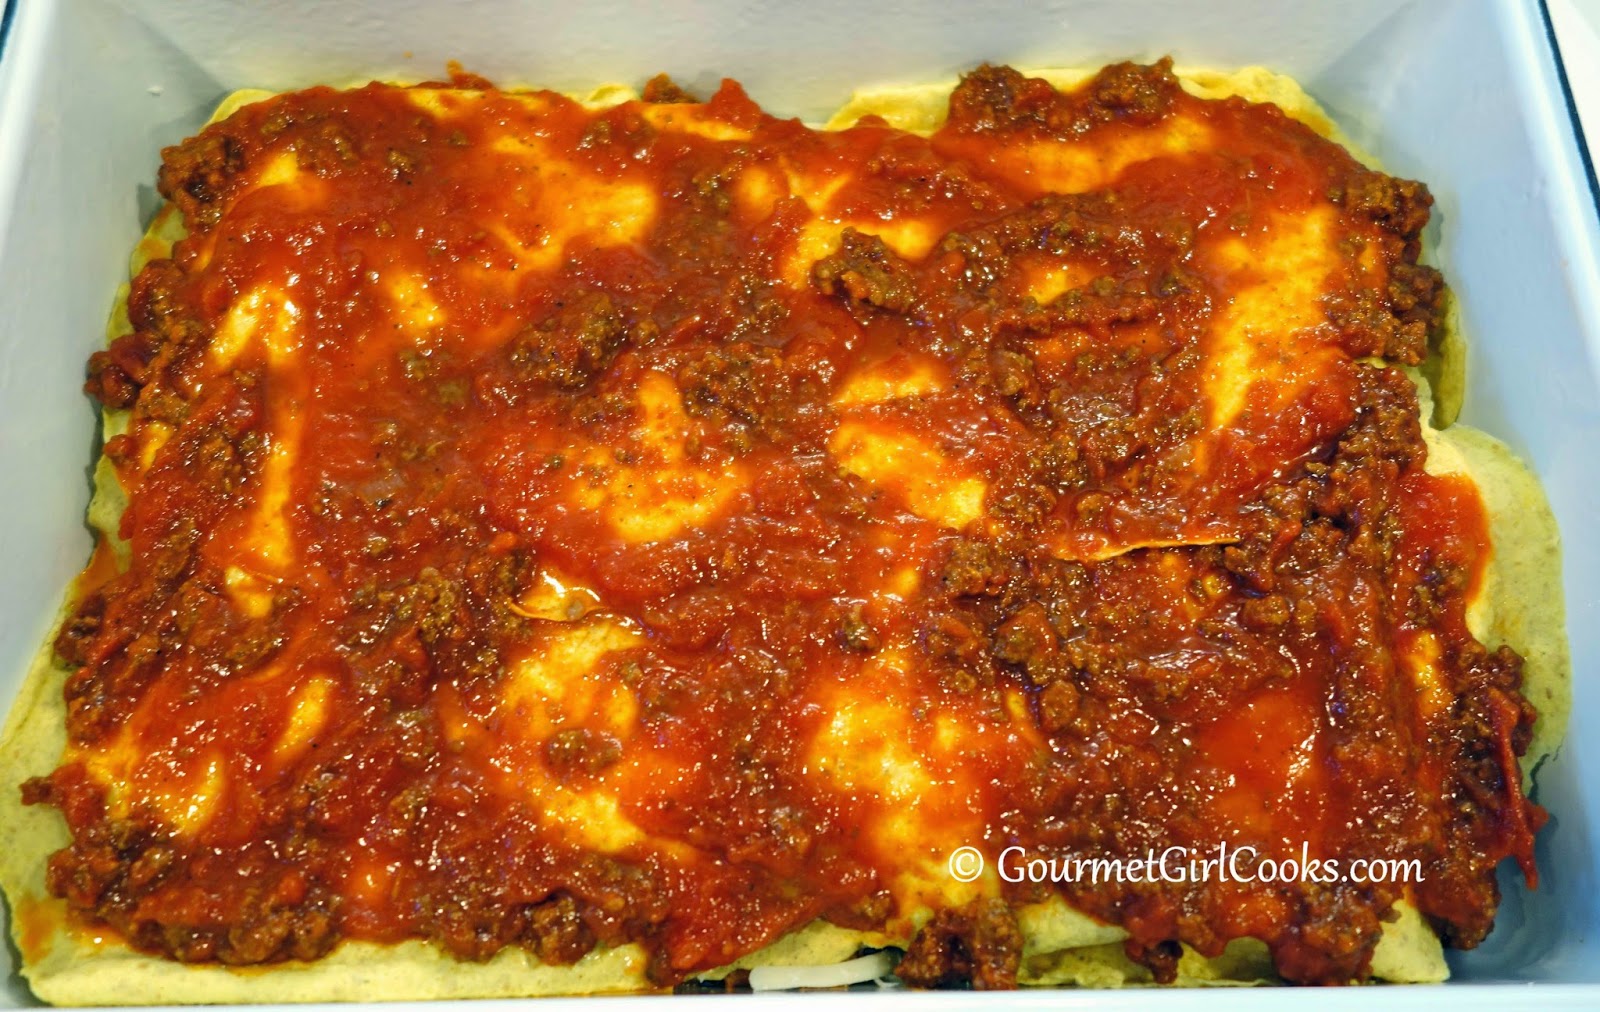
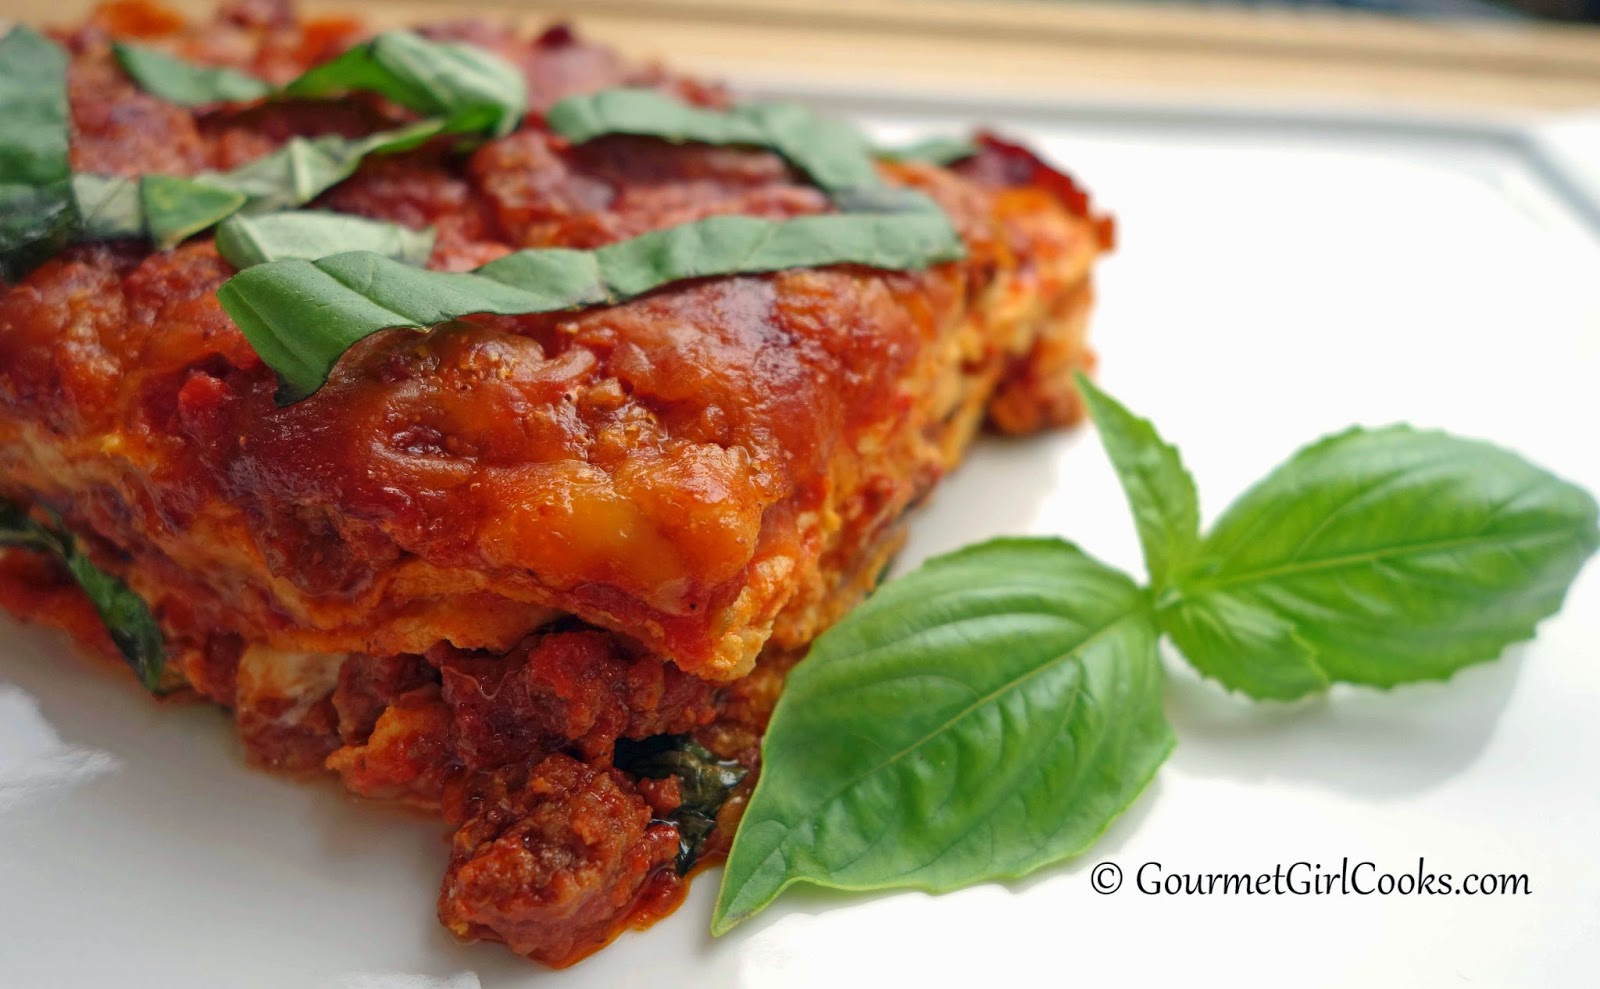
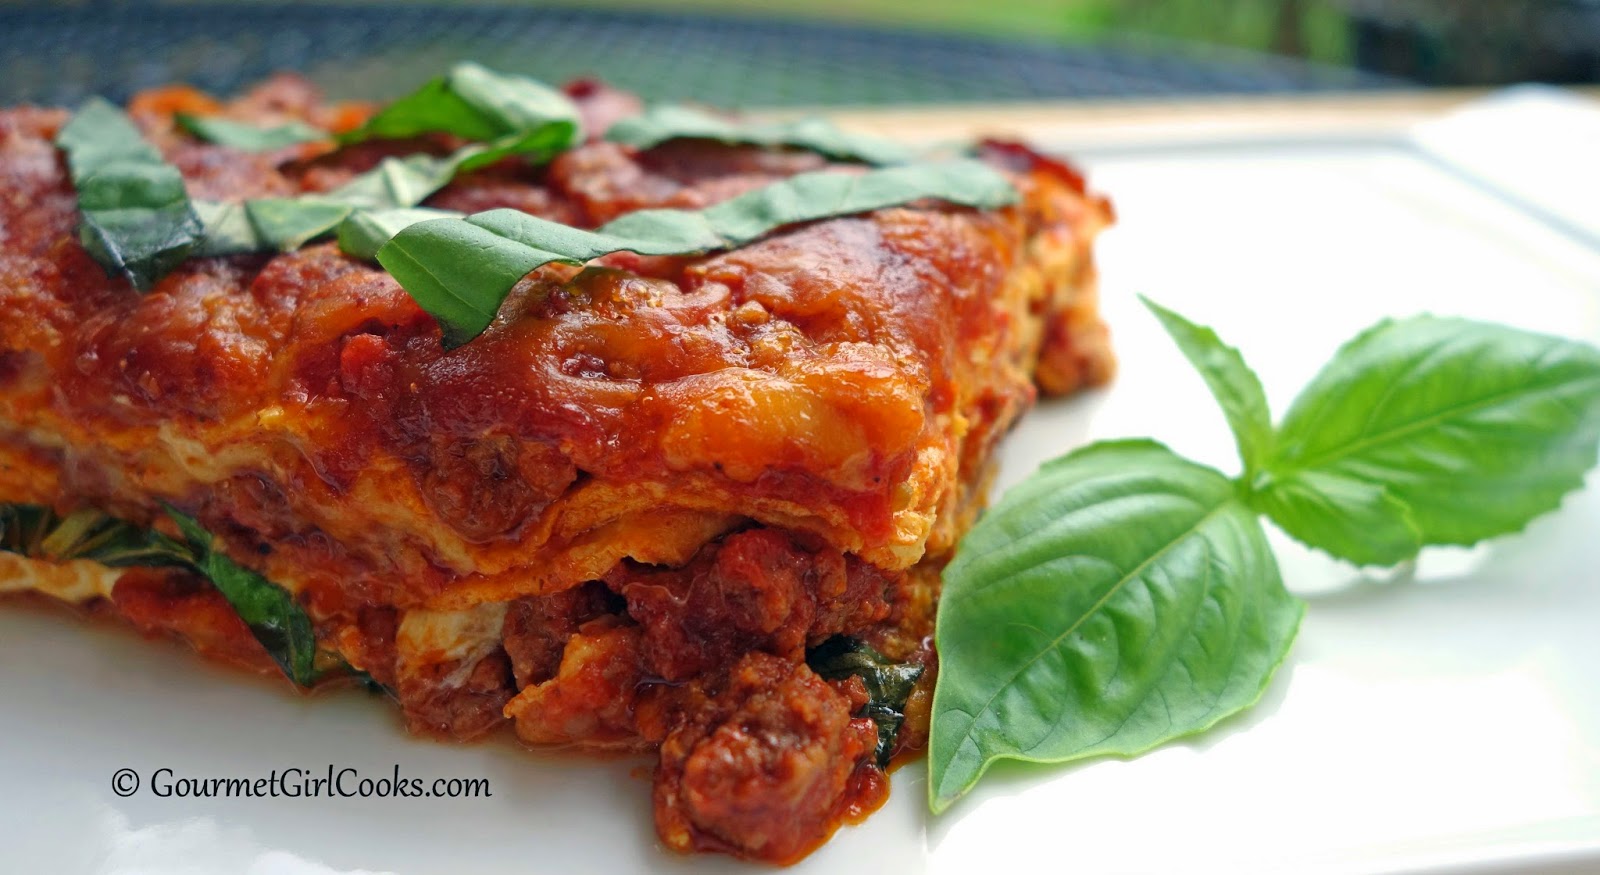
I worked on a new fall project this afternoon and then decided to make my Low Carb Lasagna using my grain-free "noodles" for dinner. If you aren't a big fan of using veggies for noodles in low carb lasagna, you will love this version. I honestly can not tell the difference. After browning my ground beef, I added the sauce and simmered it uncovered in the sauce for about 45 minutes to an hour while I worked on my other recipe project. It cooked down until it was super thick and rich without any juice at all. Besides concentrating the flavors and making the beef super tender, it ensures that my lasagna will not be watery at all whatsoever, which is a common problem with grain-free lasagnas, particularly when using zucchini as noodles. Too much sauce is your enemy when not using regular wheat type lasagna noodles which suck up the sauce as lasagna bakes. If you like more sauce, serve it alongside the finished lasagna instead of adding it into the lasagna. Also, it's important to let any kind of lasagna "rest" after baking. When the cheeses get hot and melted while baking, serving it piping hot out of the oven will certainly ensure a "landslide" on your plate as the layers go slip sliding away. So, the 2 most important tips for nice neat lasagna are..."less sauce is more" and "patience is a virtue by allowing your lasagna to rest a bit before cutting and serving."

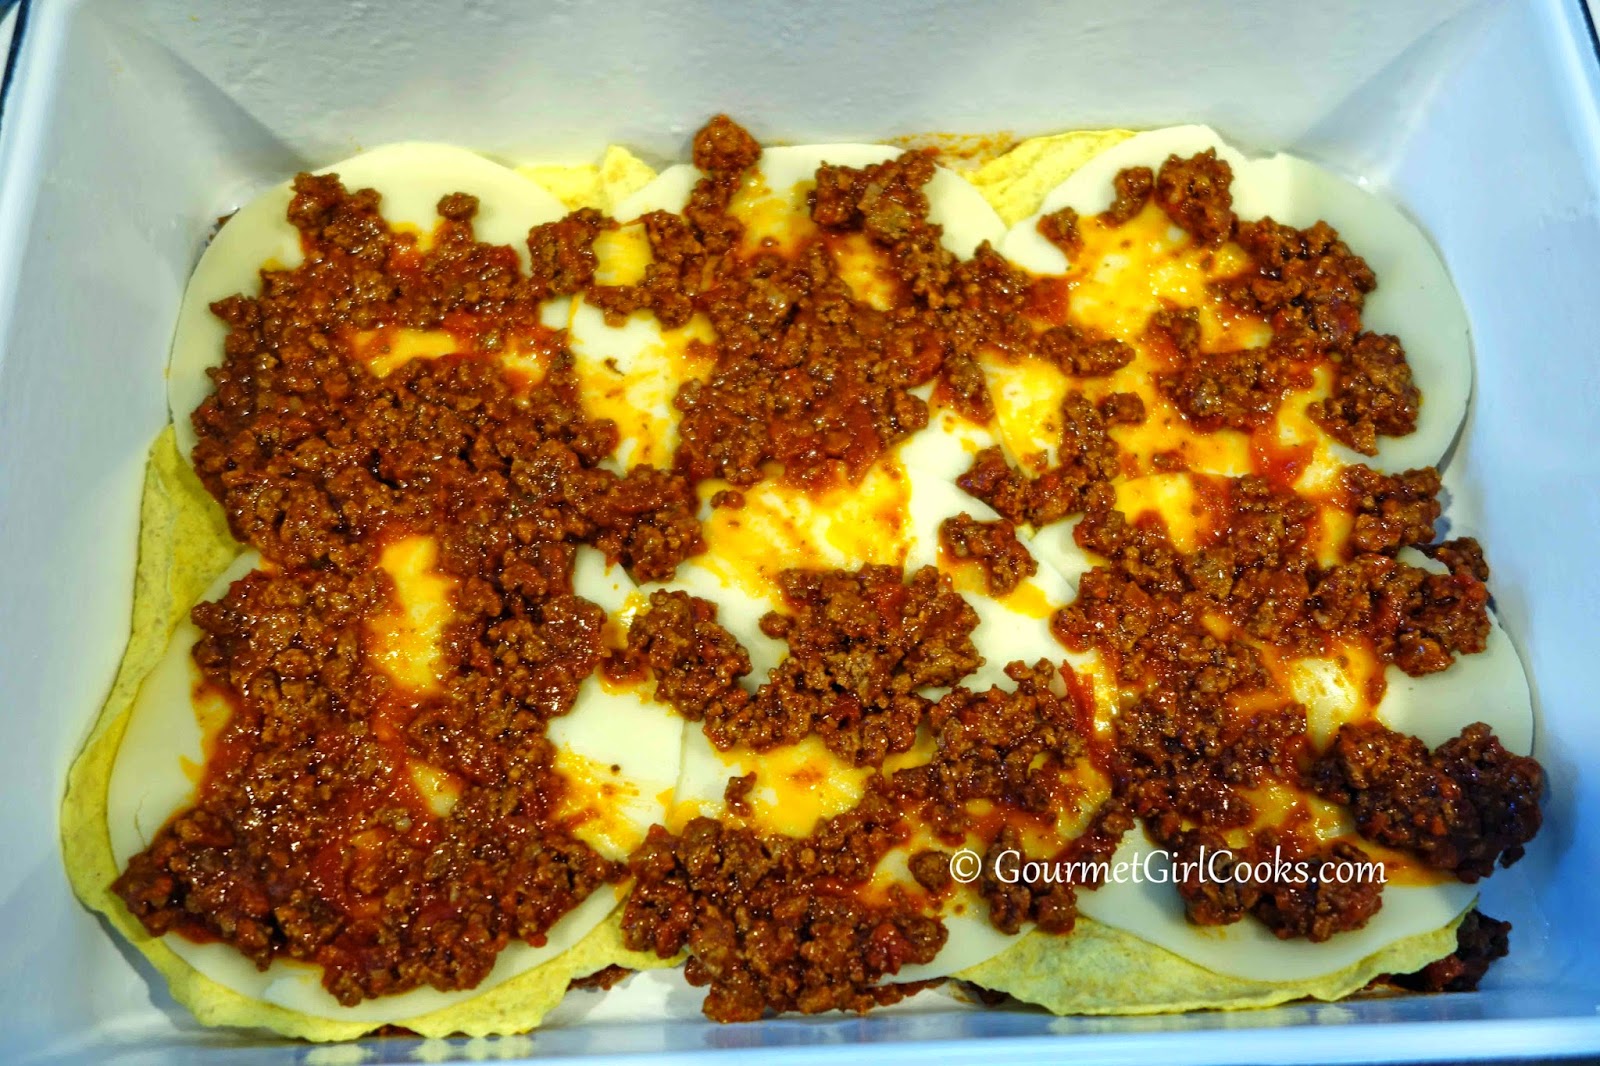
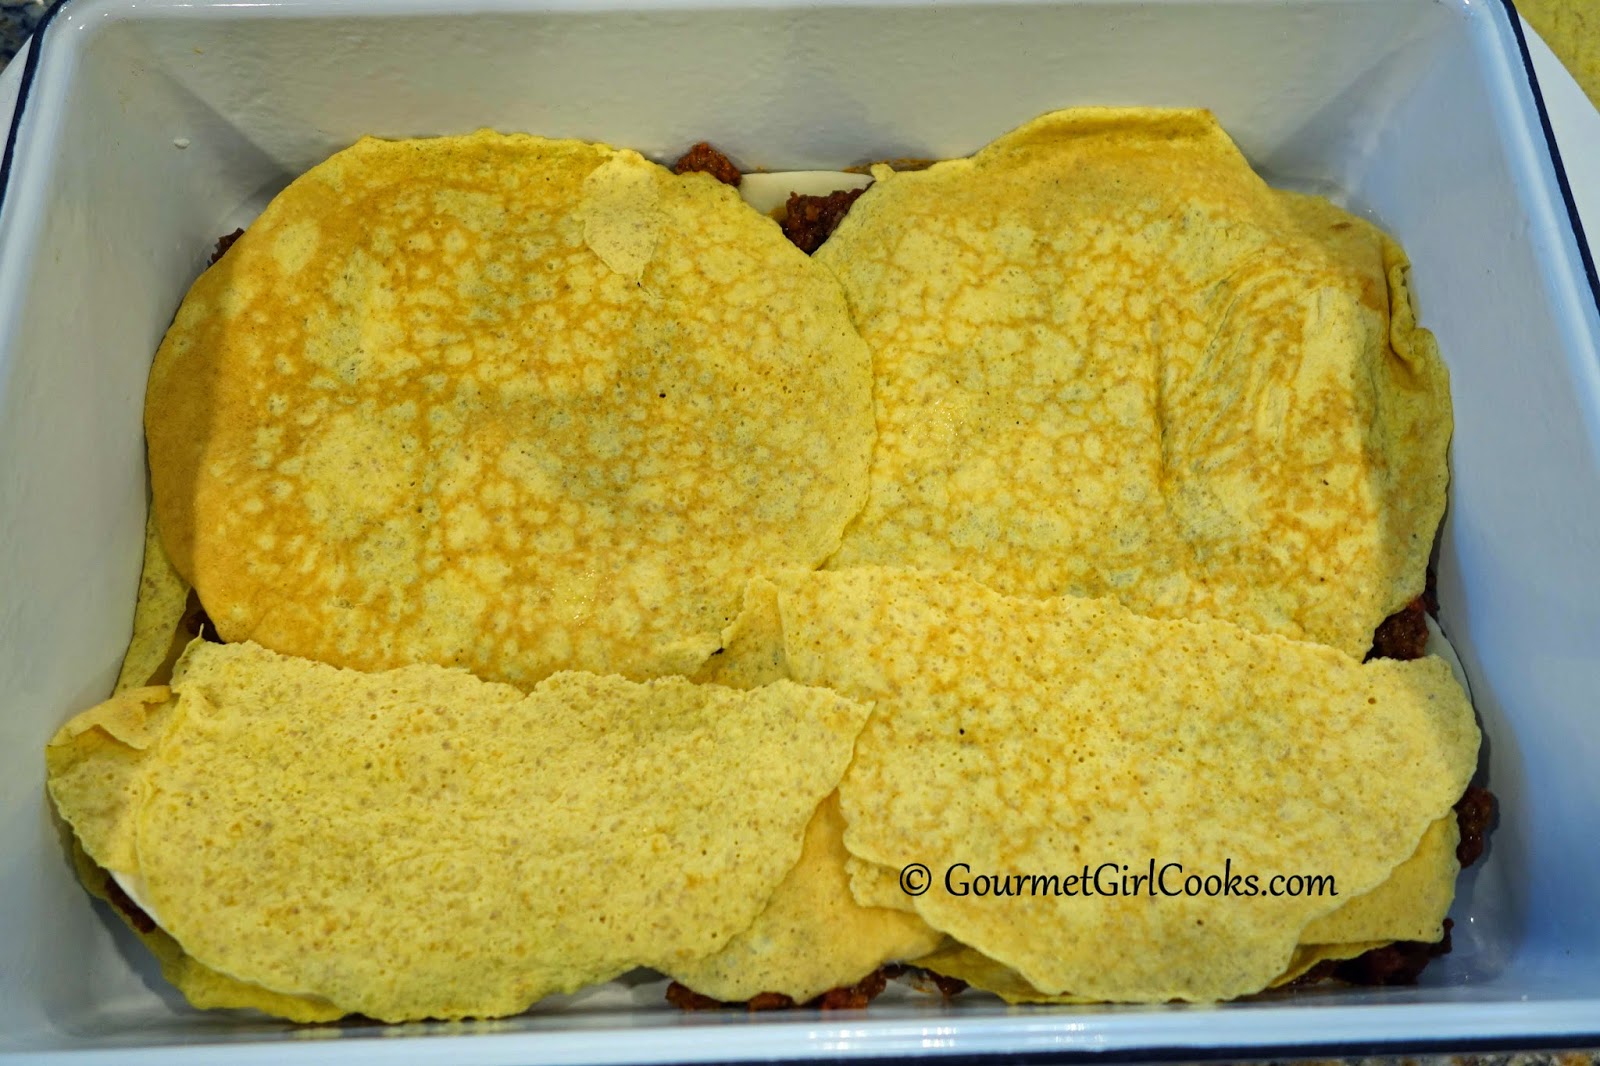
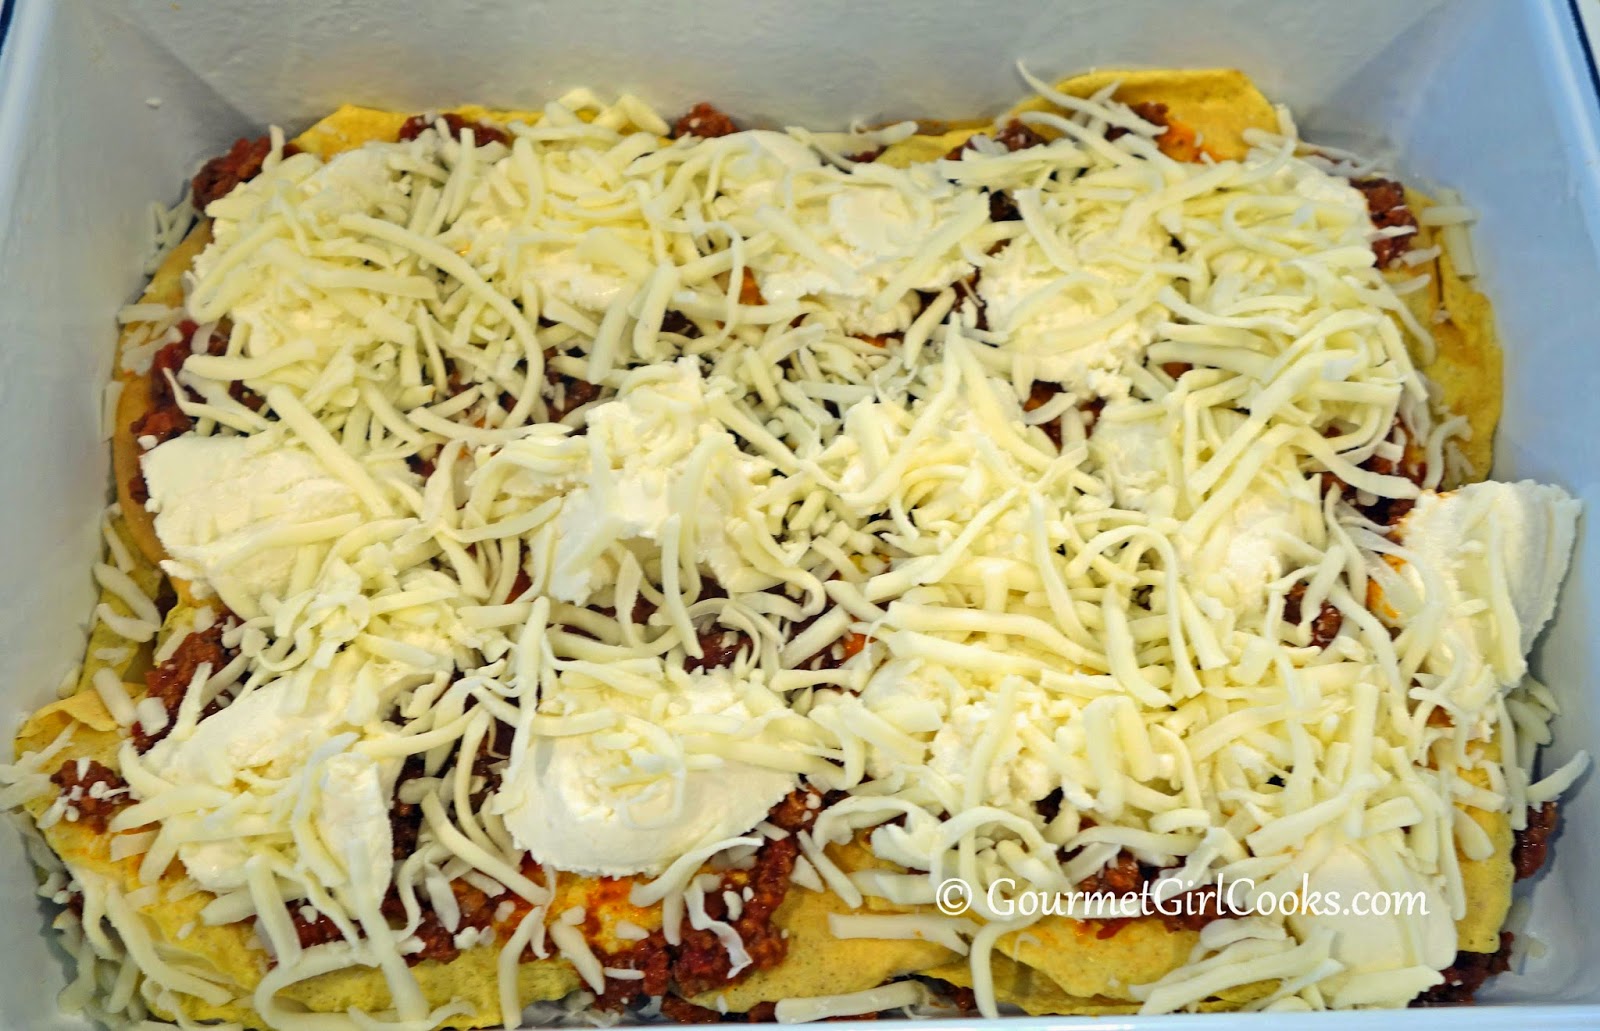
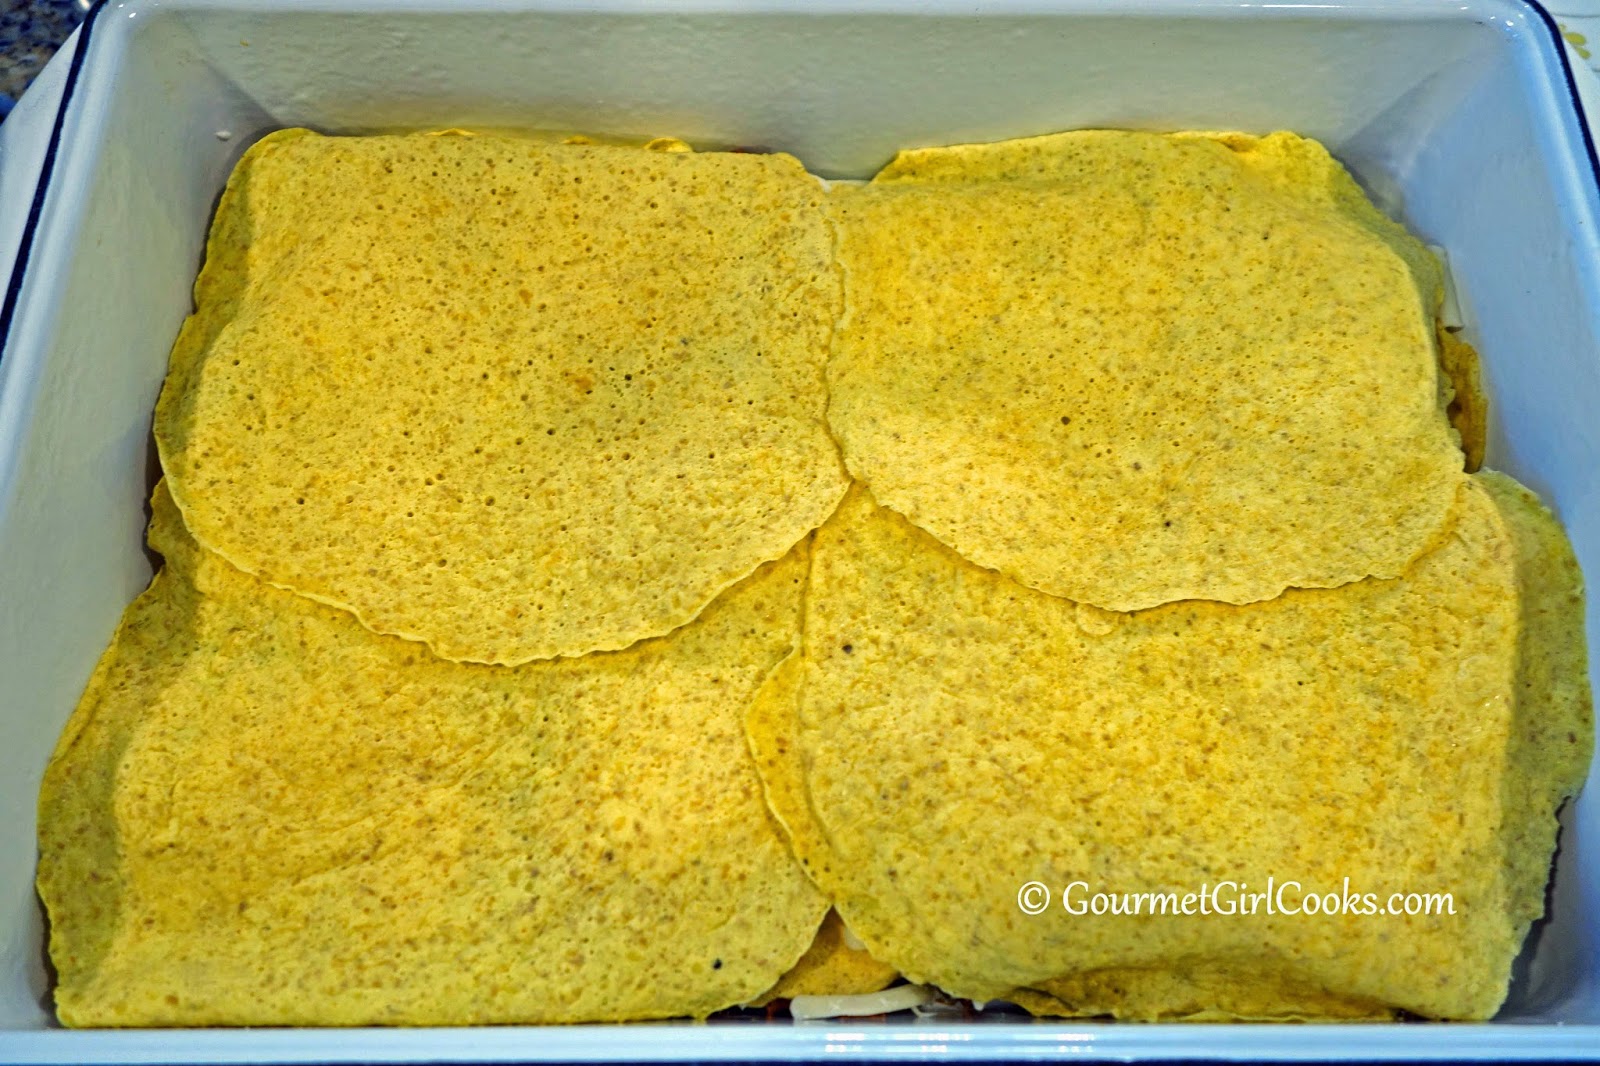
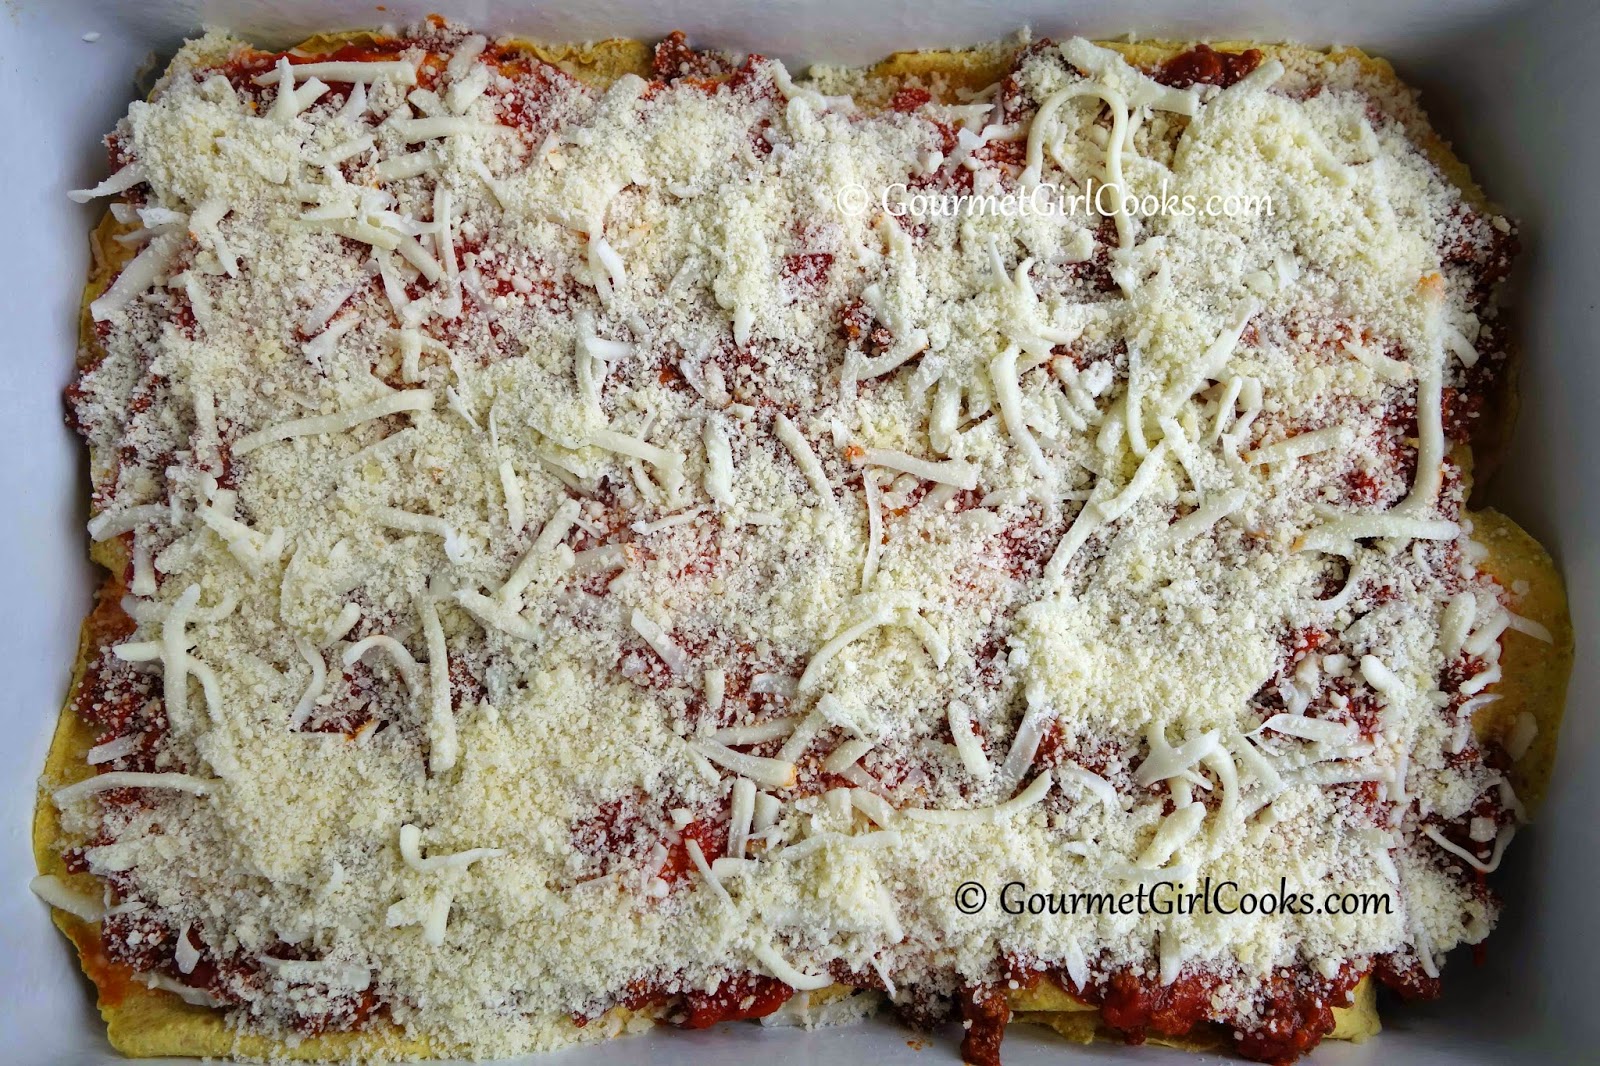
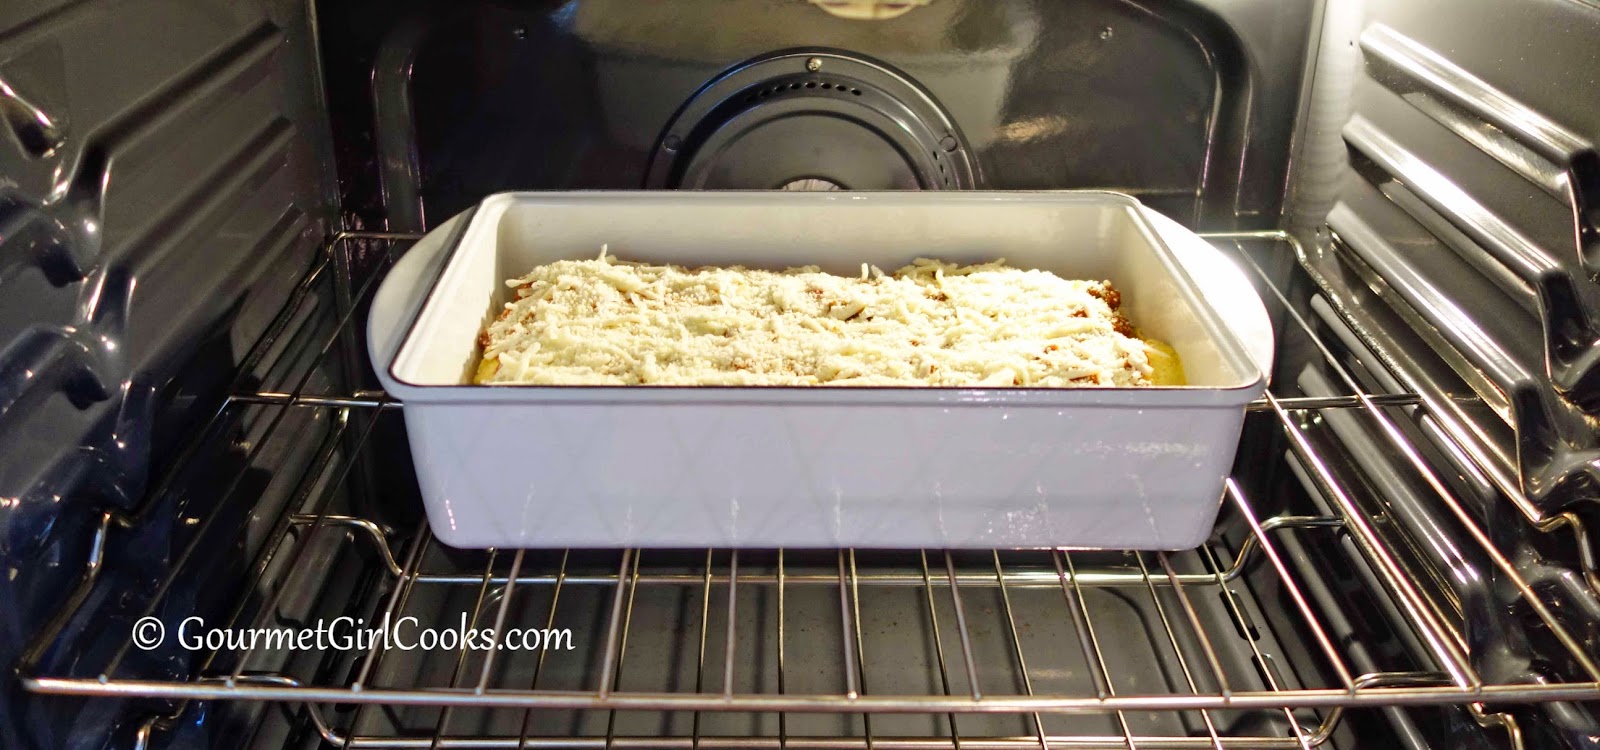
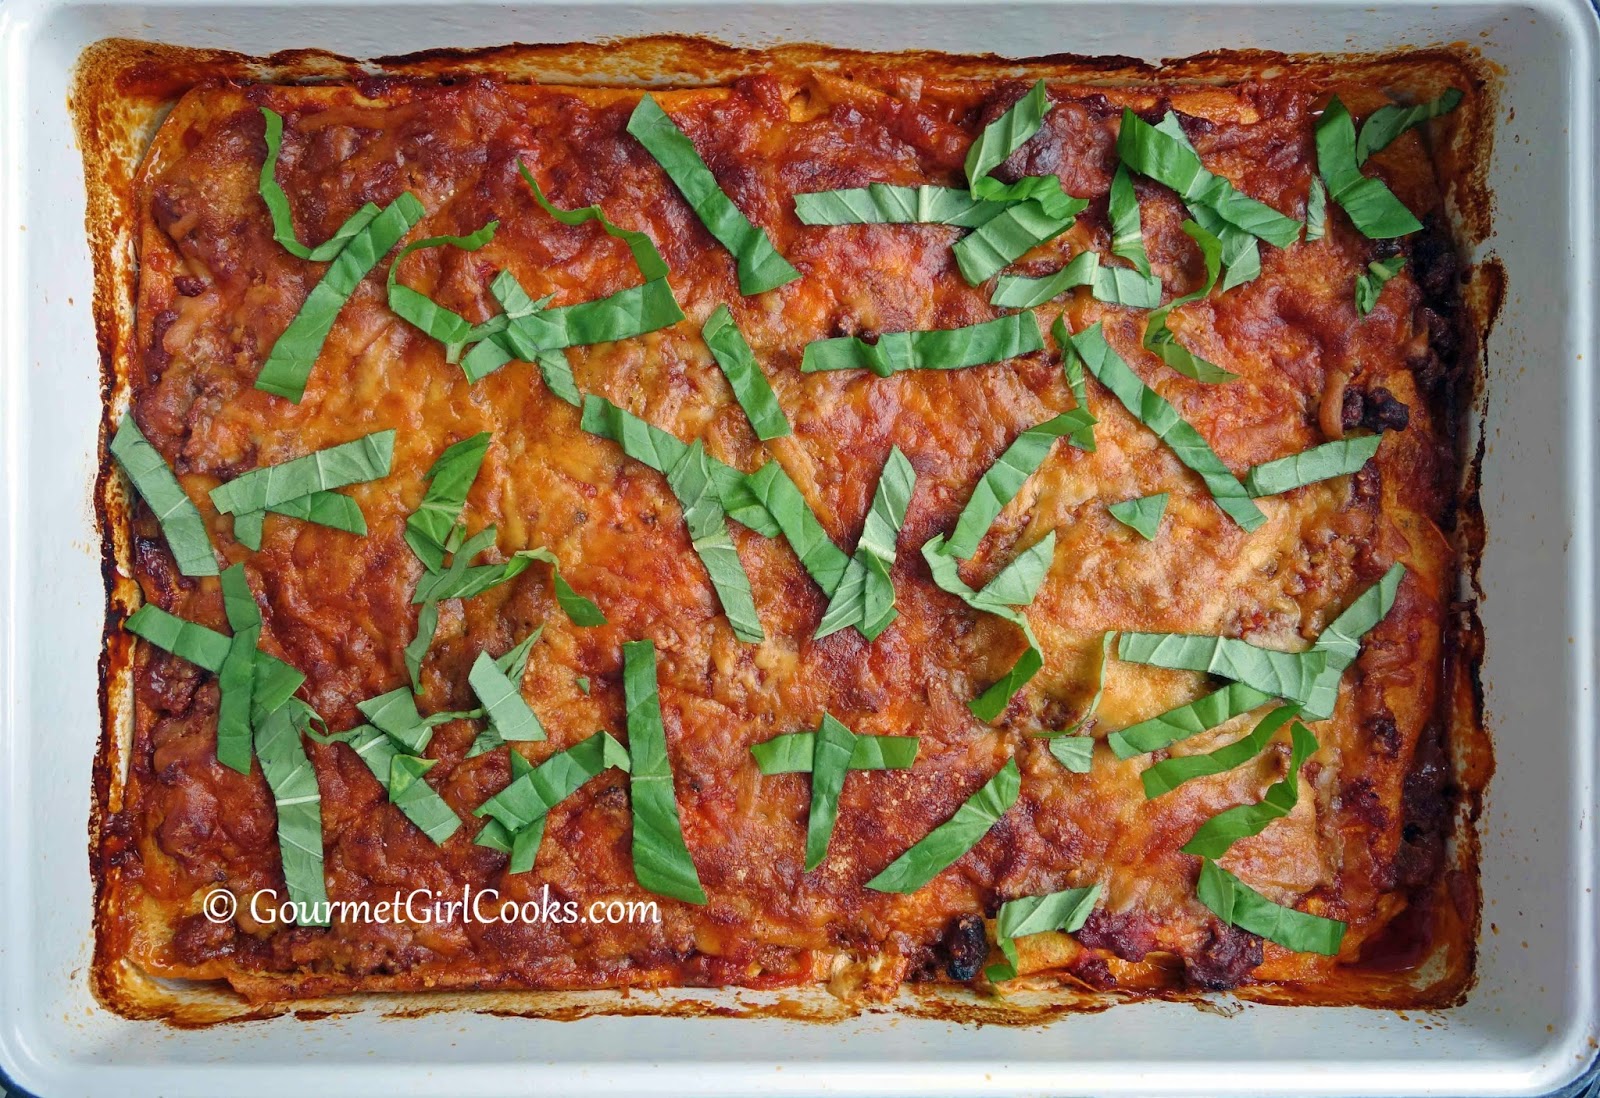
I snapped a few photos of tonight's lasagna below. You can layer it and add whatever your favorite cheeses are as long as you don't go wild with the sauce. I used about 1-1/3 pounds of ground beef and about 32 ounces of sauce (that I cooked down and reduced by about a third). My lasagna had 3 layers of "grain-free noodles." I made 10 grain-free tortillas ("noodles") and used 3 for each of the first 2 layers and used 4 for my top and final layer of "noodles." This is how I layered mine: scant meat sauce in the bottom of my lasagna pan; 1st layer of grain-free noodles; layer of thinly sliced provolone, meat sauce, broken up fresh mozzarella; 2nd layer of noodles; layer of meat sauce, dollops of ricotta cheese, shredded mozzarella cheese; 3rd and final layer of noodles, final layer of meat sauce (mixed with 1 cup of plain sauce to spread and completely cover the top), shredded mozzarella and topped with finely grated Parmesan. You can use as much and whatever type you personally prefer. I used 1 8-ounce bag shredded mozzarella cheese, 1 15-ounce container whole milk ricotta, a little over 8 ounces of fresh sliced mozzarella, 6 thin slices provolone cheese, and about 1/3 cup of finely grated Parmesan cheese. You can use more or less depending on your personal preference. In addition to the photos below, I've added my recipe for the grain-free tortillas I used as my noodles. Enjoy!


Note how thick the meat sauce is cooked down to (bottom layer)


Top layer of meat sauce has 1 cup of extra sauce stirred in to spread on top
Topped with final layer of cheese (shredded mozzarella and Parmesan)
Baked uncovered at 325 degrees F for about 1 hour (until browned)
Topped with fresh sliced basil leaves

Saturday, September 13, 2014

Sausage & Sprouts - Quick, Easy & Low Carb

Today was a scorcher here. We got up to 92 degrees and the humidity was really bad, too. Hubby had a board meeting to attend all day today so my daughter and I went to see a movie this afternoon and then did a little mall shopping afterward. Before heading home, I stopped at Costco to pick up a few things. Since it was so hot out, I wasn't in the mood to heat up the kitchen this evening so I made one of my favorite quick and easy meals...Sausage & Sprouts! As many of my regular followers know, I am obsessed with brussels sprouts. This dish is so very simple and it requires very few ingredients. 

I simply trim and halve fresh brussels sprouts and slice smoked gluten-free, nitrite/nitrate-free sausage and then usually stir-fry them on the stove. I used Aidells Chicken-Apple Smoked Sausage which is one of my favorites to combine with brussels sprouts. I decided to prepare our meal outside and use the grill as my stove instead of heating up the kitchen. I've made a few slight variations of this dish in the past. Occasionally I toss in some shredded red cabbage which not only gives it a punch of beautiful color, but some more texture, too. This evening, I added one small diced gala apple to my saute. 

I heated my 10-1/2 inch cast iron skillet on the grill over high heat and added some coconut oil and then tossed in my sliced sausage and let it brown, stirring occasionally. After about 5 minutes of browning, I tossed in my diced apple and cooked it with the sausage for a couple minutes. While the sausage was browning, I popped my sprouts into a covered glass casserole dish with a couple tablespoons of water and microwaved them on high for about 4 minutes to steam lightly to reduce the cooking time in the skillet. I drained the sprouts and added them to the browned sausage and apple and cooked and browned the sprouts and sausage mixture for a few more minutes. Normally I would have stopped there, but I decided to crack 2 eggs into the center of my sausage sprouts mixture and lightly cover with foil and cooked them until the eggs were done. I served the Sausage & Sprouts topped with fried eggs and one of my Cheddar Black Pepper Biscuits. It was delicious...hubby loved it too. Low carb meals can be as simple as you want them to be and still be delicious. I snapped a few photos for you to see below. Enjoy!


Thursday, September 11, 2014

Pizza - Low Carb, Grain Free & Delicious

This evening I was in the mood for pizza. I thought about waiting until tomorrow (Friday night) but decided I wanted it NOW! LOL So I mixed my quick pizza crust dough together, spread it out on my pizza pan and baked it for about 20 minutes. While it was baking, I pulled out my toppings and got them ready. This evening I decided to skip the pizza sauce and instead use my organic oven roasted roma tomatoes packed in oil that I get from Costco. If I had fresh roma tomatoes, I would have used those...but I didn't. I sliced up part of a red bell pepper and took out a bag of fresh baby spinach leaves and a package of gluten free uncured pepperoni that I found at Sprouts. I thought it looked really good...and it tasted even better! It's uncured, nitrite/nitrate free...gluten free and absolutely delicious. It's made by Fiorucci. I snapped a few photos of this evening's pizza below. I've also included the recipe for my ow carb pizza crust below as well. Enjoy!


Tuesday, September 9, 2014

Tuesday's Eggplant Ricotta Bake

This evening I made Eggplant Ricotta Bake for dinner. It's one of my favorite easy ways to enjoy eggplant. It's similar to a meatless lasagna, but quicker to make. There are very few ingredients and you can layer it however you prefer. I sometimes make 3 layers of eggplant, and other times make 4 layers, depending on the casserole I make it in. This evening I made it in my 3-1/2 quart oval Le Creuset heavy casserole pan (a gift from my daughter) and used 3 layers of eggplant. You can divide the ricotta mixture into 2 or 3 layers, whichever you prefer. I snapped a quick photo for you to see below. The recipe can be found here: Eggplant Ricotta Bake. Enjoy!

Tonight's Eggplant Ricotta Bake
Here's a photo of one I made previously


Monday, September 8, 2014

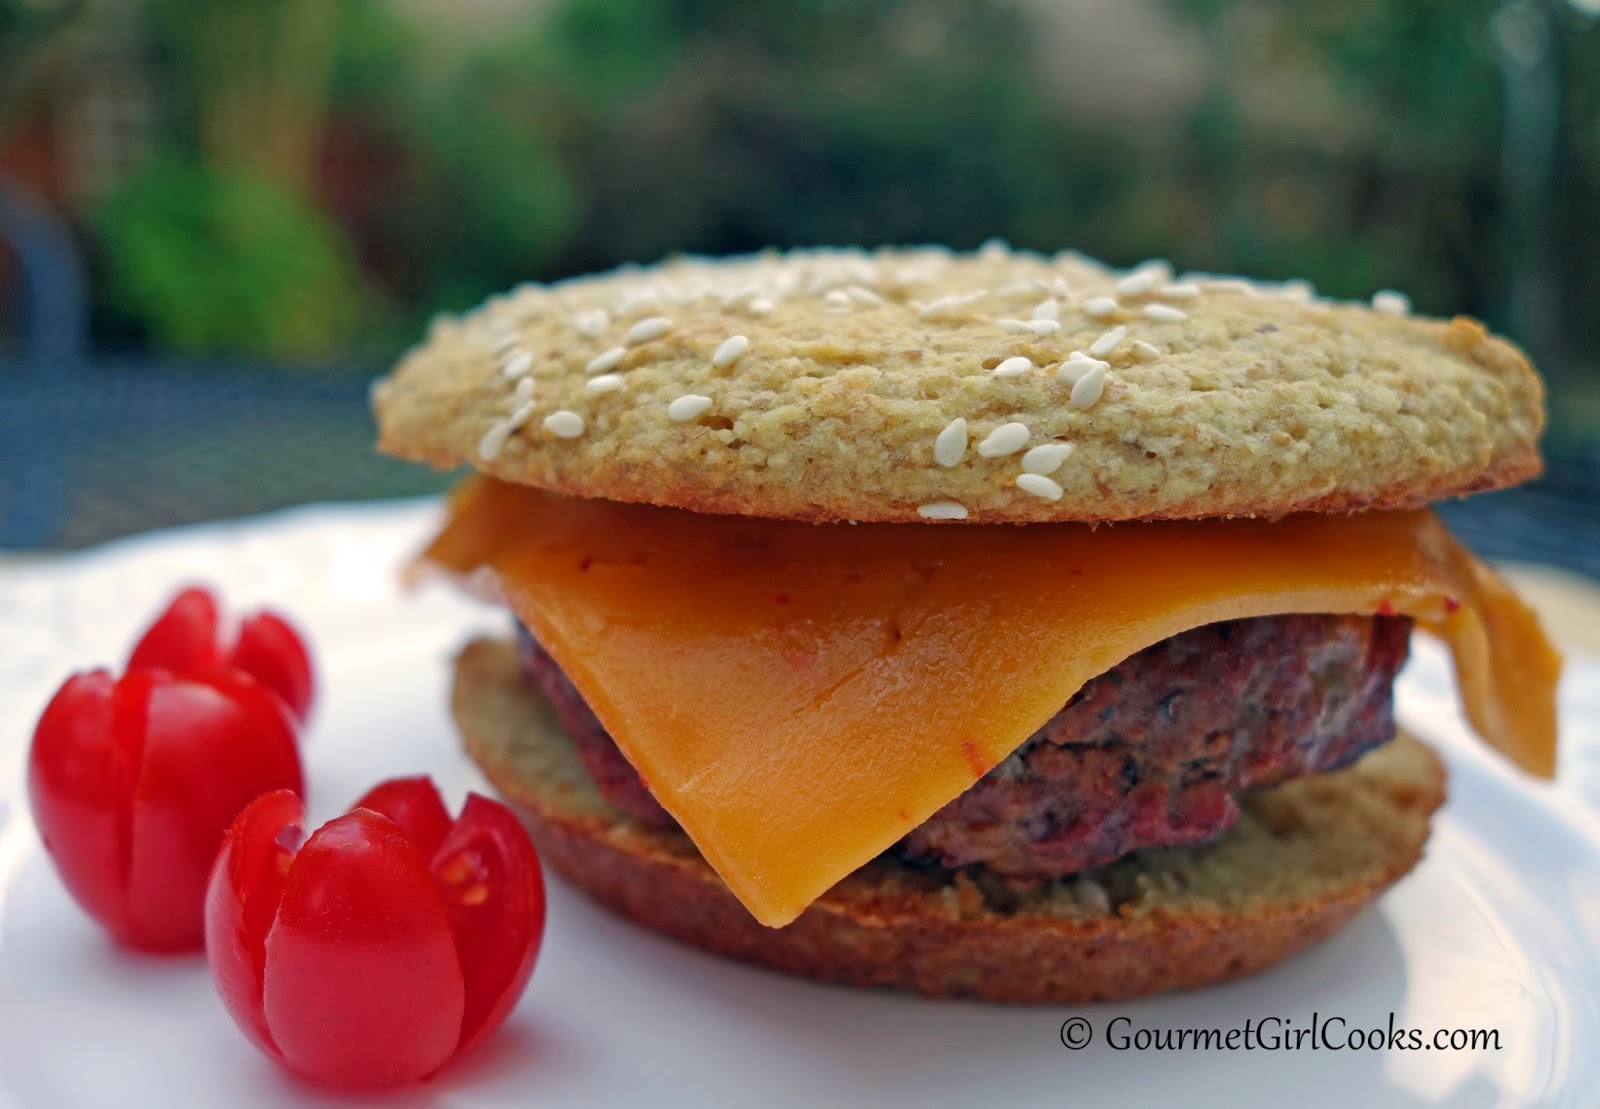
Easy Taco Burgers w/ Chipotle Cheddar Cheese on Sesame Seed Buns - Simple & Low Carb

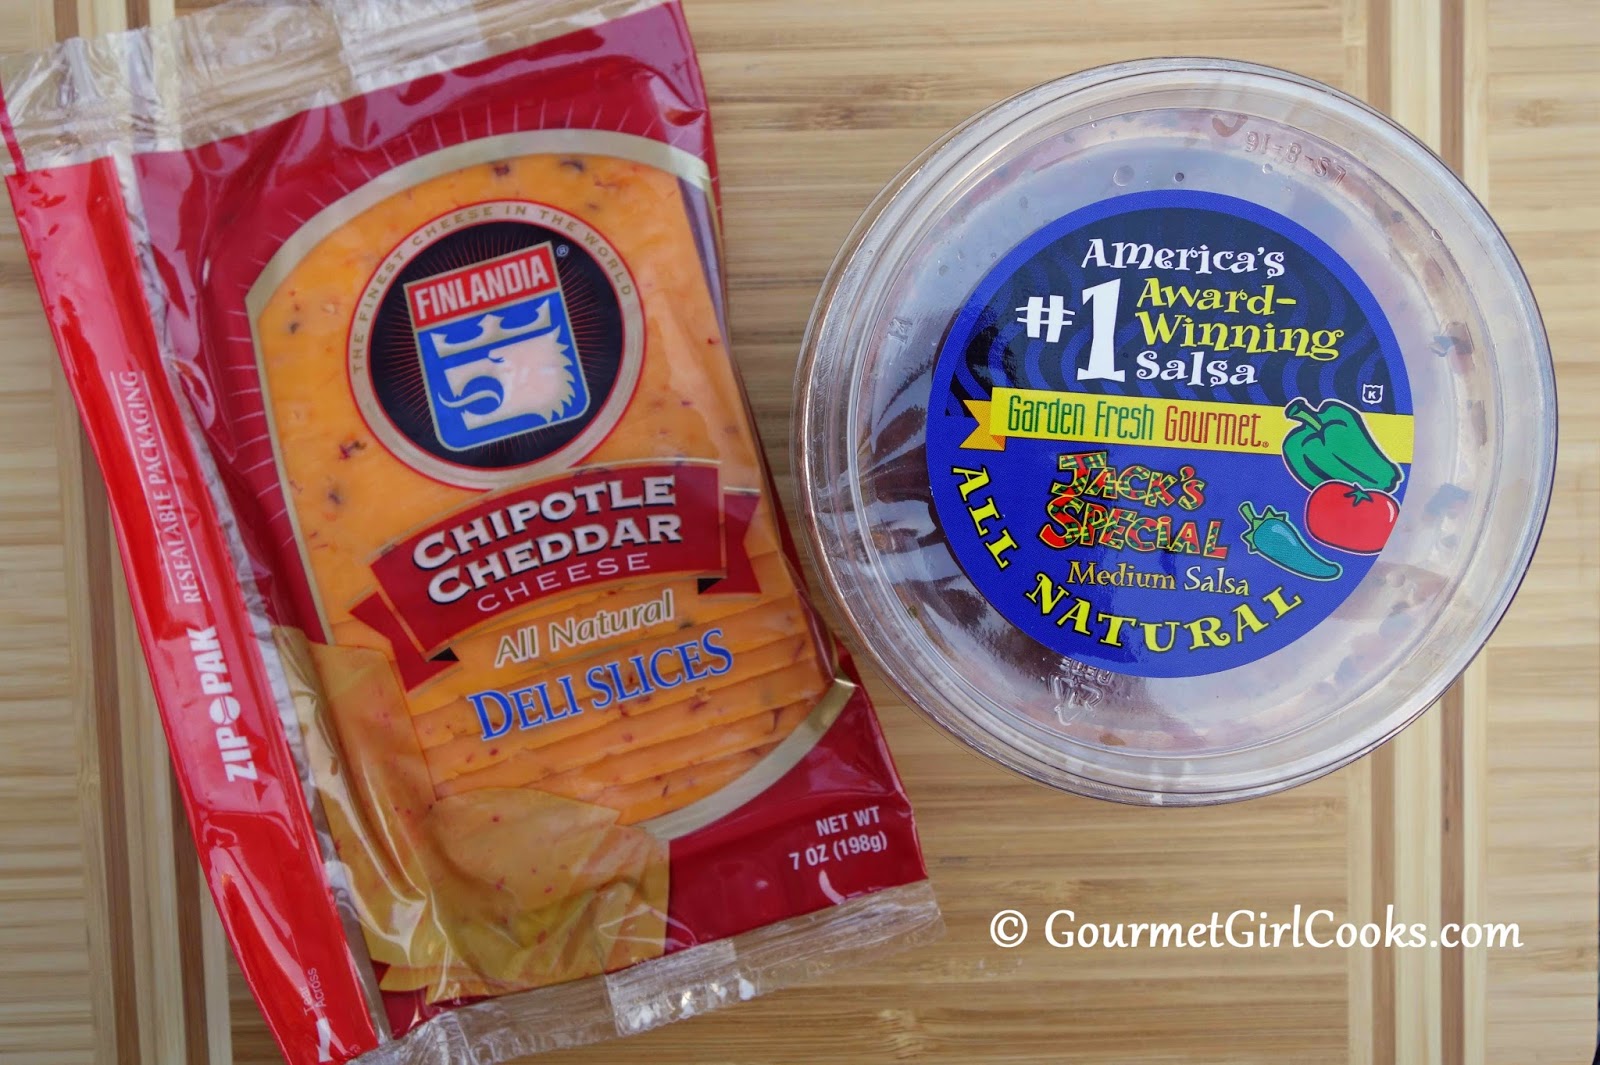
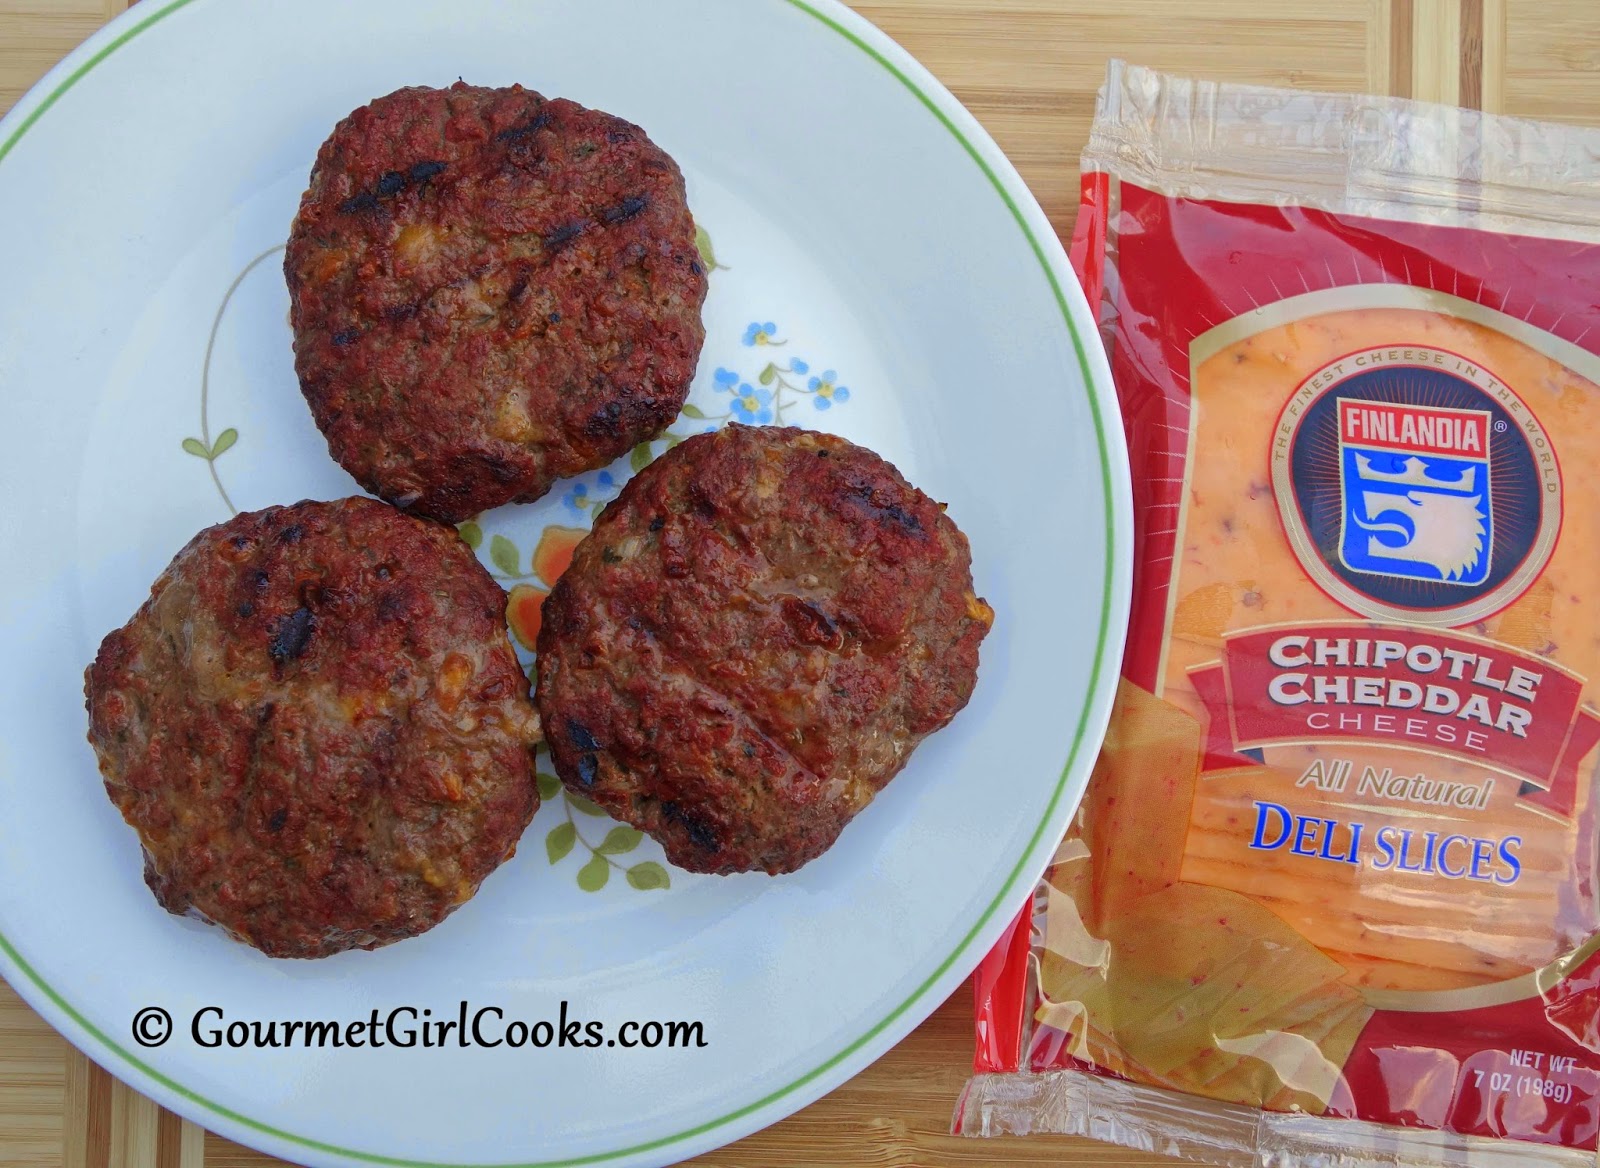
This evening I was in the mood for burgers, but I was also in the mood for tacos...so I decided to have both! I made Taco Burgers by mixing ground beef with my homemade taco seasoning, salsa and shredded sharp cheddar cheese. I topped the burgers with a new type of cheddar cheese I found at Sprouts this past weekend...Chipotle Cheddar made by Finlandia. These burgers would also be great using ground chicken, too (Chris).  :-)

I started my dinner prep by mixing up a quick batch of my Sesame Seed Buns. While the buns were baking, I made the burgers so hubby could grill them when he got home. They turned out amazing. I topped each burger with a slice of the Chipotle Cheddar Cheese and had hoped to add sliced avocado as well, but both avocados I picked up this weekend were bad inside so I skipped it. The burgers were packed with flavor and were nice and moist with the addition of salsa and cheese inside. I've made "Mexican Meatloaf" for years now using taco seasoning, but have never added into burgers and I don't know what took me so long to do so! 

When my sons were over for dinner last night, I made a batch of my Chocolate Chip Cookies and just baked 1 dozen cookies for them last night and refrigerated the remaining dough. I wanted to be able to bake small batches of fresh hot cookies as I wanted throughout the week. Since my oven was already heated to bake my Sesame Seed Buns, I went ahead and popped a small batch of 8 cookies into the oven which will last me for a few days. I love making up the dough ahead of time and just baking the cookies as I want them. 

What could be better for a Monday night dinner than burgers on BUNS and cookies...it's a low carb lovers delight! I snapped a few photos below and included my easy peasy burger recipe. Enjoy!


Sunday, September 7, 2014

Chipotle Cheddar Crackers - Low Carb, Grain & Gluten-Free

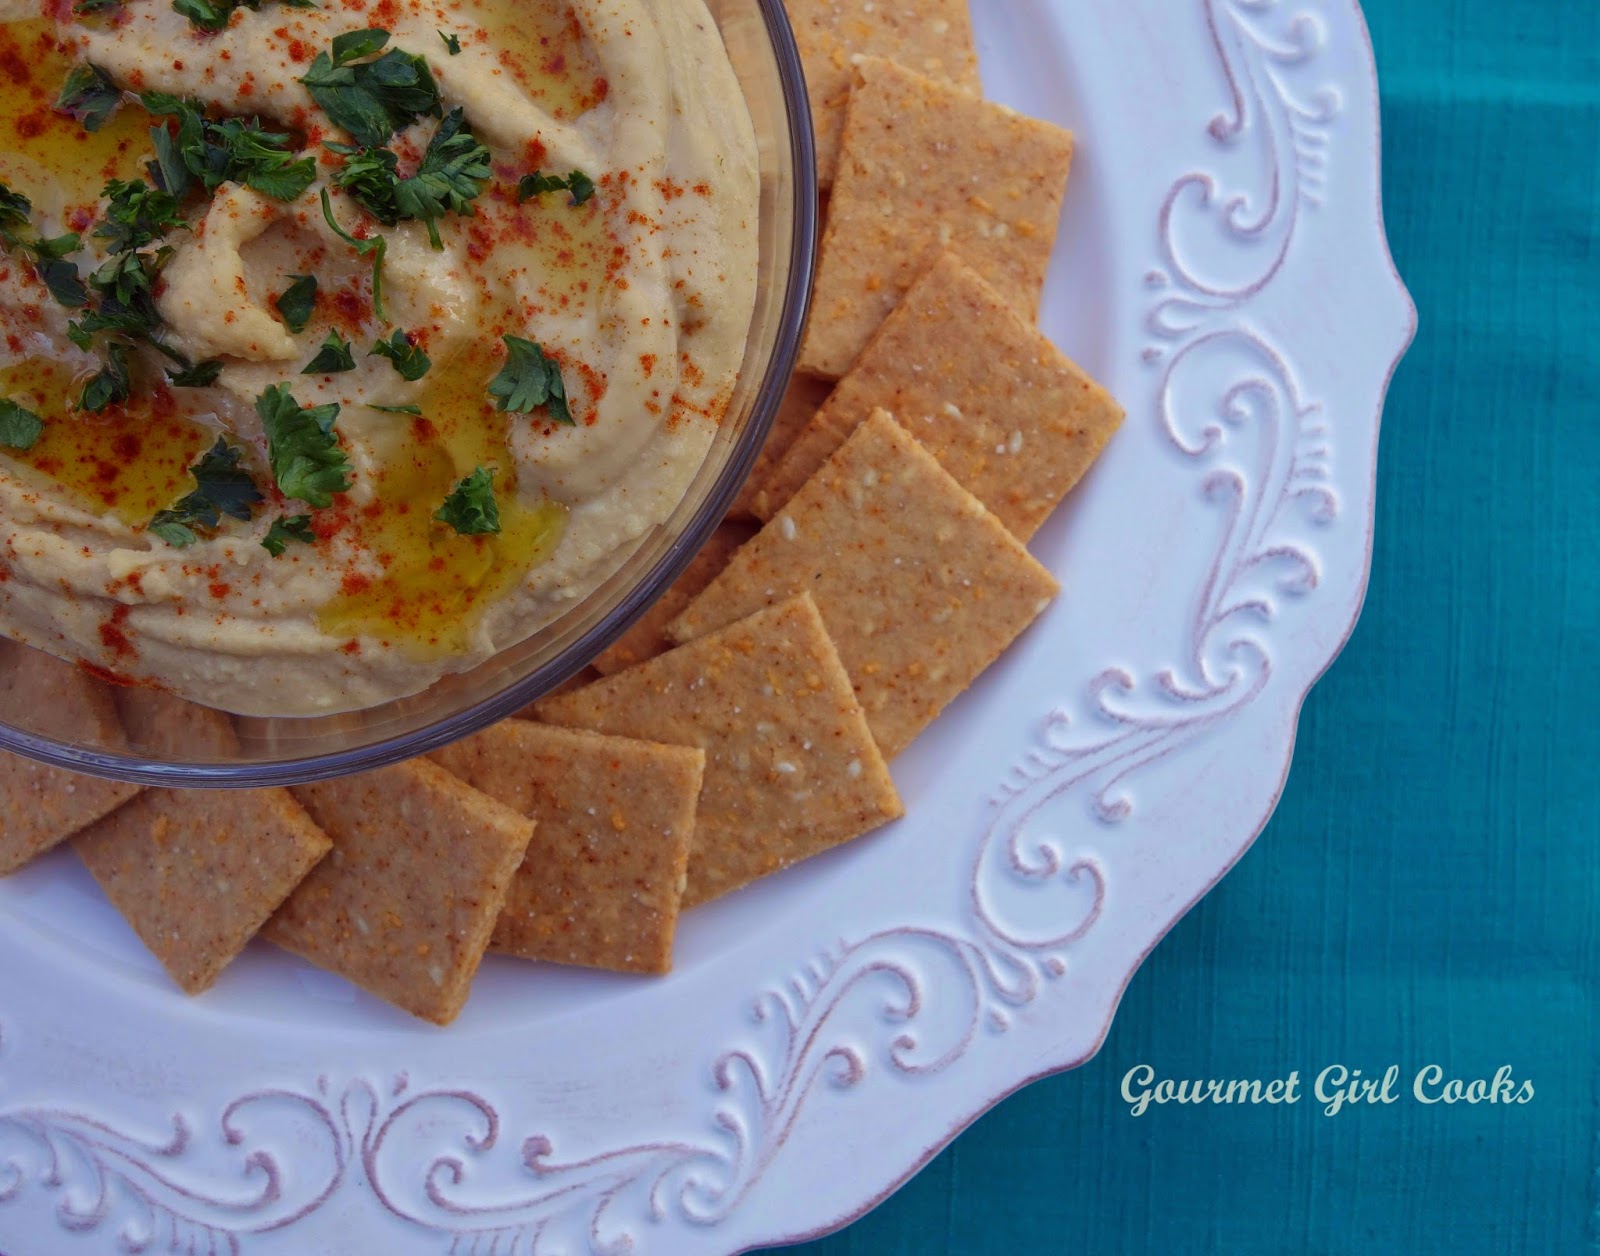
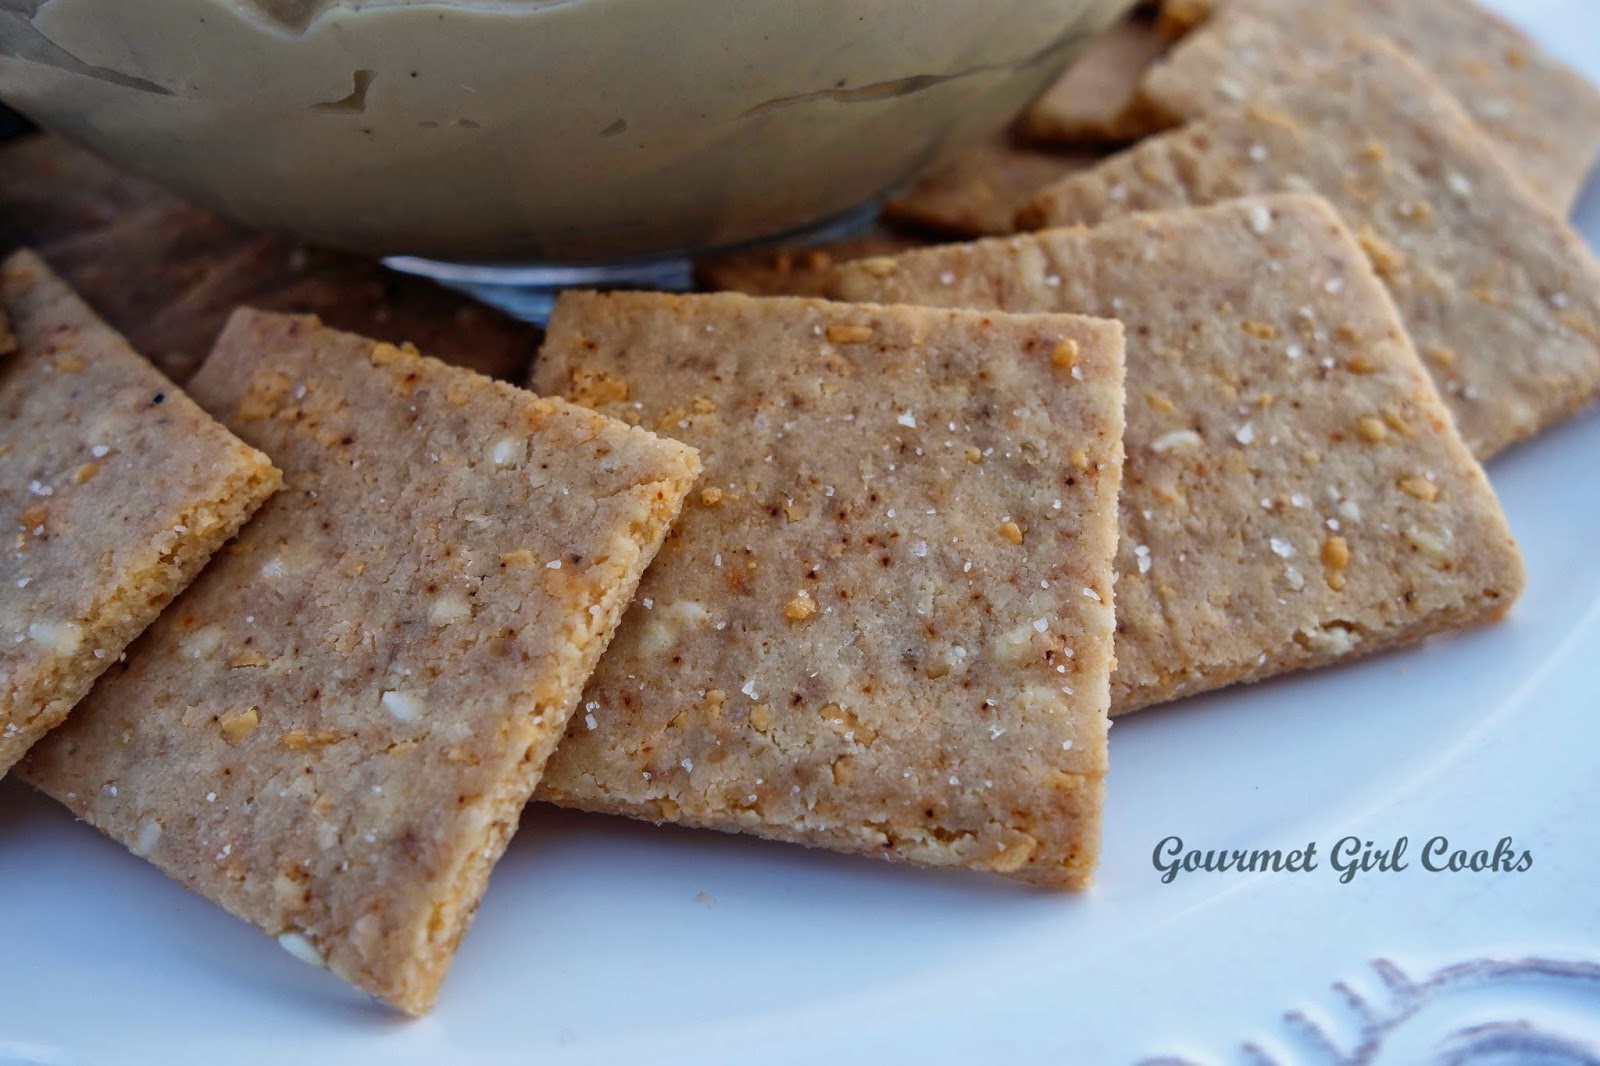
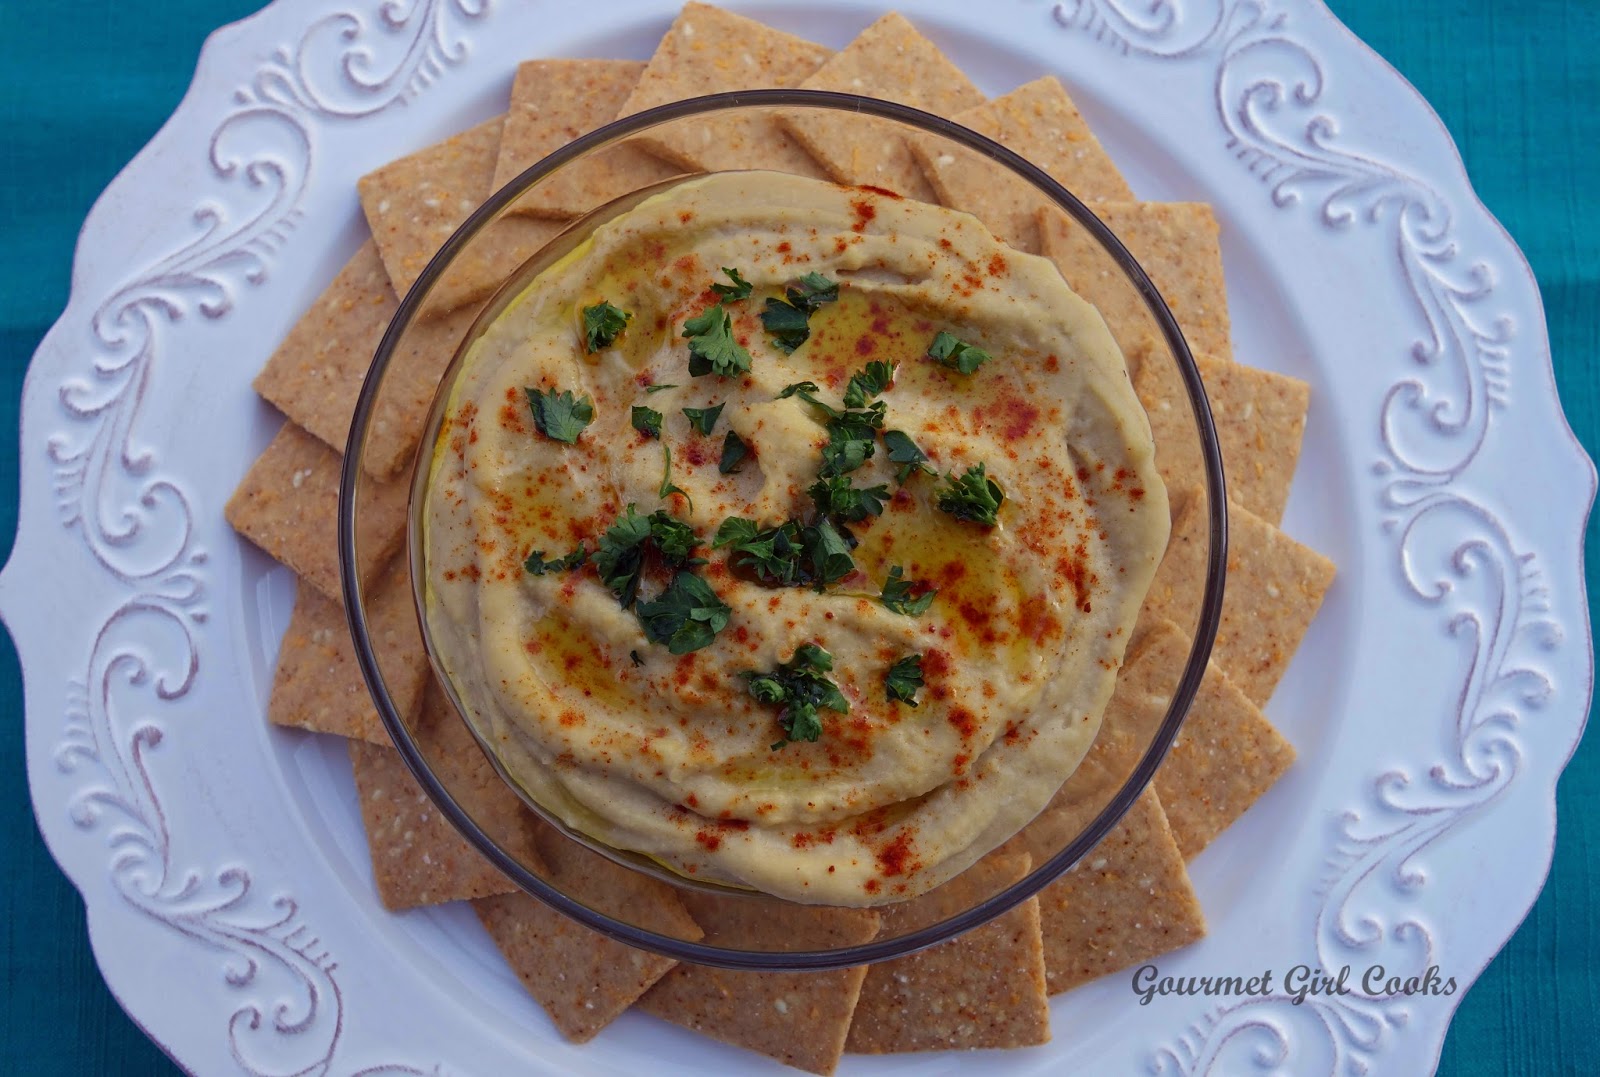
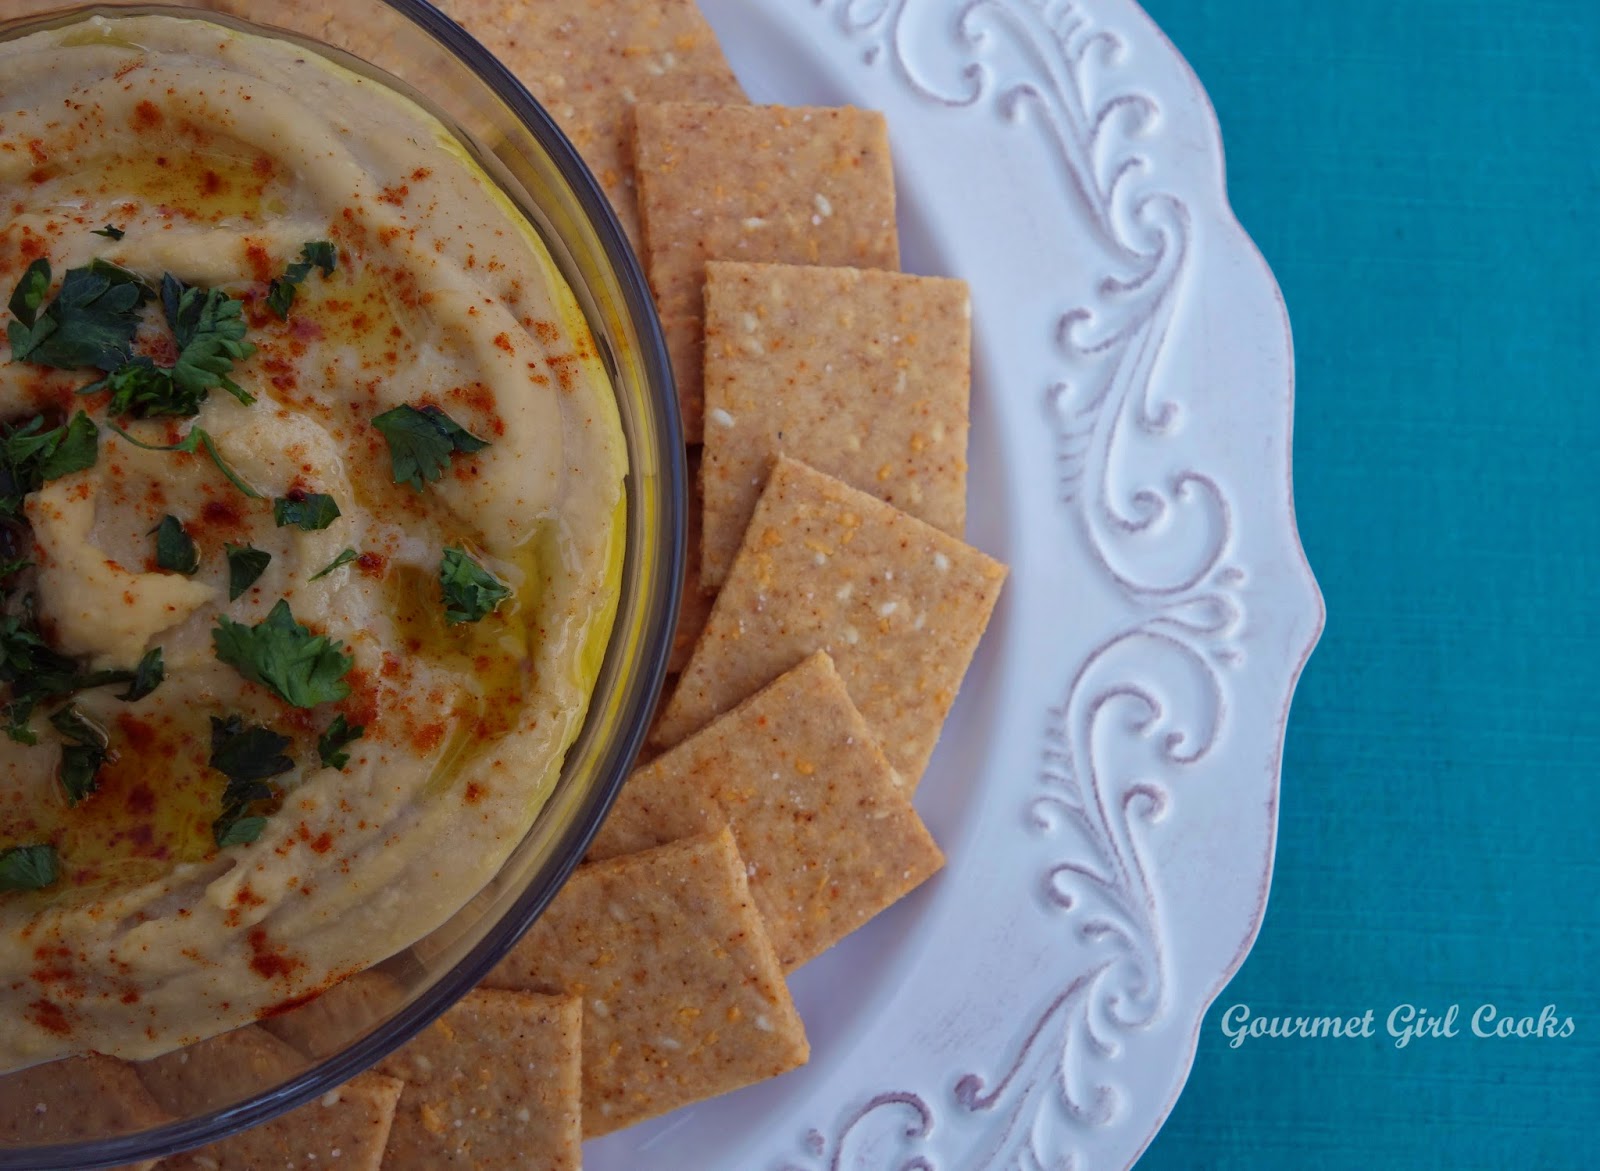
I love to eat crackers as a simple, quick and easy snack. They are easy to toss into a little baggie and take them with you on the go. One of the things many of us grain-free people miss oftentimes are simple, crunchy little snacks. I love these with cheese and they are also great dipped into hummus or guacamole, etc. These crackers are tasty enough to eat simply "as is" too. Once you make grain-free crackers, you realize that there's really not much to it and the ways you can season them and change them up is endless. I love them served alongside my Fire Roasted Tomato Cheddar Chowder...it's just as tasty as having grilled cheese sandwiches with tomato soup (well, almost). LOL These would make great snack crackers to put out during football games, holiday get togethers, etc. Check out a few of my photos as well as the recipe for the crackers below. Enjoy!


My crackers were featured in the April 2014 issue (pages 26-27) of Wheat Free Living
Click here to read this issue:  Wheat Free Living


Saturday, September 6, 2014

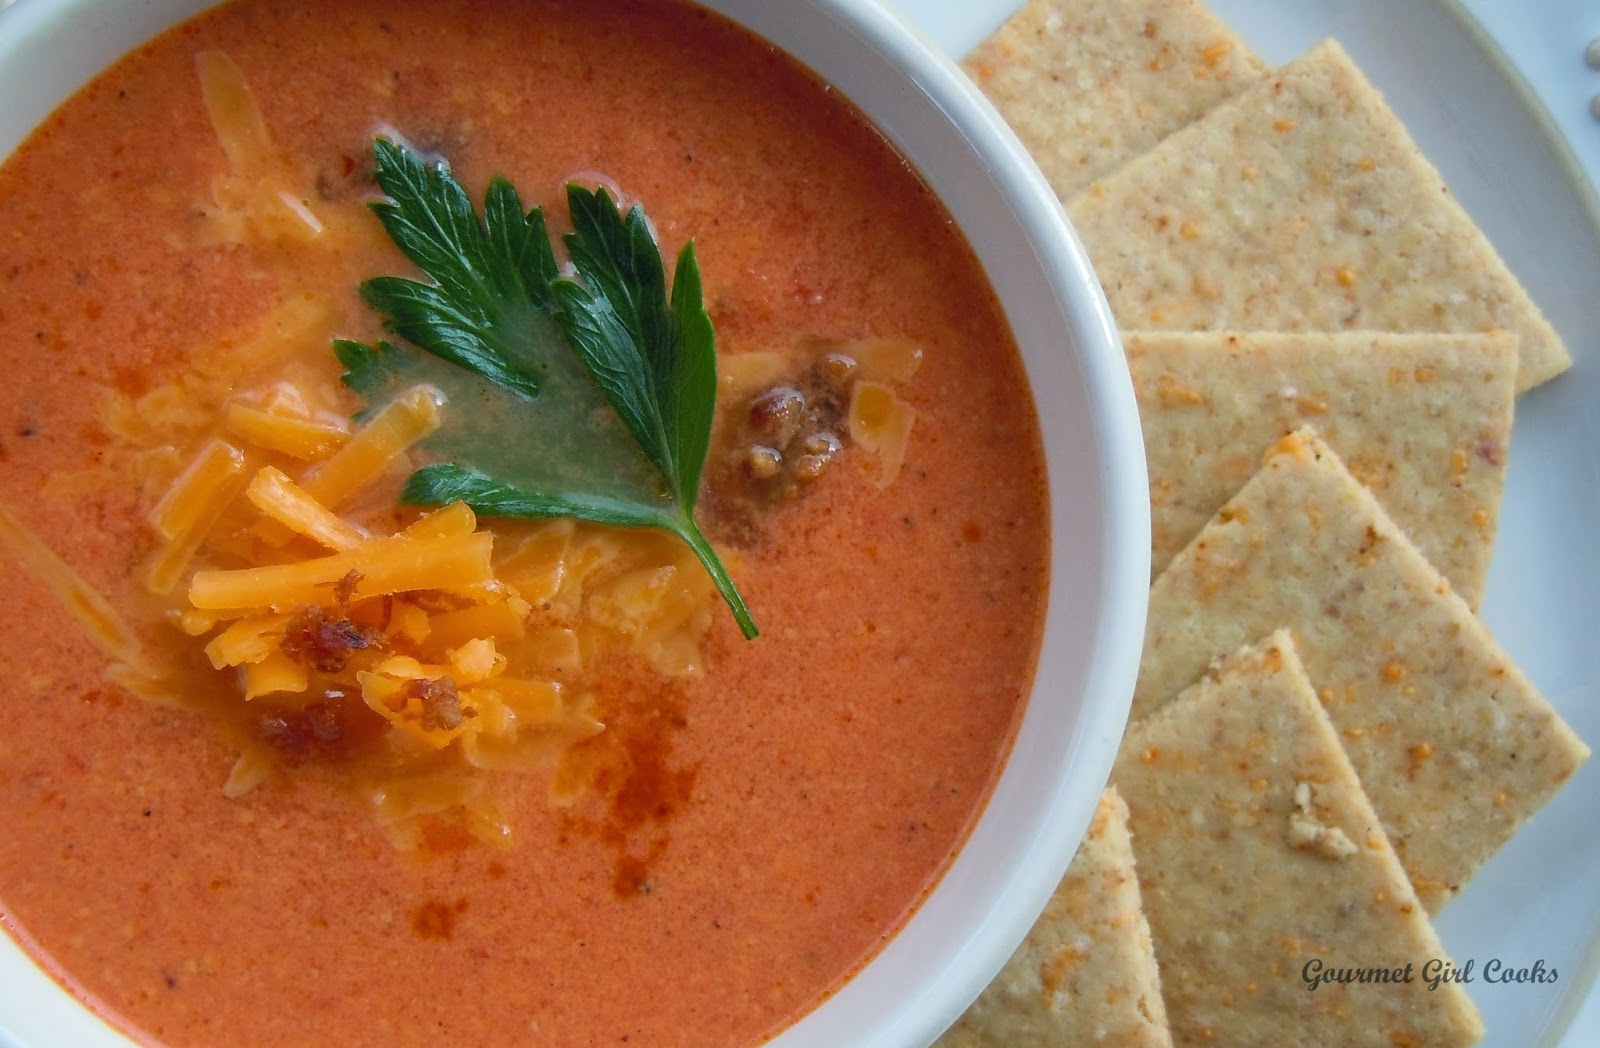
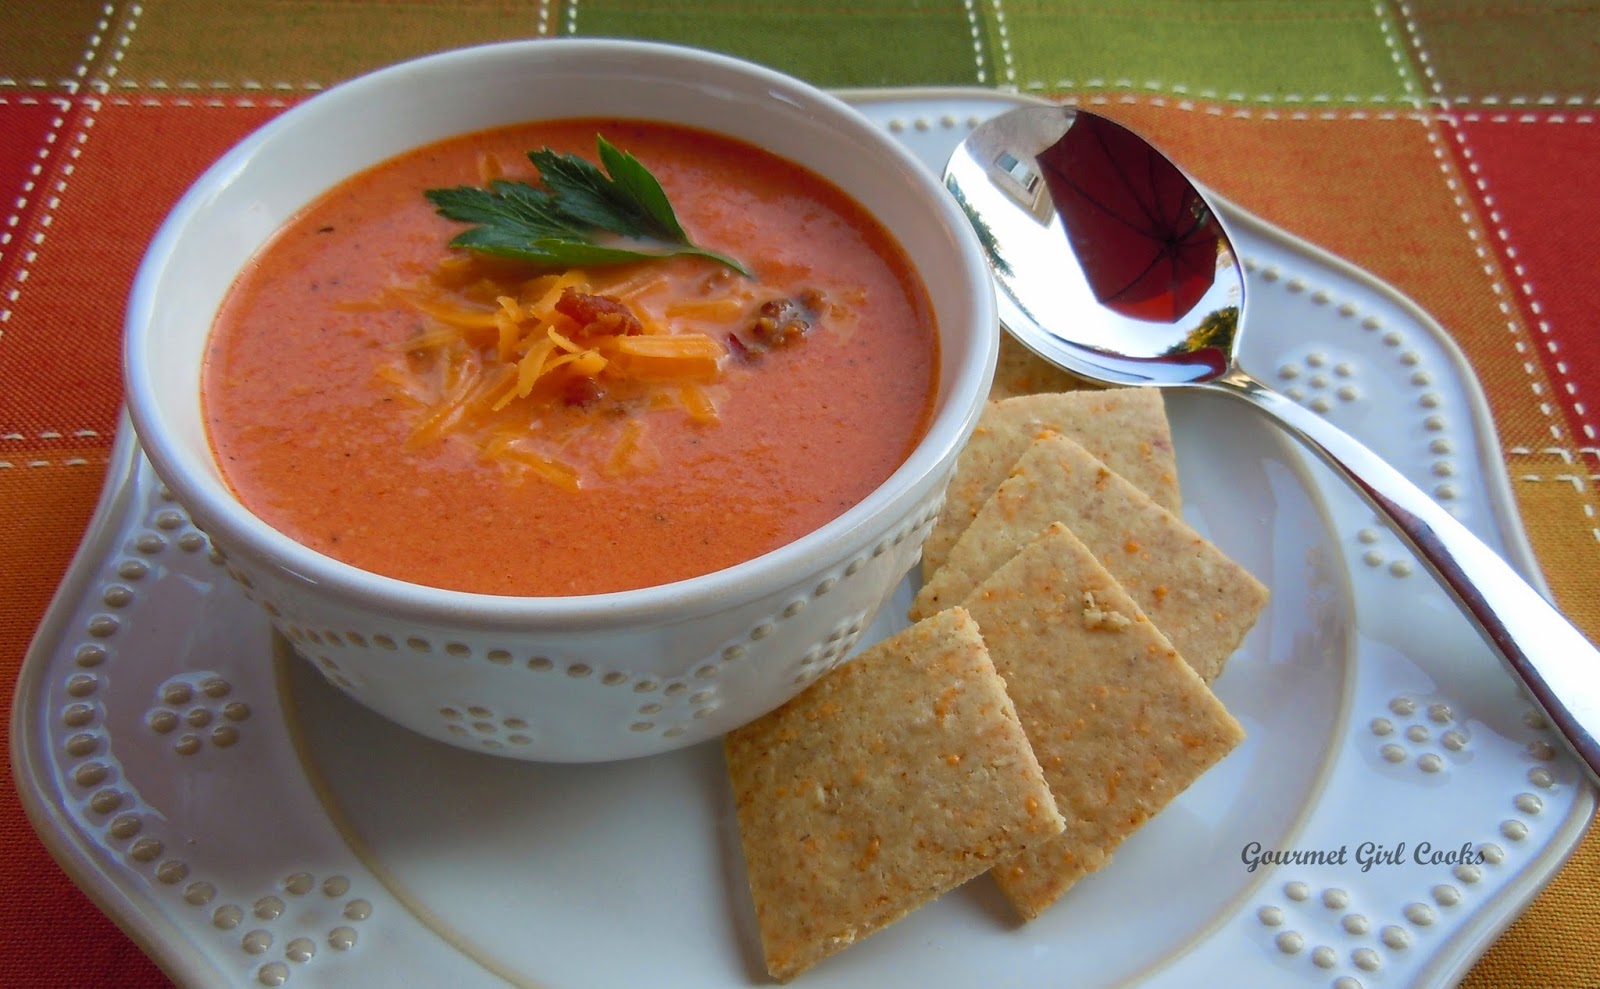
Fire Roasted Tomato Cheddar Chowder - Rich, Luscious & Low Carb

This evening I had planned to grill burgers for dinner. We ran out late this afternoon to pick up a few last minute things because I decided to make my Oven Roasted Zucchini Fries to go along with the burgers. It was bright, sunny and hot outside when we went into the grocery store. As we were checking out, I thought I heard thunder, and looked outside and the sky had opened up. It wasn't simply raining...it was a torrential downpour making it hard to drive the few miles home. There was lots of ponding water on the roads and cars hydroplaning since it came down so heavy and so fast. Hubby assured me it would just pass over us quickly and we'd grill after. Nope...that was over an hour ago and it is so dark outside that it is more like very late night outside than dinnertime. 

So, I had to switch to "Plan B" and in the essence of time, I decided to make my quick and easy Fire Roasted Tomato Cheddar Chowder. It's quick, easy and delicious. Most, if not all of the ingredients, are easily found in your grocery store and are possibly already in your pantry! I actually created this recipe last fall. It was featured in the inaugural issue edition of Wheat-Free Living's digital magazine this past February. 

I made this soup tonight because it was quick and easy and I happened to have all of the ingredients on hand. As a matter of fact, I had just picked up several cans of Muir Glen Organic Diced Fire Roasted Tomatoes at Sprouts this afternoon because they are on sale for half price! I guess it was meant to be. Since I already had some beautiful photos taken of this soup, and it's pitch dark here and storming, I'm going to post a few of the photos that I'd already taken along with the soup recipe. I'll post the Chipotle Cheddar Cracker recipe that went along with the soup tomorrow. It's hard to believe we are only days, if not weeks away from soup and cracker season; I can hardly wait! Enjoy!


Thursday, September 4, 2014

Moussaka (Topped w/ Grain-Free Bechamel Sauce) - Low Carb

This evening we had Moussaka for dinner. It's one of my absolute favorite dishes. I grew up eating this since early childhood. It was one of my father's favorites and my mother made the best. If you don't know what Moussaka is, it's basically a casserole layered with fried or sauteed eggplant, ground meat, tomato sauce, onion, garlic and spices such as cinnamon, black pepper and allspice. The eggplant and meat layer is topped with béchamel sauce and then baked. There are numerous variations (Greek, Turkish, Bulgarian, Serbian, etc.), but this is probably one of the more classic variations. I've also eaten a version topped with thinly sliced potatoes...but this version is my favorite. 

Rather than fry or saute the eggplant, I usually grill, broil or bake my eggplant. It's much less messy to prepare it that way than cooking it on the stovetop (and I'm all for less messy). Also, when frying or sauteing eggplant, it sucks up olive oil like a sponge and you need to constantly keep adding oil to your frying pan. I grilled the eggplant for this evening's version. I sliced it in 1/4-inch thick slices and brushed it with olive oil, seasoned with a little salt and pepper and then grilled it for a few minutes on each side until tender. The most important tip is to make sure you don't add lots of tomato sauce. This isn't Italian food...you don't want "tomato sauce with meat"...you want "meat with a little tomato sauce"...just enough to moisten and flavor. The flavors in this dish are unique if you aren't familiar with middle eastern food. I like adding a dash of allspice to my meat mixture, but hubby finds the taste of cloves (in the allspice) a bit too much...so I just add cinnamon, salt and black pepper. The béchamel sauce has a touch of nutmeg. 

Traditional béchamel sauce is made with butter, flour and milk. The flour and butter is combined to make a roux and the milk is added and cooked until thickened before adding cheese, etc. In my grain-free moussaka, I created my own grain-free version of béchamel using ricotta cheese, eggs, Parmesan cheese and a bit of heavy cream. It's amazing how much the taste and texture is spot on. I've also made the sauce without adding cream for a thicker béchamel, particularly when I make my "Mini Stuffed Moussaka Boats" because I need the béchamel to be super thick so it stays on top and doesn't run off. Cinnamon and nutmeg are not spices commonly associated with flavors used in savory dishes...but its actually quite popular in many Mediterranean type dishes. I like to serve Moussaka with a fresh green salad. I used to eat it alongside rice (pilaf), but these days, I just stick with the green salad and really don't miss the rice (or the carbs). I snapped a few photos below as well as the recipe. Enjoy!


Popped into the oven and ready to bake


Moussaka (Topped w/ Grain-Free Bechamel)

INGREDIENTS:

2 medium eggplants, sliced lengthwise 1/4" thick (peeled, if desired)
Olive oil (as needed)
1 lb lean ground beef (or ground lamb)
1 large onion, chopped
3 cloves garlic, minced
1 (8-ounce) can tomato sauce
1 teaspoon dried oregano
1/2 – 1 teaspoon cinnamon, optional
1/2 teaspoon salt, or to taste
1/2 teaspoon fresh ground black pepper, or to taste

For the “Bechamel” Cheese Sauce
1 lb. ricotta
3 large eggs
1/2 cup grated Parmesan cheese (plus extra for sprinkling on top)
Nutmeg, dash/pinch
3 to 4 tablespoons heavy cream, optional

Directions:

Grease an 11 x 7” baking pan or similar sized casserole dish. Line a large cookie sheet with foil.

Brush each side of sliced eggplant with olive oil and sprinkle with salt and freshly ground pepper. Place the eggplant slices in a single layer on cookie sheet; broil until lightly brown; turn and broil the other side, brushing with additional oil, if needed until fork tender (alternatively, eggplant can be grilled). Arrange half the eggplant slices in the bottom of prepared baking dish; set aside.

While eggplant is cooking, in a large skillet, brown beef and onions; breaking beef into small pieces as it cooks. Cook until the beef is no longer pink and the onions are soft and translucent; add garlic and cook a few minutes more. Add tomato sauce, oregano, cinnamon, 1/2 teaspoon salt and black pepper (to taste); simmer uncovered about 10 minutes (there should not be much liquid left). Pour meat mixture over eggplant slices. Arrange the remaining eggplant slices over the beef mixture.

To make the bechamel/cheese sauce, in a medium bowl, whisk ricotta, eggs, 1/2 cup Parmesan cheese and dash of nutmeg until smooth and well blended; add salt and pepper to taste (careful not to over salt). Whisk in cream, to desired consistency. Pour the cheese sauce over the top of casserole and spread evenly. Sprinkle additional Parmesan cheese on top, if desired. Bake in a 350 degree F oven for 45 minutes. If desired, run casserole under the broiler for a few minutes to lightly brown. Let sit about 15-20 minutes to set before cutting into squares. Serves approximately 4 to 5. 

***Note:  Even though 8 ounces of tomato sauce is not much, the tomato sauce is only used to flavor the meat and keep it moist; it isn't supposed to be like lasagna meat sauce.  If you prefer not to add cinnamon to the meat mixture, you may omit it; however it is the unique flavor that "makes this dish" and gives it authentic flavor. Be sure to cook eggplant slices until completely tender (this is not a vegetable that is pleasant undercooked unless you like chewing on erasers).

Wednesday, September 3, 2014

Milk Chocolate Peanut Buttercream Frosting - Decadent, Low Carb & Sugar Free

We are currently having severe thunderstorms here and before we lose power or internet connection, I wanted to get this posted ASAP since I promised I would. Here is the recipe for the frosting I used to frost my Best Old Fashioned Chocolate Cake with yesterday. It's a Milk Chocolate Peanut Buttercream Frosting and while it's predominantly milk chocolate flavored frosting, it has a distinct undertone of peanut butter which makes it taste like a fluffy Reese's Peanut Butter Cup frosting. It goes great on this chocolate cake. If you prefer to use almond butter instead of peanut butter, you can easily swap it out...or use your favorite nut butter. I added a bit of shaved dark chocolate on top of my cake. This is a nice creamy, fluffy, decadent frosting. A little goes a long way. It's been a while since I've had REAL frosting. It's hard to believe that such a beautiful authentic tasting frosting can be made using confectioners Swerve because I honestly can't tell the difference between it and regular confectioners sugar. If you prefer a slightly less sweet frosting, reduce the confectioners sweetener by about 1/4 cup and reduce the cream by 1 tablespoon or to your preferred consistency. I hope you enjoy this treat as much as I do! Enjoy!


Tuesday, September 2, 2014

Best Old Fashioned Chocolate Cake - Low Carb, Sugar Free, Grain & Gluten Free

Tonight I'm excited to share another dessert recipe I've created. Recently, I've been working on a chocolate cake recipe and I finally have it the way I like it. It's funny, just this past weekend someone asked me if I had one! I have also got an awesome frosting recipe to go with it. Tonight I'm just posting the recipe for the cake. I'll write up the frosting recipe and post it tomorrow. It's good! I like to use my hubby as a gauge for my recipes because he is not grain and sugar free like I am...so when HE says its good, I know it is good enough to serve everyone. That's important to me because I know that many of us are in the same situation that I am where all of our family members and friends don't necessarily eat the same way we do. 

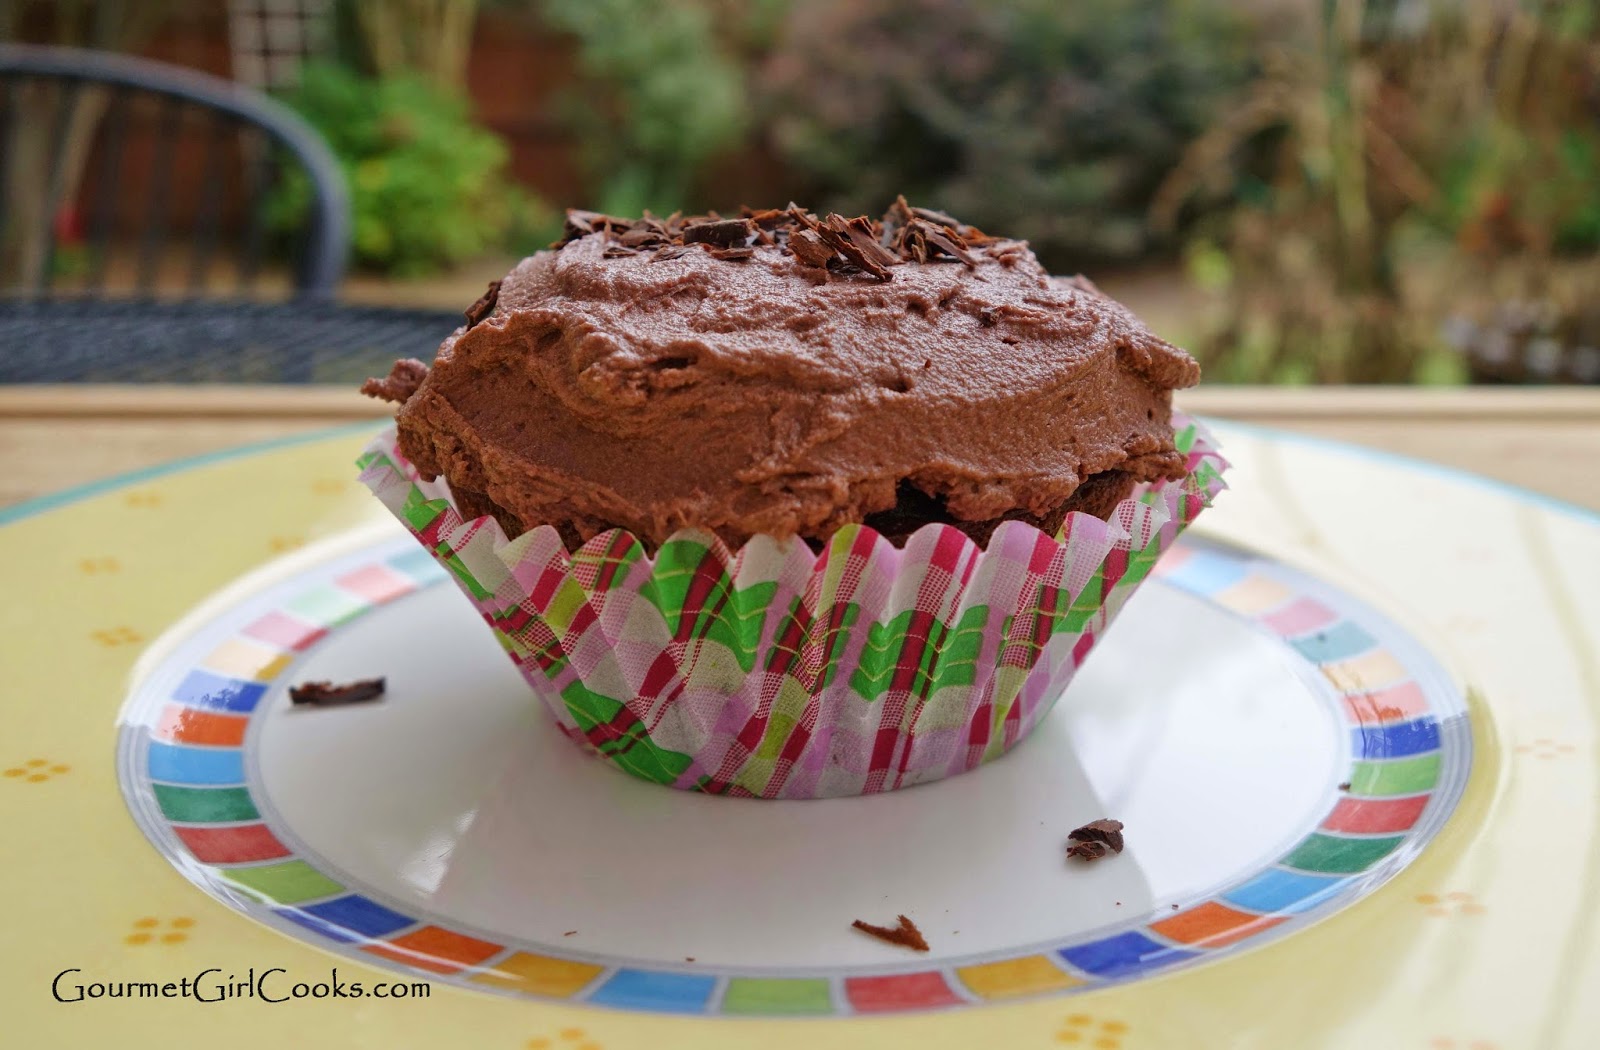
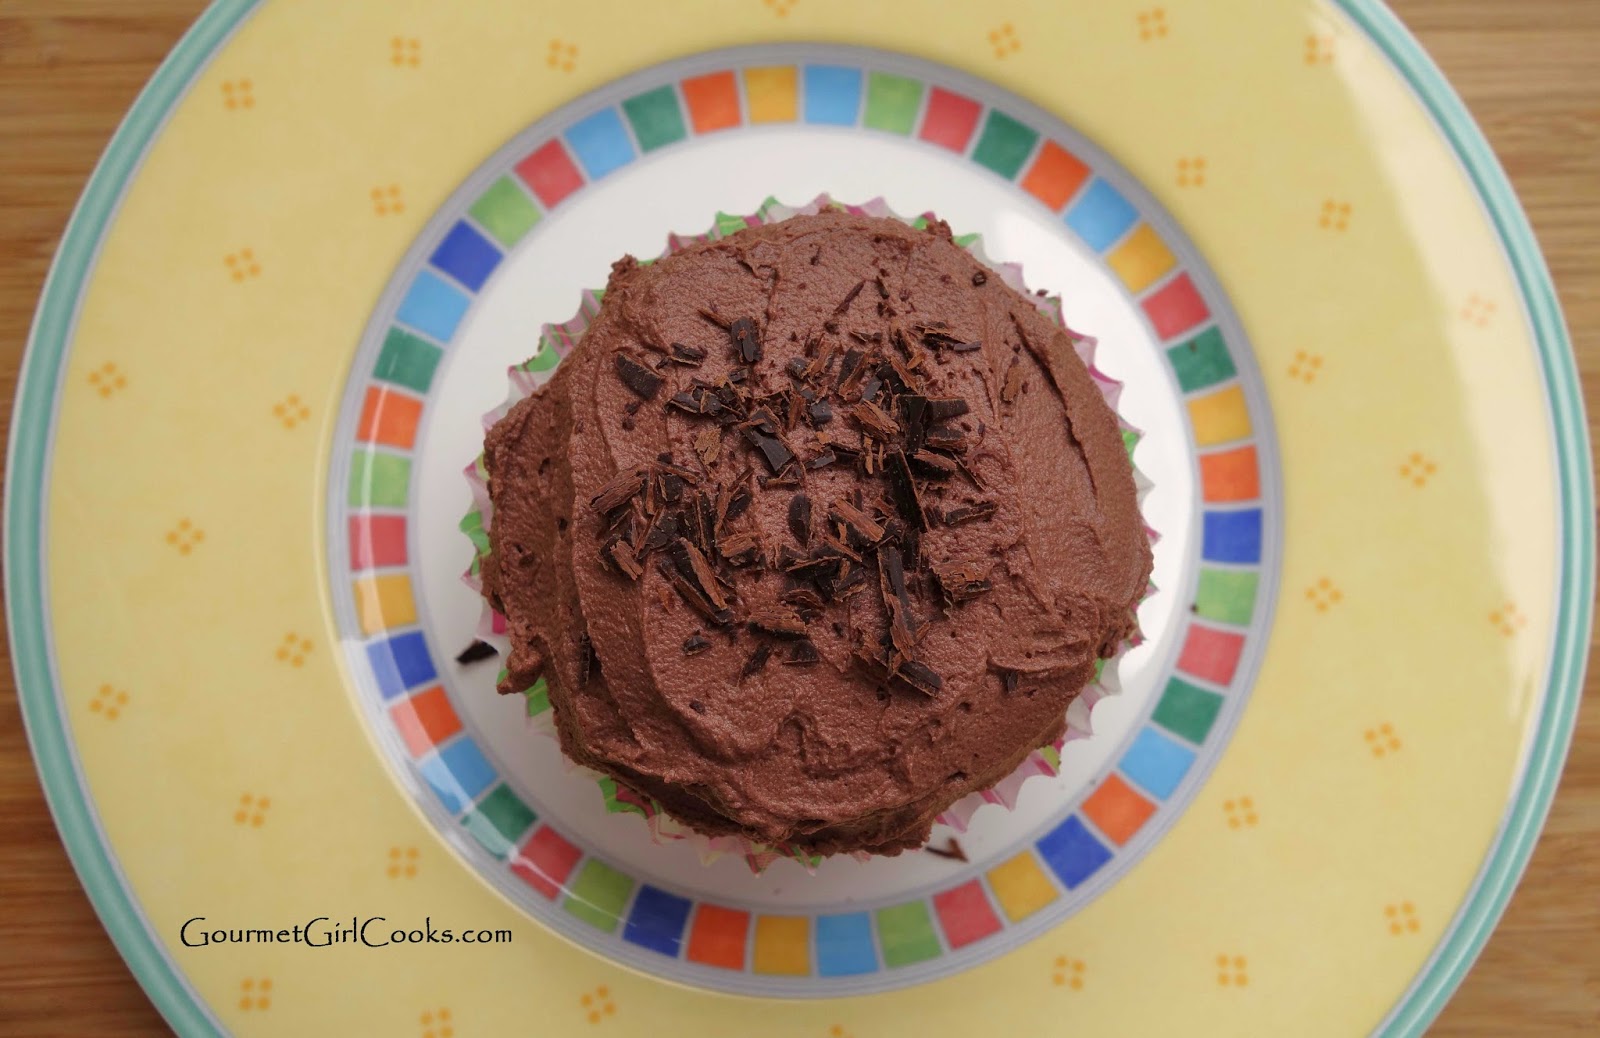
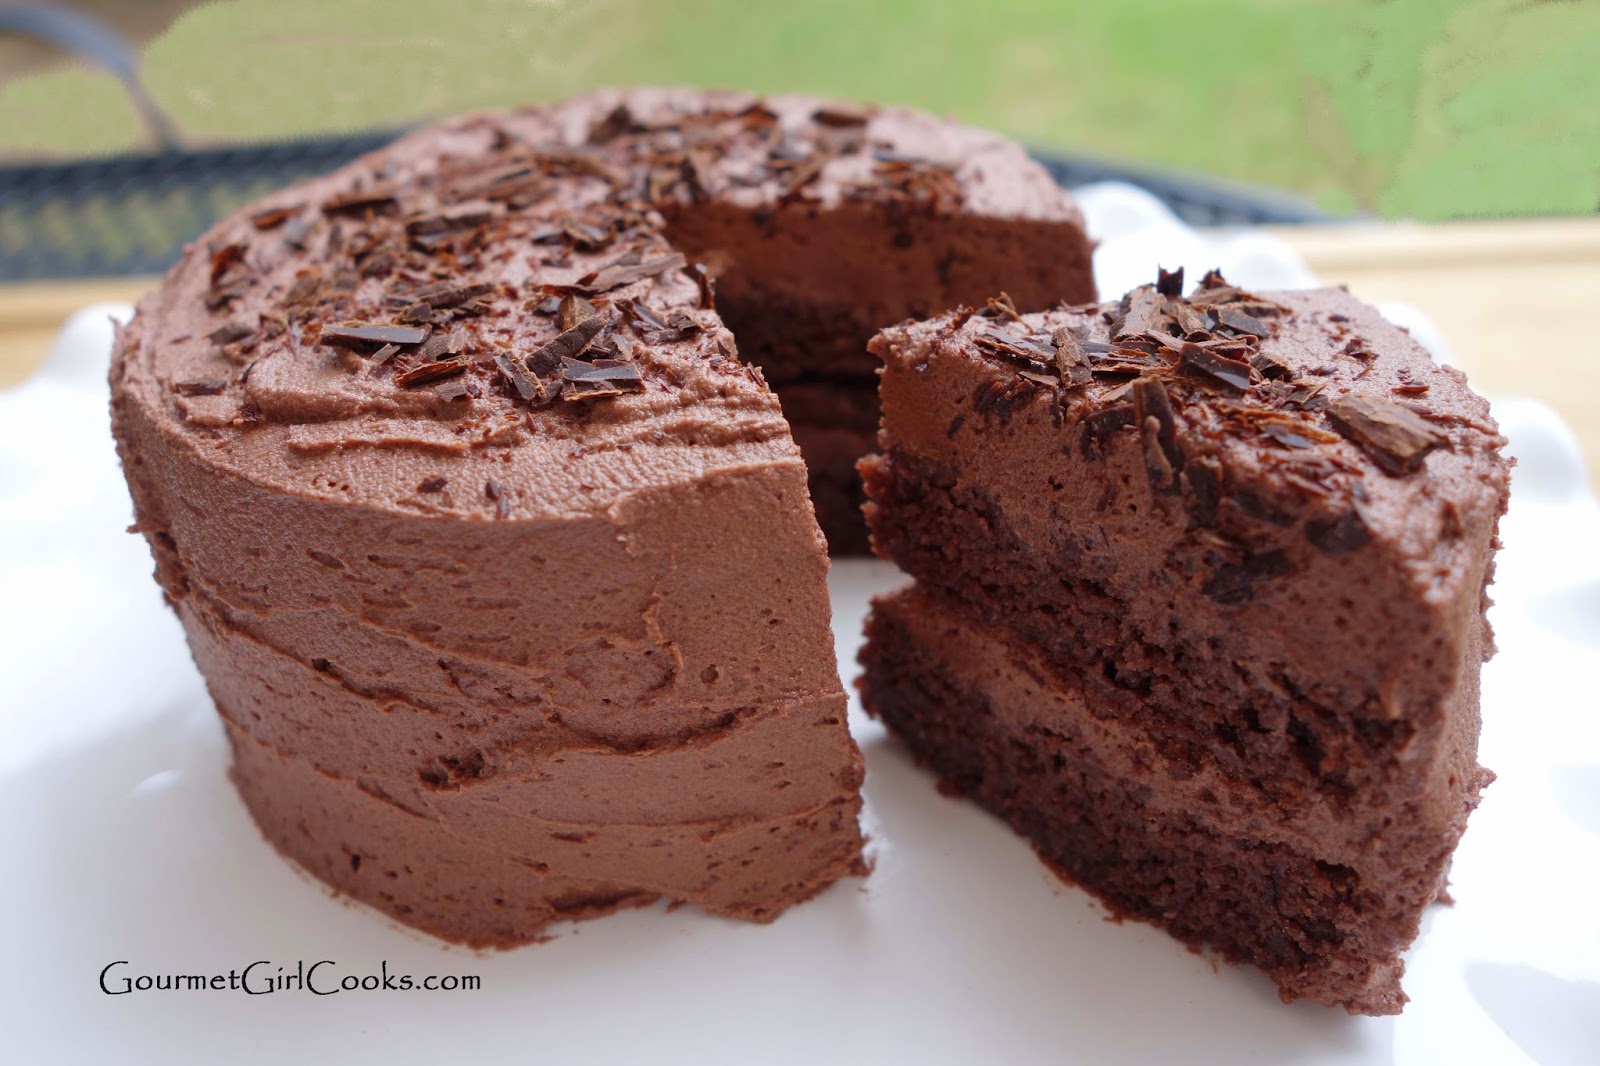
As a tip, to check your cake batter for sweetness, you might want to do what I did. I almost always sweeten my sweet baked goods and desserts with Swerve granular or confectioners sweetener (both because I like it and because it also adds the bulk/volume that sugar typically does in most cake and baked sweets). I like to use liquid stevia to adjust the sweetness because I can more easily fine tune it without changing the consistency of the batter. I added 2 teaspoons of NOW Organic Liquid Better Stevia to my cake batter, but 1-1/2 teaspoons would probably have worked nicely, too, particularly if you plan to frost your cake as I did. To do a little sweetness taste test, after mixing the batter together, I placed about 1/3 cup or so of the batter in a coffee mug and baked it for a little over a minute in the microwave and tested the finished "baked cake" product. You could also taste the batter, too, if you are okay with testing raw batter. The recipe makes about 5-1/4 cups of cake batter (or slightly more). I used my USA mini cake pan to make 6 mini cakes and had enough batter left to make 6 regular sized cupcakes too. I slice the mini cake in half crosswise to make 2 separate layers and frost them like a regular sized cake. Since this is a "sweeter treat" with the frosting, I would venture to say that a nice dessert portion would be 1/4 to 1/2 of one of the small cakes...or at least it is plenty enough for me. If you just wanted to make cupcakes, the recipe would make about 20-22 cupcakes. I snapped a few photos of one of the finished and frosted mini cakes and one of the cupcakes below. Click here for my recipe for: Milk Chocolate Peanut Buttercream Frosting. Enjoy!


Cupcake
Top of cupcake (with shaved dark chocolate)
Mini Cake

Monday, September 1, 2014

Pan Seared Asian Style Salmon - Easy Low Carb

Happy Labor Day and Happy 1st day of September! Today was a bright and sunny day and extremely humid; oppressive actually. There were clouds on and off throughout the day and the weather forecast called for storms to come through Atlanta later in the day. Because of the forecast, it made it hard to count on grilling for dinner. So, we kind of played it by ear to see what the weather did. We got up early and got out of the house to run a few errands. I've debated buying a Vitamix blender for a few years now...so today I finally bit the bullet and bought one. One of the things that has kept me from getting one sooner is that most of the models are so tall that you can't fit them under your kitchen cabinets on the counter. I ended up getting the model that would fit under the counter. I look forward to experimenting with it. The truth is that I needed another kitchen appliance/gadget like a hole in the head! LOL

As luck would have it, this afternoon the really dark clouds started rolling in around dinner time. Both boys came for dinner. Since the weather was so unpredictable today, I didn't make traditional cookout food (burgers, dogs, etc.). Hubby ran out before the sky opened up and grilled the last 2 steaks for he and one of my sons while I pan seared some wild Alaskan salmon inside the house for my other son's and my dinner. I lightly seasoned both sides of the salmon with some sea salt and sesame seeds and then pan seared it in a skillet on both sides in a bit of coconut oil. While the salmon was cooking, I mixed together a little light sauce to pour over the fish near the end of cooking. I squeezed the juice of a tangerine (about 2 tablespoons) and mixed it with about 1/4 teaspoon of chili-garlic sauce (spicy), 1 tablespoon of Tamari sauce and mixed everything together. I poured it over the salmon, topped it with a few snips of green onion and covered the pan for the last couple minutes. Hubby and oldest son had baked potatoes and steamed broccoli with their steaks and youngest son and I had steamed broccoli and a cheddar biscuit with our salmon. It was an easy meal to put together. I snapped a quick photo for you to see below. Enjoy!


This was our "low carb snack for 2" for hubby and I this afternoon since we skipped lunch and ate an early breakfast...fresh berries, almonds and jarlsberg cheese cubes
My new toy!